In a world increasingly conscious of environmental sustainability, finding creative and practical ways to repurpose waste materials is more important than ever. DIY home decor offers a fantastic avenue for expressing personal style while minimizing our environmental footprint, and upcycled plastic bottles provide a surprisingly versatile resource for a multitude of unique projects. From vibrant flower arrangements to functional storage solutions, the possibilities are endless, transforming discarded plastic into beautiful and useful additions to your living space. Think sparkling chandeliers crafted from clear bottles, whimsical garden ornaments, or even stylish planters that breathe new life into neglected corners.
This abundance of creative potential often leaves individuals unsure of where to begin. Fear not, for this guide provides a comprehensive, step-by-step process for transforming ordinary plastic bottles into extraordinary home décor pieces. We’ll explore simple techniques and innovative ideas, empowering you to unleash your inner artist and contribute to a more sustainable future, one upcycled plastic bottle at a time.
Preparation and Safety Guidelines
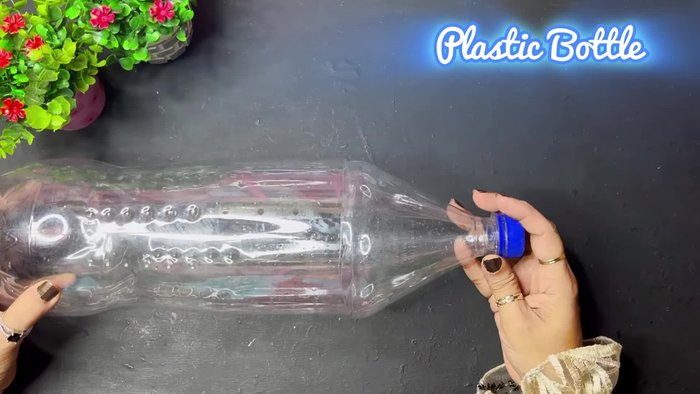
- Plastic bottles
- Translucent sheets
- Card paper
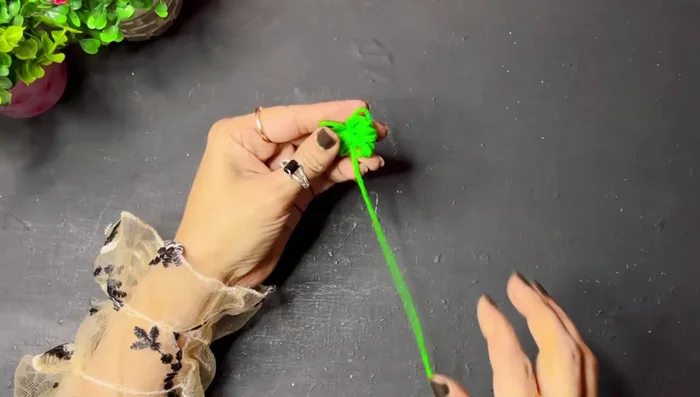
- Green wool
- Scissors
- Hot glue gun
- Fabric paints
- Pearl beads
- Posca marker
- Flower cutter (optional)
- Old keychain (optional)
- Always supervise children when working with sharp objects like scissors or knives, and ensure they understand the importance of safety.
- Thoroughly wash and clean plastic bottles before crafting to remove any residue or chemicals. Allow them to dry completely before use.
- Use appropriate safety glasses or eye protection when cutting, sanding, or using hot glue guns to prevent injury.
Step-by-Step Instructions
Gather Materials
- Collect plastic bottles, translucent sheets, card paper, green wool, etc.

Gather Materials Create Tree Decoration
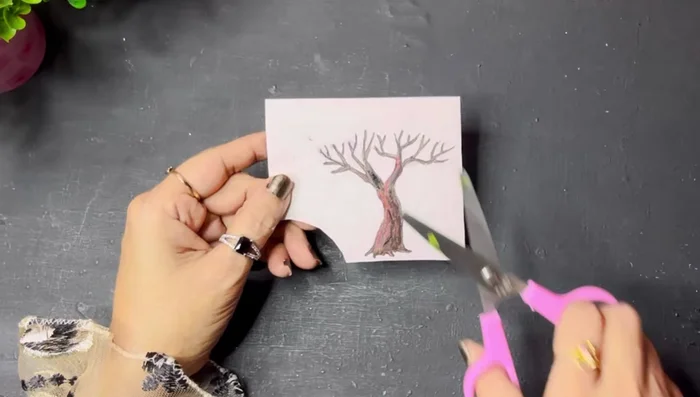
- Create a tree cutout from card paper (or print out a template).
- Make a wool pom-pom and attach it to the tree cutout to form a tree shape. Trim and refine the tree shape using scissors.
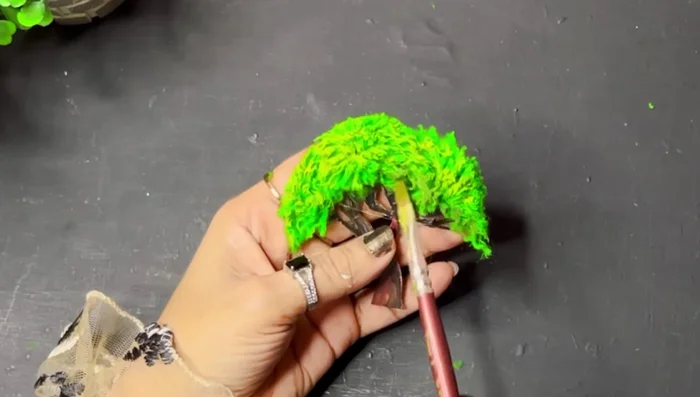
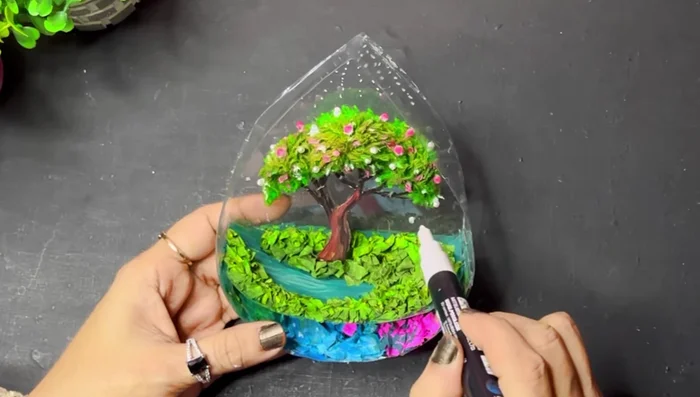
- Use fabric paints to add highlights and create a 3D effect on the tree.
- Stick pearl beads (painted or unpainted) onto the tree using a hot glue gun.
Create Tree Decoration - Draw white dots/balls on the tree using a Posca marker.
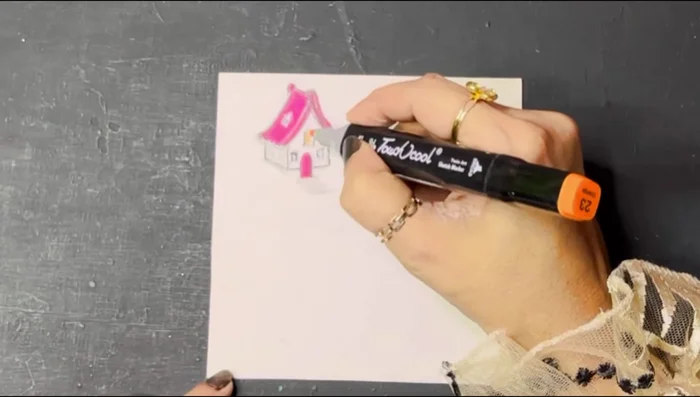
Create Tree Decoration Create House Decoration
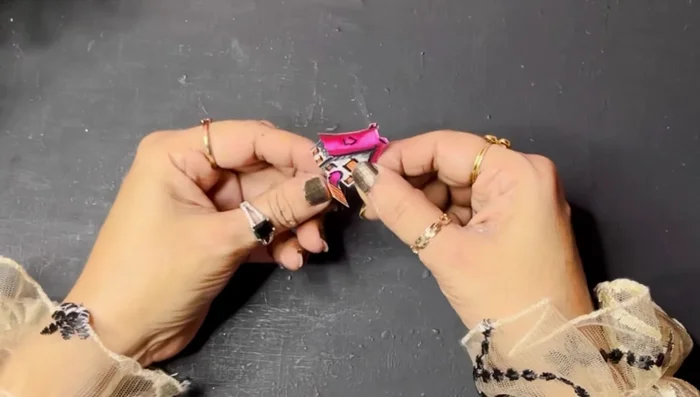
- Create a house cutout from card paper (or print out a template).
- Attach the house cutout inside the plastic bottle.
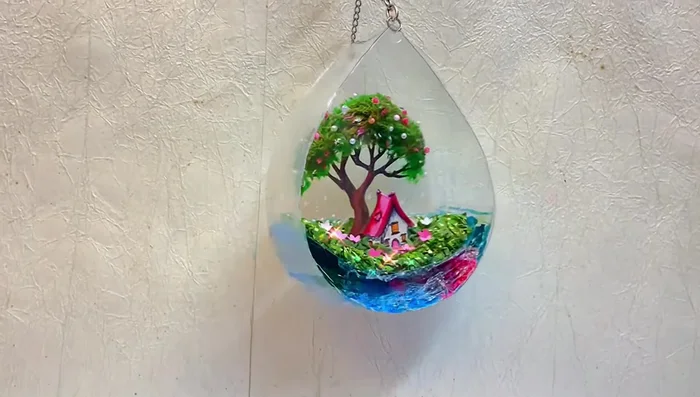
Create House Decoration Assemble Interior Scene
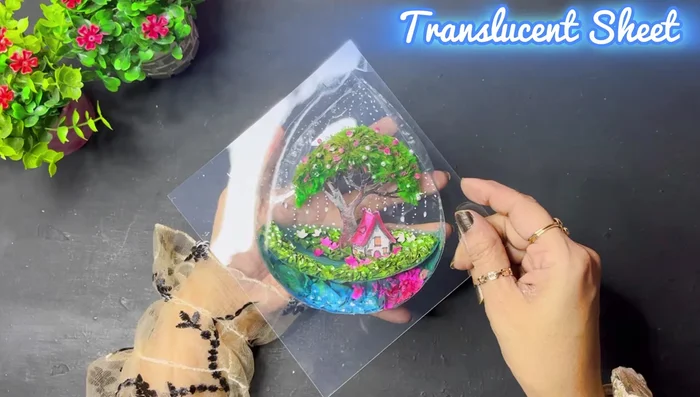
- Add tiny flowers (cut using a flower cutter or manually) to the interior scenery.
- Cover the interior scenery with a translucent sheet.
Assemble Interior Scene Add Finishing Touches
- Attach a small chain (from an old keychain) to the decor.
Add Finishing Touches


Read more: DIY Dollar Store Ghost Candy Holder: Spooky Cute Halloween Decor!
Tips
- Collect plastic bottles from your household consumption.
- Purchase translucent sheets from a stationery shop or online.
- Use printouts for cutouts to save time.
- Painting the pearl beads adds a personalized touch.