Halloween is just around the corner, and while store-bought decorations can be pricey, achieving a spooky-cute aesthetic doesn't have to break the bank! This year, embrace your inner crafter and create adorable ghost candy holders using nothing more than inexpensive supplies from your local dollar store. Forget expensive, mass-produced decorations – these charming little ghosts are surprisingly easy to make, and they'll add a touch of whimsical fright to your Halloween celebrations without emptying your wallet. They're perfect for handing out treats to trick-or-treaters or for adding a playful spooky touch to your mantelpiece or dining table.
Imagine transforming simple, everyday items into these delightful ghostly companions. These DIY candy holders are not only budget-friendly but also incredibly versatile; customize them with different fabrics, embellishments, and sizes to perfectly match your Halloween décor. Ready to unleash your creativity and bring some spooky charm to your home? Let's dive into the step-by-step instructions to make your own DIY Dollar Store Ghost Candy Holders!
Preparation and Safety Guidelines
- Ghost from Dollar Tree
- Paper towel holder from Dollar Tree
- Scissors
- Box cutter
- Hot glue (optional)
- Black felt from Dollar Tree
- Cauldron from Dollar Tree
- Foam pumpkin from Dollar Tree
- Witch's hat from Dollar Tree
- Small purple ornaments from Dollar Tree
- Adult supervision is required, especially when using sharp objects like scissors or craft knives. Young children should not handle sharp tools unsupervised.
- Always use non-toxic, food-safe materials for the candy holder, especially if children will be handling it. Avoid using materials that could leach chemicals into the candy.
- Ensure the candy holder is stable and won't easily tip over, preventing accidental spills or candy breakage. Consider using a sturdy base or adding weight if necessary.
Step-by-Step Instructions
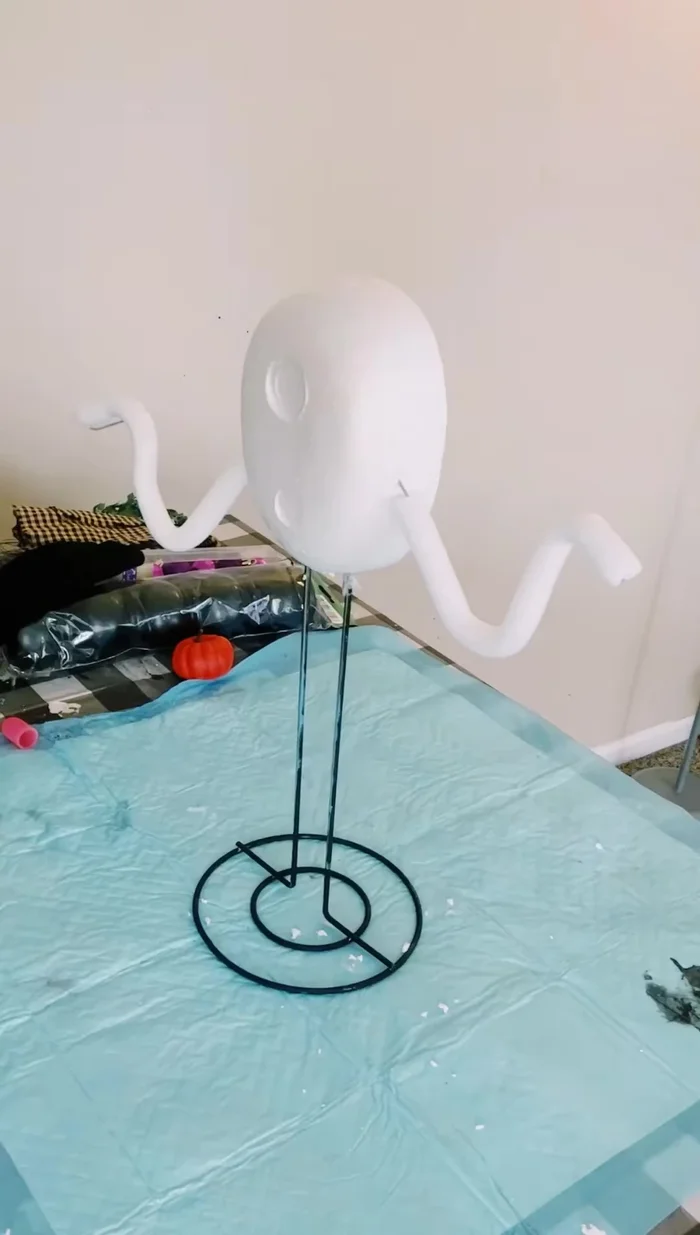
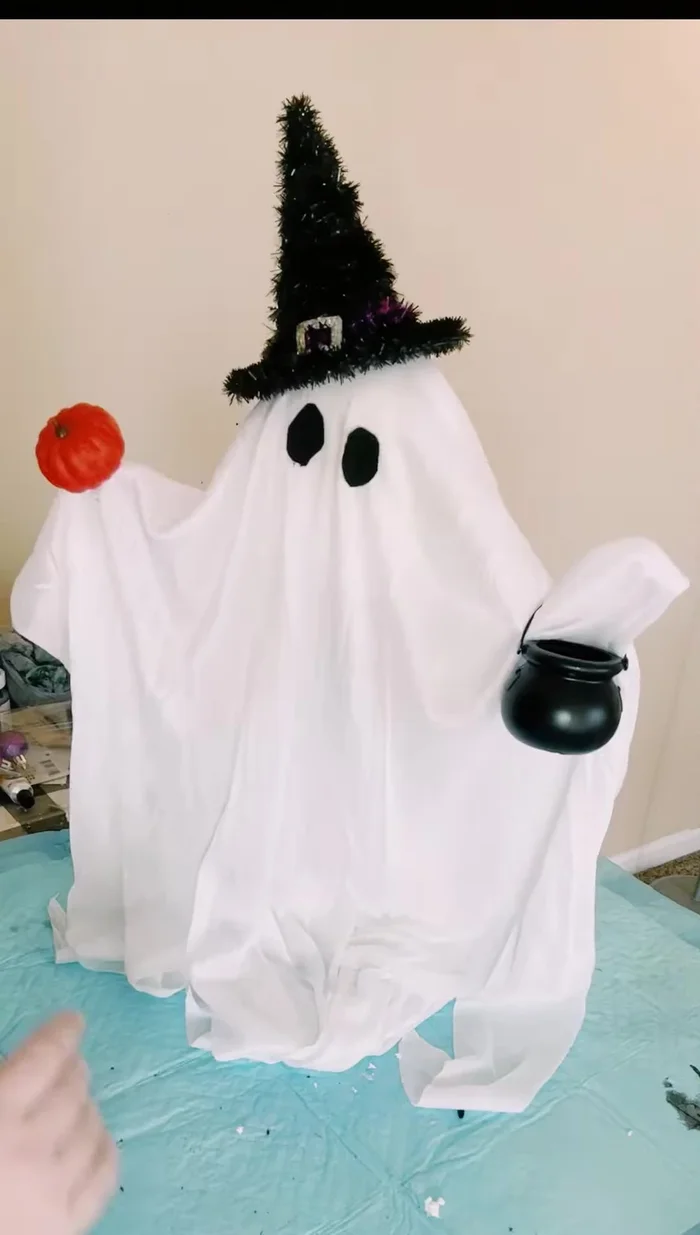
Prepare the Ghost
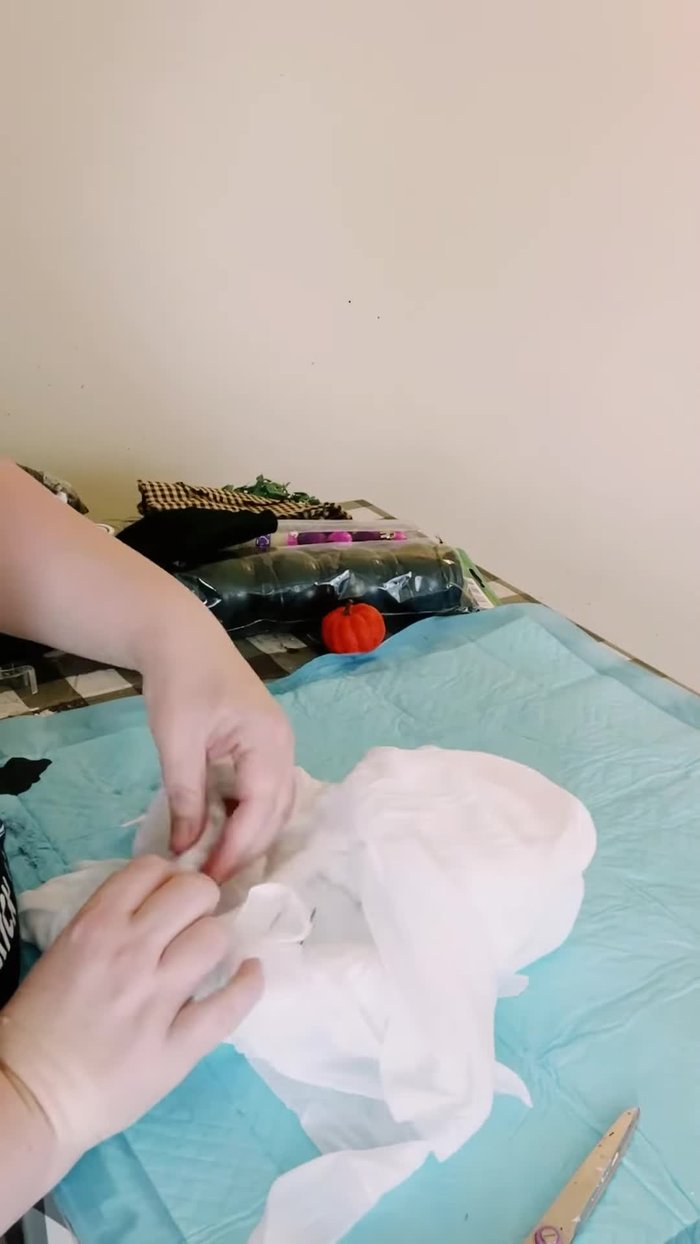
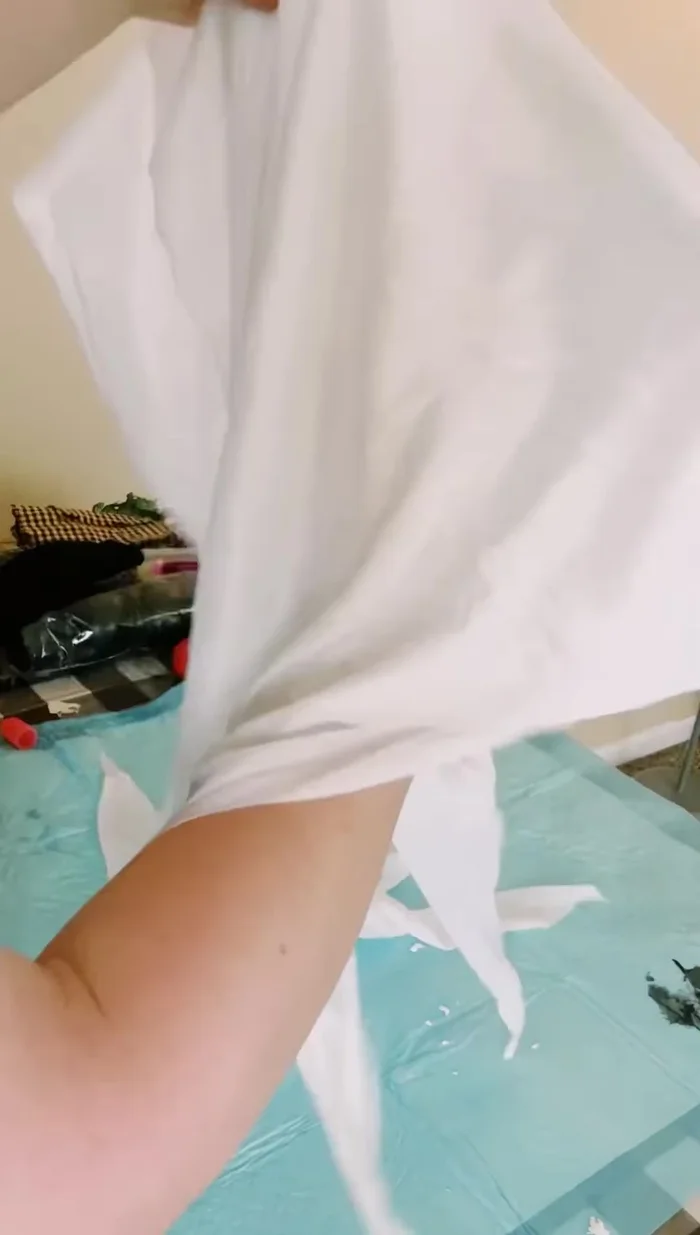
- Remove the original cloth from the ghost's arms and styrofoam.
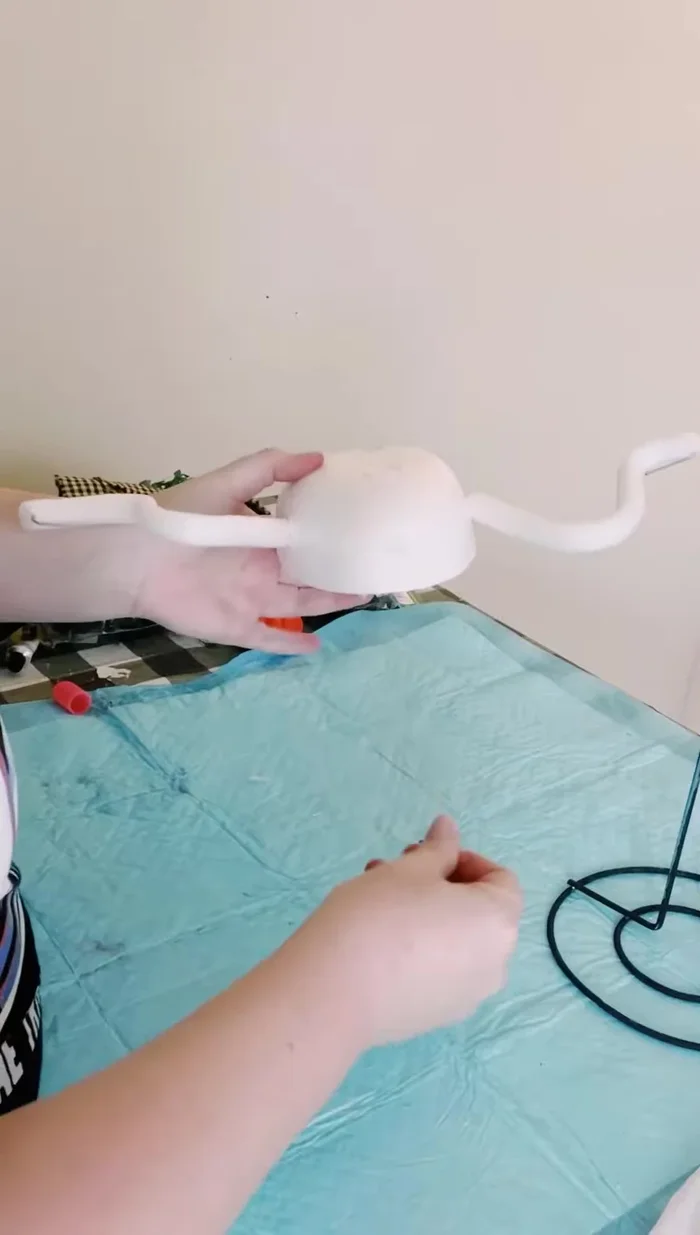
- Bend the ghost's arms into the desired position (e.g., to hold something).
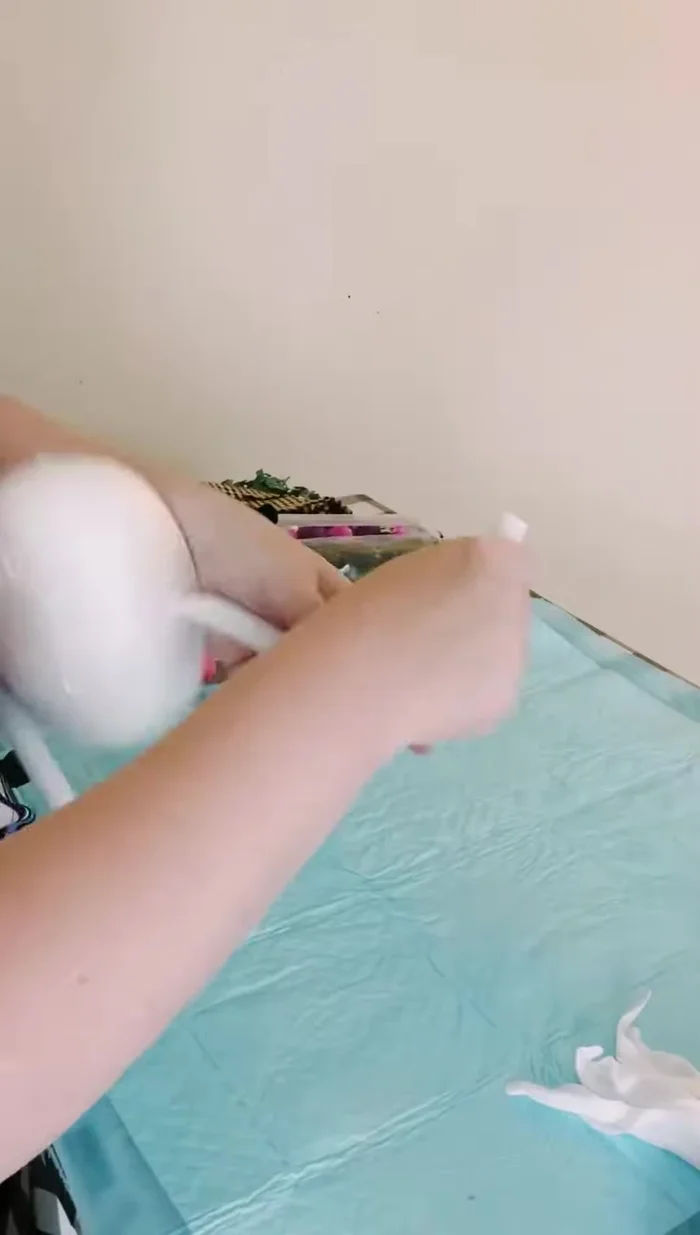
- Cut a slit at the bottom of the styrofoam and insert the paper towel holder.
- Secure the paper towel holder with hot glue (optional).

Prepare the Ghost - Replace the cloth over the paper towel holder.
- Glue the original ghost face to hide it.
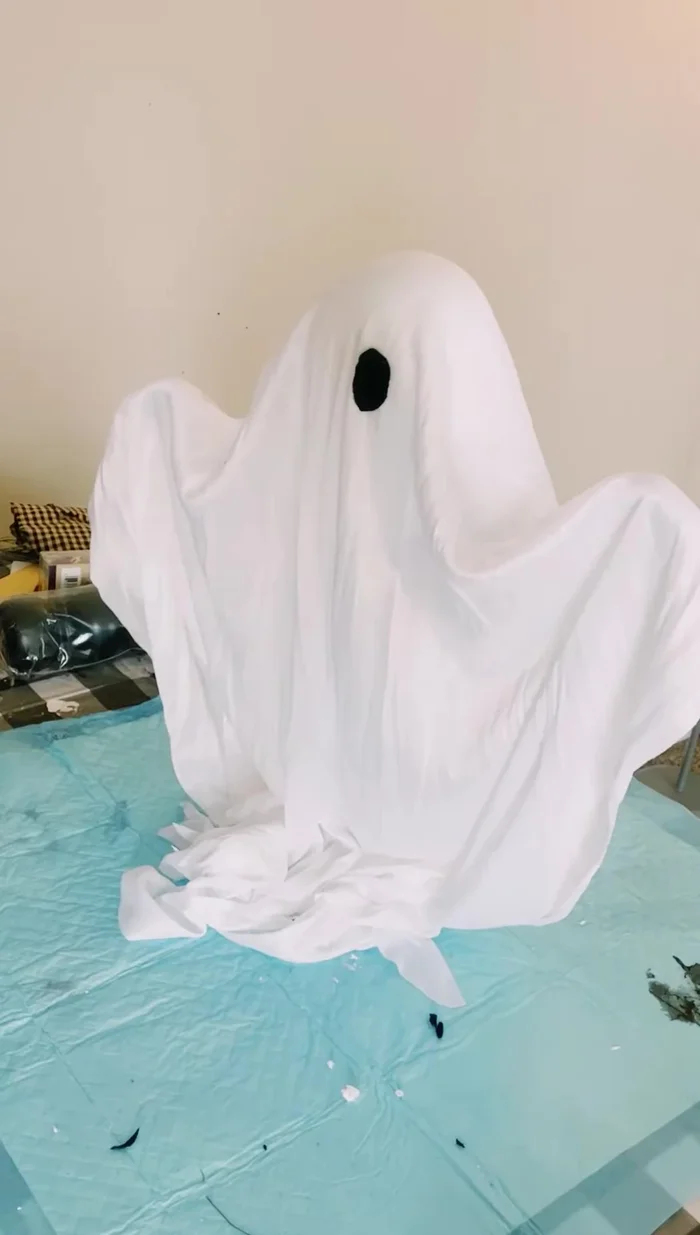
Prepare the Ghost Add the Eyes
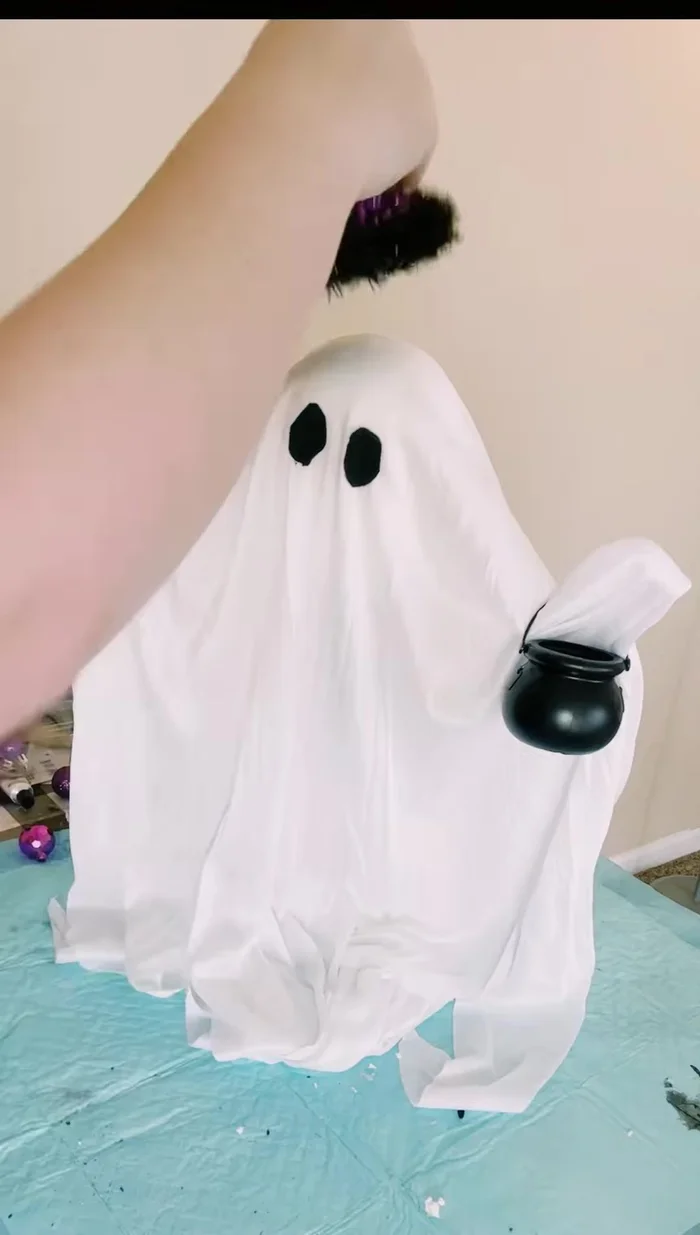
- Cut out black felt circles for the eyes and glue them onto the ghost.
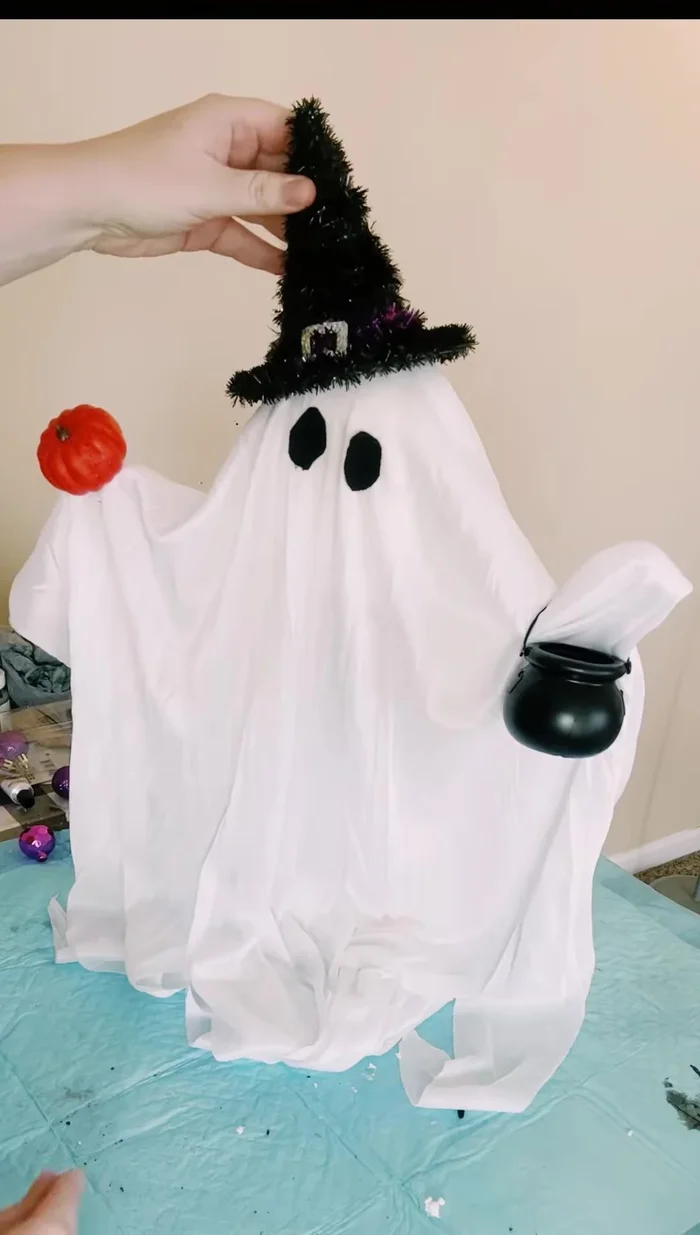
Add the Eyes Assemble the Decorations
- Glue the pumpkin and witch's hat to the cauldron.
- Hang the cauldron on the ghost's arm.
- Fill the cauldron with small purple ornaments.
Assemble the Decorations

Read more: DIY Recycled Plastic Picture Frames: A Marbled Masterpiece
Tips
- N/A