Blast off into a world of imagination and creativity with this exciting DIY project! Building your own rocket ship from a simple plastic bottle is a fantastically fun and educational activity perfect for kids of all ages. It's a wonderful way to engage young minds with science principles like thrust and propulsion, all while fostering their artistic talents and problem-solving skills. This surprisingly simple craft requires only a few readily available materials, making it an ideal activity for a rainy afternoon or a fun weekend project. No specialized tools or expertise are necessary, ensuring even the youngest builders can participate and experience the thrill of creating something extraordinary.
Prepare for liftoff! This project combines the fun of arts and crafts with a touch of science, creating a memorable experience for both kids and parents alike. This guide provides a step-by-step process for constructing your very own miniature rocket ship, transforming an ordinary plastic bottle into an intergalactic masterpiece. Follow along and watch as your child's imagination takes flight!
Preparation and Safety Guidelines
- Plastic bottle
- Tape
- Scissors
- Construction paper (red, white, blue)
- Adult supervision is required at all times. This craft involves sharp objects and potentially messy materials.
- Never attempt to launch the rocket using any flammable materials or pressurized air. This is a craft project, not a real rocket.
- Use caution when handling scissors and other sharp tools. Always cut away from yourself and others.
Step-by-Step Instructions
Prepare the Body
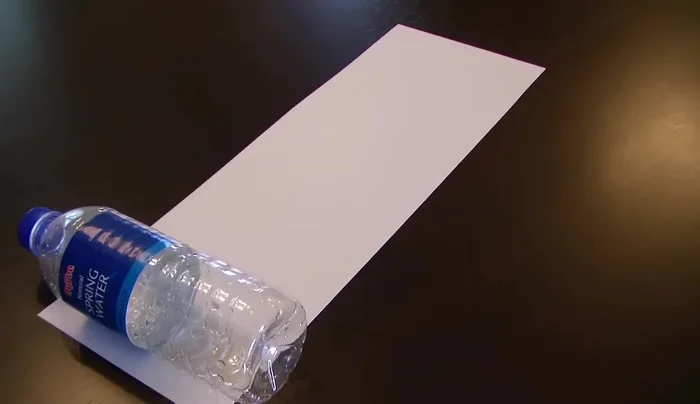
- Cut construction paper to match the size of your plastic bottle. Wrap the paper around the bottle and tape or glue the ends.

Prepare the Body Create the Cone
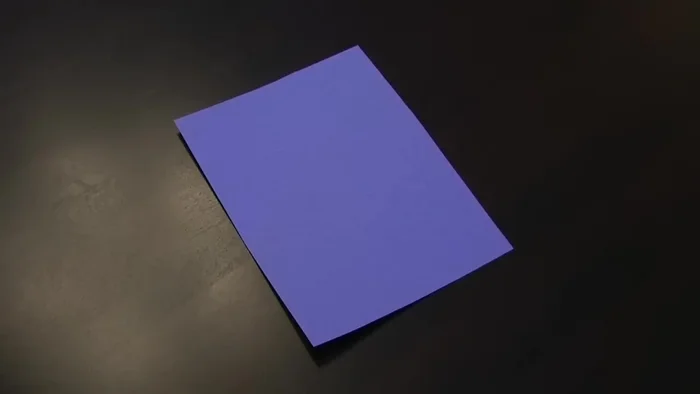
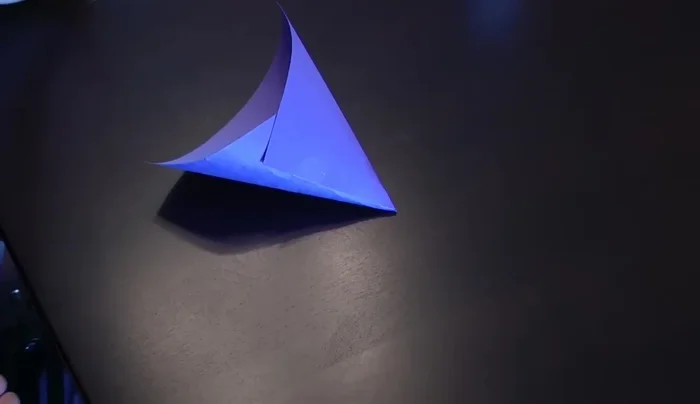
- Cut a 1/4 piece of a different colored construction paper and create a cone shape. Fold the sides together and tape it.
- Cut off the top of the cone, ensuring it fits the top of your bottle. Measure to ensure it's the right size before cutting.
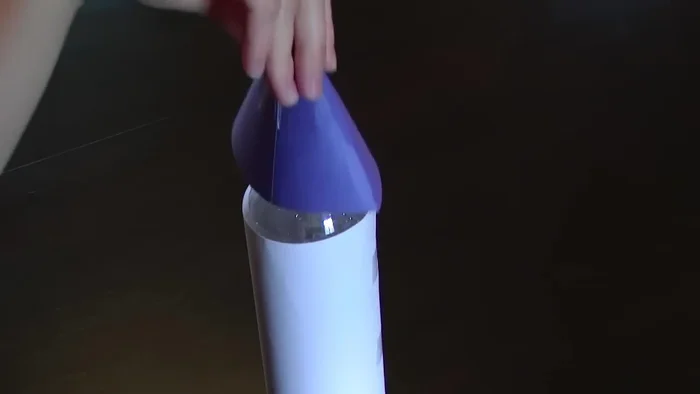
Create the Cone Attach the Cone
- Place the cone on top of the bottle and tape it securely.
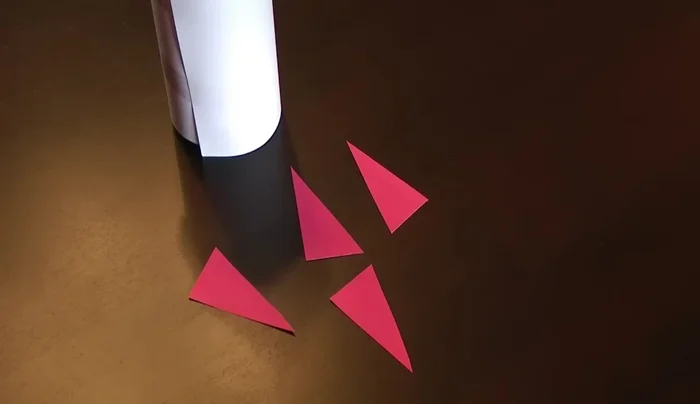
Attach the Cone Add the Fins
- Cut out red triangles for the rocket fins and tape them onto the bottle.
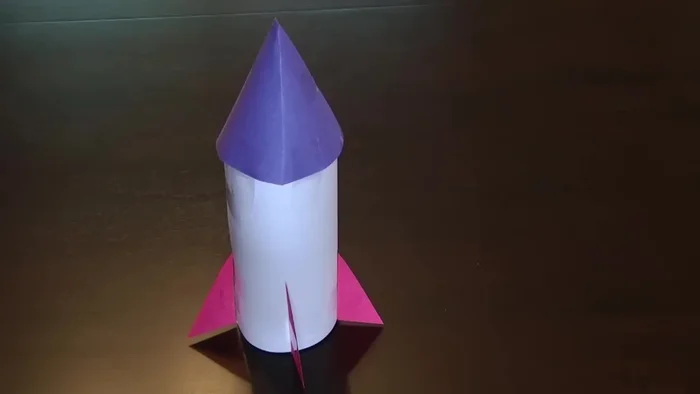
Add the Fins Decorate
- Decorate your finished rocket ship!
Decorate
Read more: DIY Dollar Store Ghost Candy Holder: Spooky Cute Halloween Decor!
Tips
- You can use glue instead of tape to secure the paper to the bottle.
- Carefully measure the cone piece to ensure a proper fit on the bottle.