Ever wished you could bring a little magic into your home? Prepare to be enchanted! This tutorial guides you through the creation of an adorable, color-changing unicorn plushie, crafted entirely from a humble sock. Forget expensive store-bought toys; we're unleashing your inner creativity to make a truly unique and whimsical friend. This project is perfect for all skill levels, from seasoned crafters to enthusiastic beginners, requiring minimal materials and offering maximum adorable results. The secret? We'll be using color-changing fabric paint to give our unicorn a magical twist!
Get ready to transform an ordinary sock into an extraordinary magical creature! This fun and easy DIY project will walk you through each step, from prepping your sock to adding the finishing touches, ensuring your very own color-changing unicorn plushie is ready to charm its way into your heart (and your home!). Let's dive into the step-by-step instructions and bring this enchanting project to life!
Preparation and Safety Guidelines
- Polyester stuffing or cotton wool
- Fluffy socks
- Felting wool
- Beads or buttons
- Extra strong hairspray
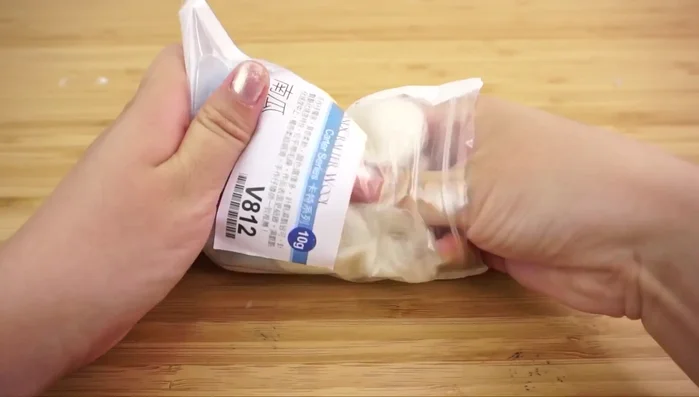
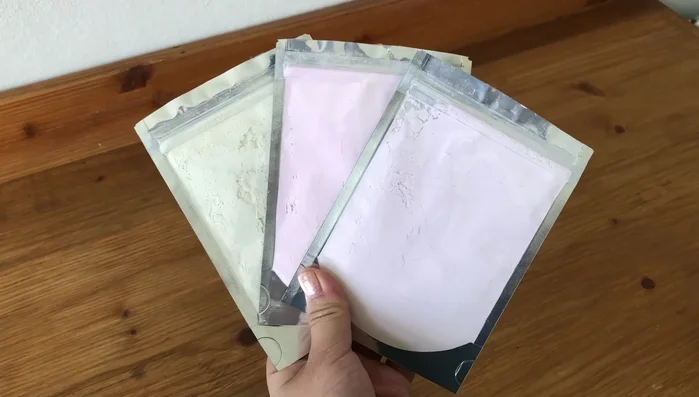
- Color-changing pigment
- Sewing needles
- Felting needles
- Adult supervision is required, especially when using scissors and needles. Keep small parts away from young children to prevent choking hazards.
- Use fabric-safe markers or paints designed for use on textiles. Always test your chosen color-changing materials in an inconspicuous area first to ensure they work as intended and won't damage the fabric.
- When stuffing the plushie, avoid over-stuffing to prevent tearing or bursting of the seams. Leave a little room for the fabric to stretch and mold to the shape of the unicorn.
Step-by-Step Instructions
Prepare the Body
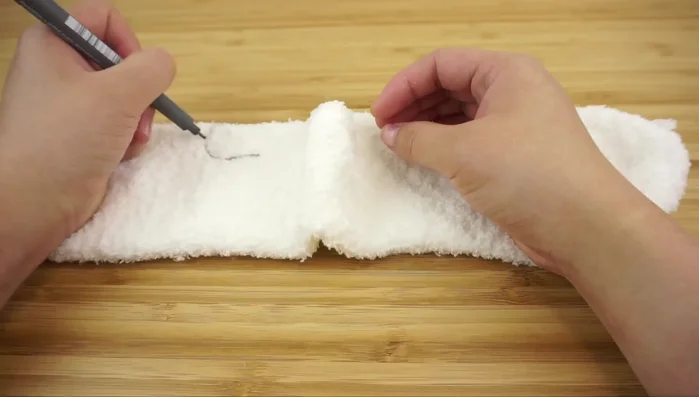
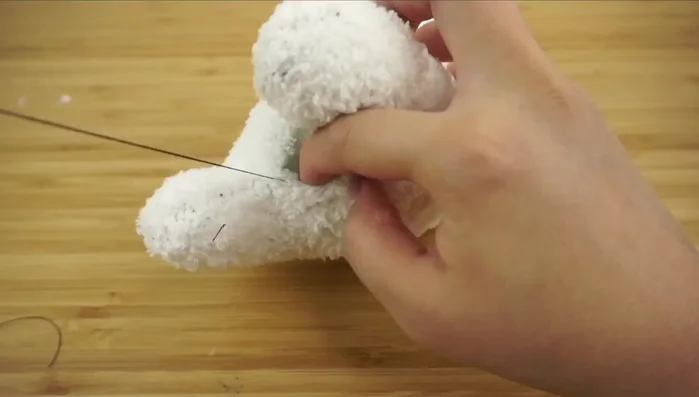
- Turn one sock inside out, lay it flat with the heel up, and draw leg outlines.
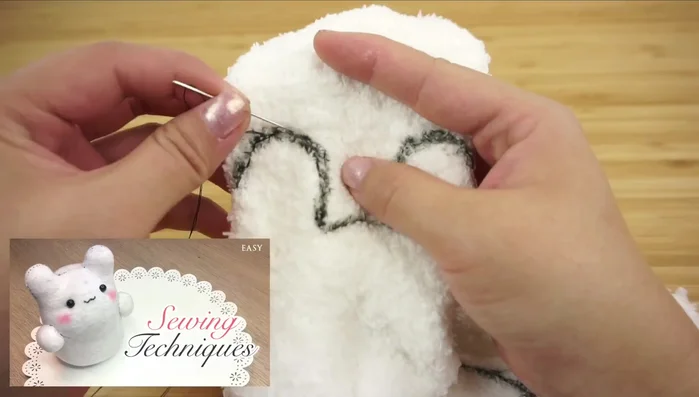
- Backstitch along the outlines, ensuring one leg pair is closer to the heel for a longer body.
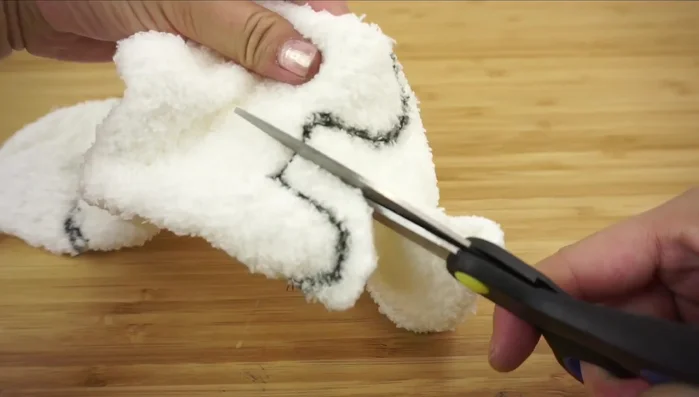
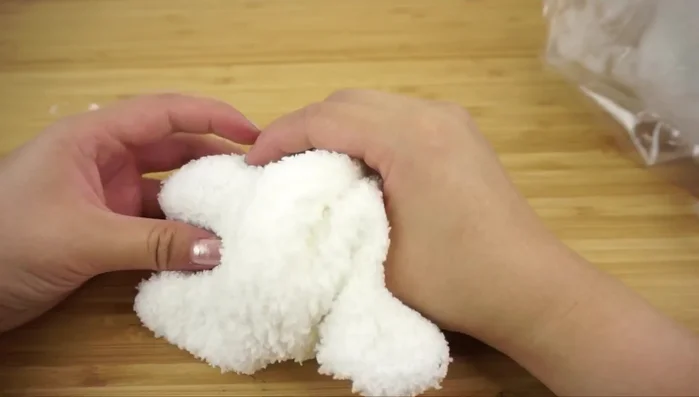
- Cut out the body, being careful not to cut too close to the stitches. Turn right side out using the gap between legs.
- Stuff each leg firmly, then the body, using a generous amount of stuffing.

Prepare the Body - Close the leg gap using a ladder stitch.
Prepare the Body Create the Head
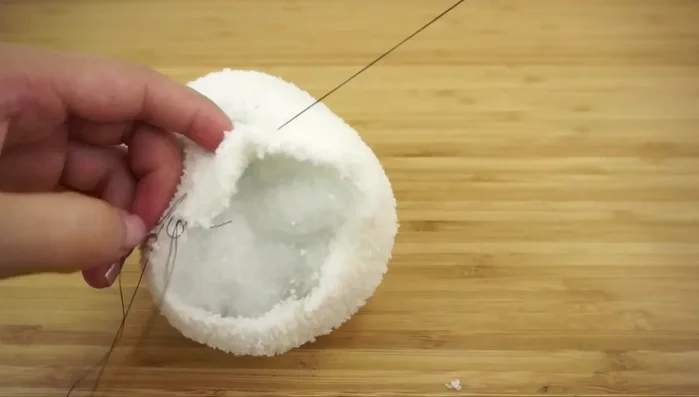
- Cut the front of the second sock past the heel, stuff it to create the head, and shape the nose using a smaller ball of stuffing.
- Close the head opening with a running stitch.
Create the Head Attach Head and Ears
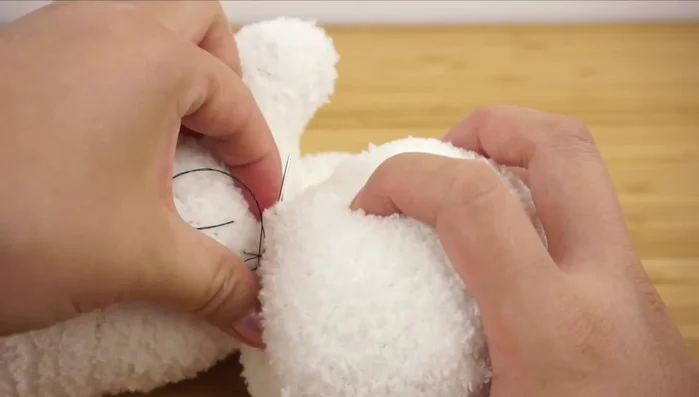
- Attach the head to the body using a circular ladder stitch, adjusting the head position as needed.
- Cut out two leaf shapes from the remaining sock, backstitch, and turn inside out to create ears. Attach to the head.
Attach Head and Ears Add Facial Features
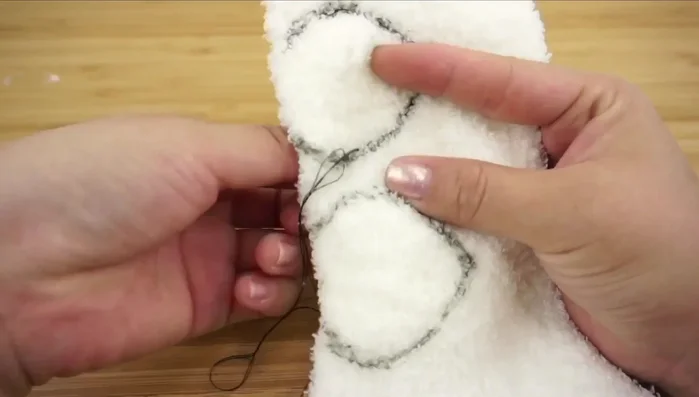
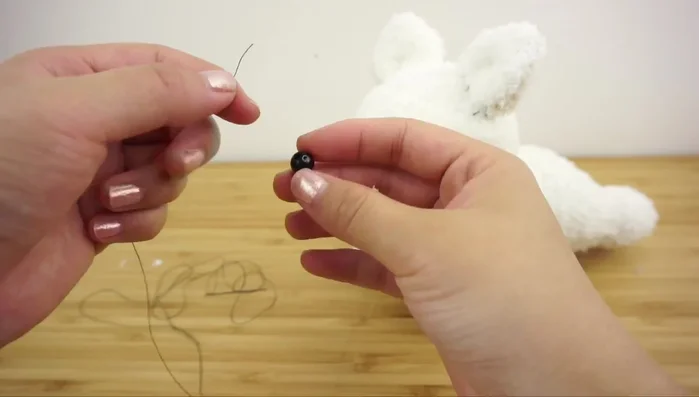
- Attach beads or buttons for eyes, using a single thread and creating slight tension for symmetry.
Add Facial Features Create and Attach the Horn
- Needle felt the horn using lighter and darker shades of wool, ensuring a firm consistency. Add details by sculpting with the darker wool.
- Attach the horn using a ladder stitch.
Create and Attach the Horn Add Mane and Tail
- Arrange and attach the mane and tail using felting needles and thread.
Add Mane and Tail Apply Color-Changing Pigment
- Apply color-changing pigment using hairspray and a brush, testing in sunlight.
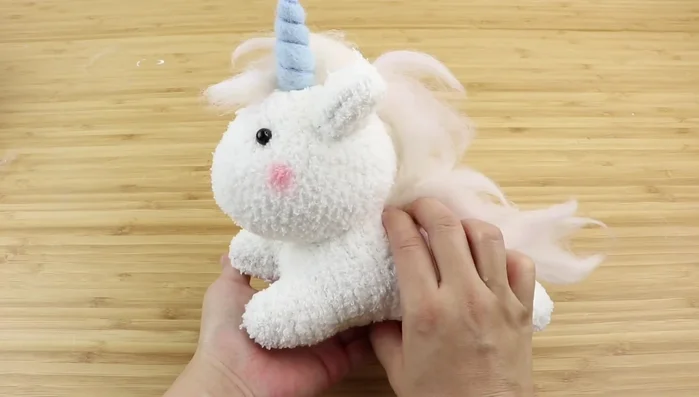
Apply Color-Changing Pigment Finishing Touches
- Add blush using felt.
Finishing Touches


Read more: DIY Picture Frame from Oat Cartons and Fabric: A Simple & Unique Craft
Tips
- Use thread color similar to the sock color for better concealment.
- Check stitching from both sides, especially with fluffy socks.
- Use more stuffing than you think; sock fabric is forgiving.
- For the horn, continue felting until firm, even if it shrinks; add more wool as needed.
- Don't add too much hairspray when applying pigment; it can glue the wool.