Winter's chill often brings a desire for cozy crafts, and few festive projects are as charming as intricately designed snowflakes. This year, ditch the standard six-pointed variety and embrace the challenge of crafting a unique, six-sided paper snowflake! These stunning, geometric designs offer a captivating alternative to the traditional snowflake, allowing for a greater degree of creativity and personalized flair. Imagine the beautiful, glistening decorations that will adorn your windows and festive spaces, each one a testament to your handiwork. The process is surprisingly simple, even for beginners, resulting in a beautiful and satisfying craft project perfect for individuals or groups.
Forget flimsy, easily-torn snowflakes; our six-sided design promises a sturdy and visually striking result. This detailed guide will provide you with a clear, step-by-step approach to creating your own stunning six-sided paper snowflake masterpiece, complete with helpful tips and tricks to ensure flawless execution. Let's begin transforming simple paper into breathtaking winter wonders!
Preparation and Safety Guidelines
- Square piece of paper
- Scissors
- Pencil
- Use sharp scissors with caution, keeping fingers away from the blades at all times. Adult supervision is recommended, especially for younger crafters.
- Avoid using extremely thin paper as it may tear easily, making the snowflake difficult to assemble. A medium-weight paper is ideal.
- Dispose of scraps responsibly. Small paper pieces can be choking hazards for pets and young children.
Step-by-Step Instructions
Prepare the Paper
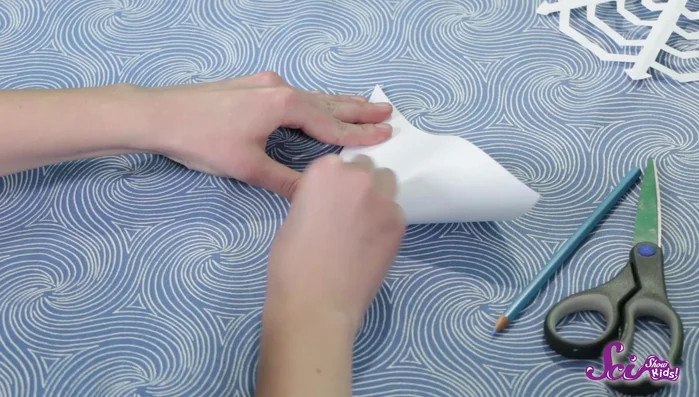
- Fold the square paper in half to form a triangle. Then fold it again to create a smaller triangle.

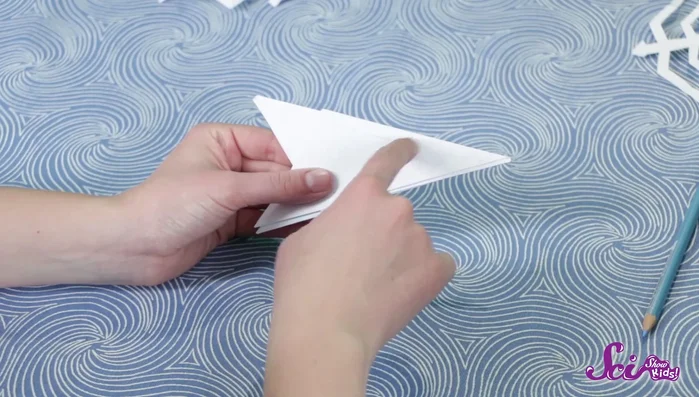
Prepare the Paper Create the Base Shape
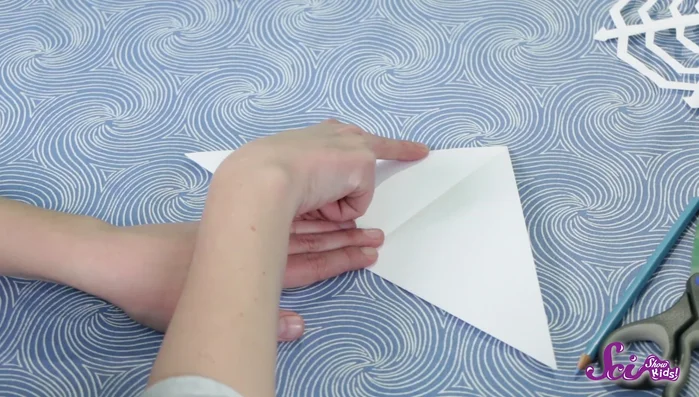
- Fold the lower corner of the triangle upwards to meet the top point, aligning it with the existing crease. Overlap the edges to create a sharp crease.
- Flip the paper over and repeat step 2 on the other side, making sure to use the crease as a guide.
Create the Base Shape Form the Snowflake Center
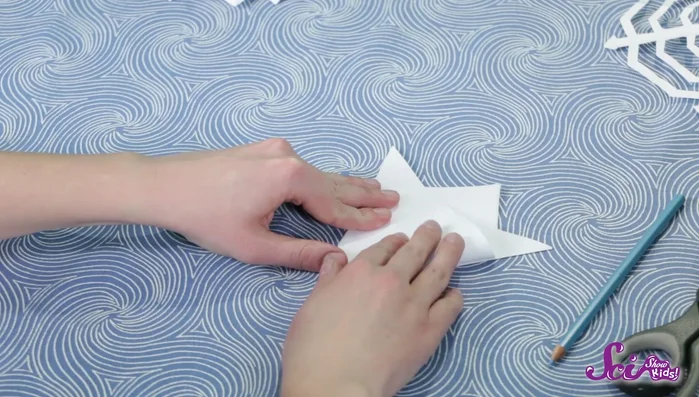
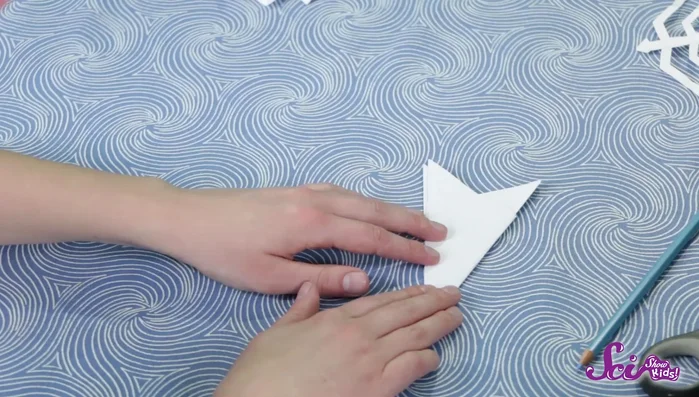
- Fold the resulting shape in half again, creating a smaller, arrow-like shape. This forms the central part of the snowflake.
Design the Snowflake
- Use a pencil to lightly draw the desired design onto the folded paper, ensuring you leave the central fold intact. Be creative and experiment with patterns!
Design the Snowflake Cut the Design
- Carefully cut along the pencil lines, making sure not to cut the central fold to maintain the main branches of the snowflake.
Cut the Design Reveal the Snowflake
- Gently unfold the paper to reveal your finished six-sided snowflake.
Read more: DIY Toilet Paper Roll Rockets: A Fun and Easy Craft Project
Tips
- If using scissors, ensure adult supervision.
- Don't worry about making mistakes. Imperfect folds often lead to unique and beautiful snowflakes.
- If you're a beginner, you might find it easier to draw your pattern before cutting. This helps guide your cuts and prevents mistakes.
- If you make a mistake, you can always start over or embrace the imperfections for a unique design.