Summer is the perfect time for fun, creative projects, and what better way to celebrate the season than with adorable, handmade decorations? This article will guide you through a simple and enjoyable DIY craft: creating charming paper fish to brighten up your home for the summer months. These delightful fish are surprisingly easy to make, requiring only basic materials that you likely already have at home. They're a fantastic activity for kids of all ages, fostering creativity and fine motor skills while producing beautiful results.
Forget expensive store-bought decorations – these paper fish offer a cost-effective and engaging alternative. Their vibrant colors and playful designs will add a whimsical touch to any room, from bedrooms to living rooms. Get ready to dive into a sea of creativity as we explore the step-by-step instructions on how to craft your own shoal of paper fish. Let's begin!
Preparation and Safety Guidelines
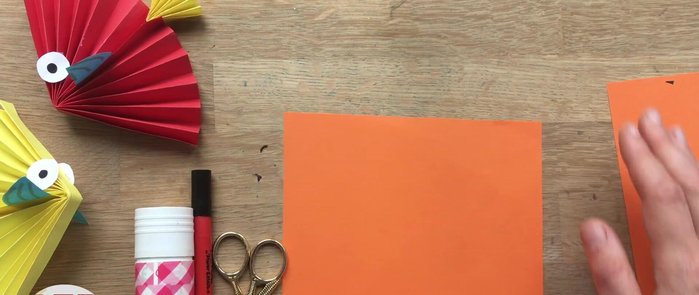
- Square piece of paper (A5 size or similar)
- Glue
- Scissors
- Optional: Markers, small round object for eye stencil
- Adult supervision is required at all times, especially when using scissors and glue.
- Keep small parts away from young children to prevent choking hazards.
- Use non-toxic craft supplies. Ensure proper ventilation when using paints or markers.
Step-by-Step Instructions
Prepare Materials
- Cut a square piece of paper. The size isn't critical; 15cm x 15cm or 6cm x 6cm works well.

Prepare Materials Create Body and Tail Fans
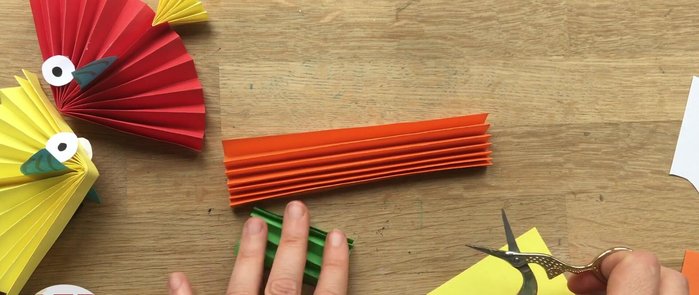
- Fold the larger square into a series of accordions, keeping a straight edge along the bottom. Repeat with the smaller square for the tail.
Create Body and Tail Fans Cut the Fin
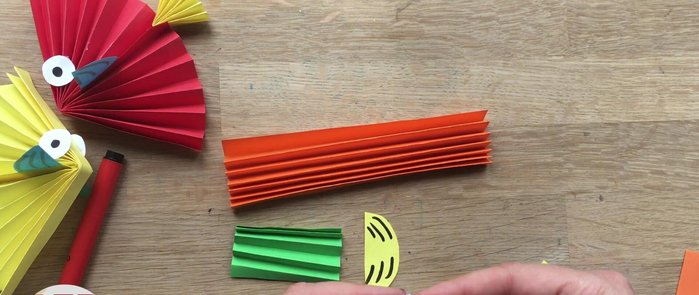
- Cut a semicircle from the larger folded paper to form the fish's fin. Add small markings to create a more detailed fin.
Cut the Fin Cut the Eyes
- Cut out two small circles (or use a stencil) for the eyes.
Cut the Eyes Assemble the Fish
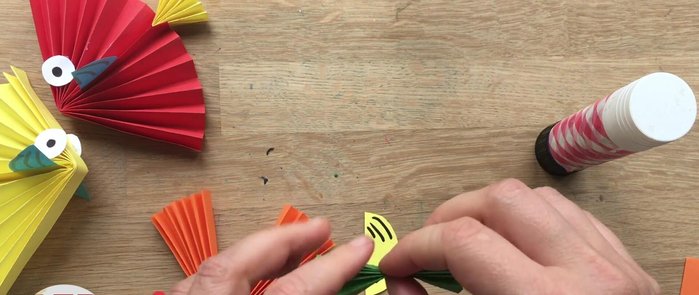
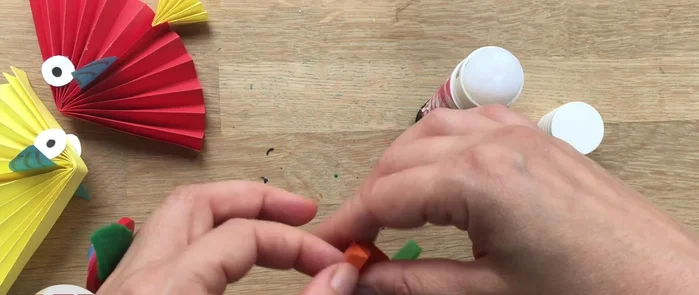
- Fold both the body and tail in half. Apply glue to the inside of the tail fin and the edges of the body fan. Attach the tail fin and body sections together.
Assemble the Fish Add the Eyes
- Apply glue to the back of the eyes and attach them to the fish's body.
Add the Eyes Hang the Fish (Optional)
- Attach a small piece of string or tape to the top of the fish for hanging.
Hang the Fish (Optional)


Read more: DIY Toilet Paper Roll Rockets: A Fun and Easy Craft Project
Tips
- Don't worry about being super neat; the imperfections add character.
- Thinner fans create more detail.
- Use off-cuts of paper to minimize waste.