Ever wished you could have a mountain of delicious-looking candy without the sugar crash? Then get ready to unleash your inner artist and create adorable 3D paper candies! This fun and easy project combines the satisfying simplicity of origami with the charming appeal of sweet treats, resulting in delightful decorations perfect for parties, gifts, or simply brightening up your space. Forget expensive store-bought decorations – these charming paper candies are surprisingly simple to make, requiring only paper, scissors, and a little bit of patience.
These delightful origami creations are surprisingly versatile; experiment with different colours and patterns to create a truly unique candy collection. Whether you're a seasoned paper-folder or a complete beginner, this guide will walk you through each step of the process, ensuring you'll be crafting your own miniature sugary masterpieces in no time. Ready to dive into the sweet world of DIY 3D paper candies? Let's get started with our step-by-step instructions!
Preparation and Safety Guidelines
- Sheet of paper (2.75 x 3 inches)
- Tiny scissors
- Double-sided tape or glue stick
- Marker
- Mini candies (e.g., Mini M&Ms)
- Use sharp scissors with adult supervision, especially for younger crafters. Avoid cutting towards yourself or others.
- Small paper pieces may pose a choking hazard for young children. Adult supervision is crucial, and keep finished candies away from small children until they are old enough to understand not to put them in their mouths.
- If using glue, ensure proper ventilation and follow the manufacturer's instructions. Avoid contact with skin and eyes. Keep glue out of reach of children.
Step-by-Step Instructions
Prepare the Paper
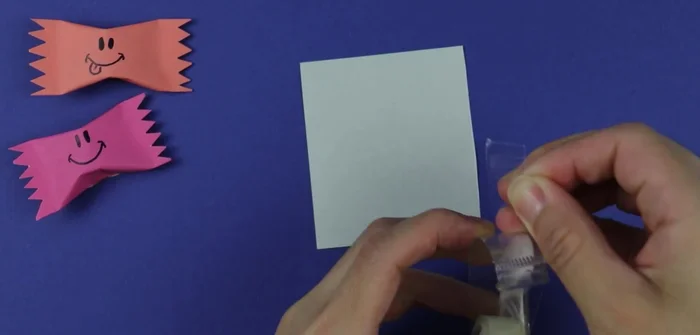
- Place the colored side of the paper face down.

Prepare the Paper Apply Adhesive
- Use double-sided tape across the entire sheet of paper. (Glue stick is an alternative, but double-sided tape avoids drying time and candy contact.)
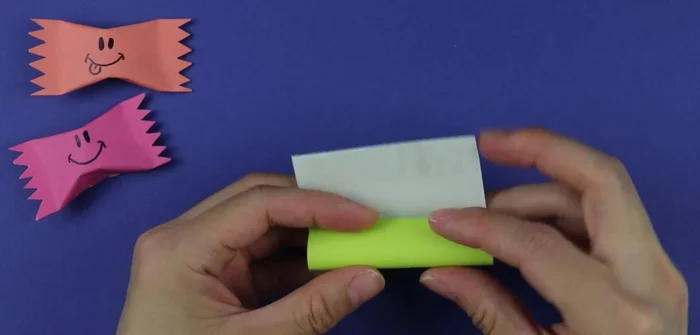
Apply Adhesive Roll and Shape the Candy
- Roll up the paper to your desired candy thickness. Secure with tape.
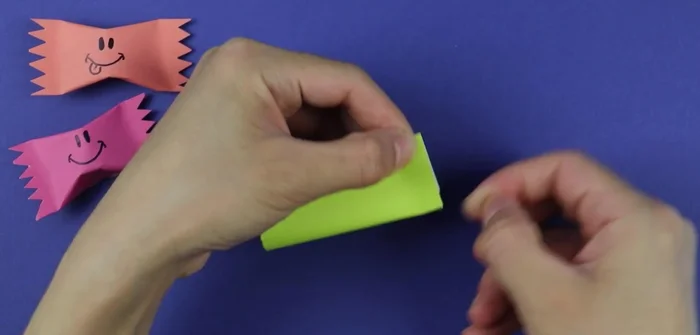
Roll and Shape the Candy Seal and Flatten
- Flatten one side of the rolled paper. Use tape to close the opening, pinch to secure.
Seal and Flatten Decorate and Trim
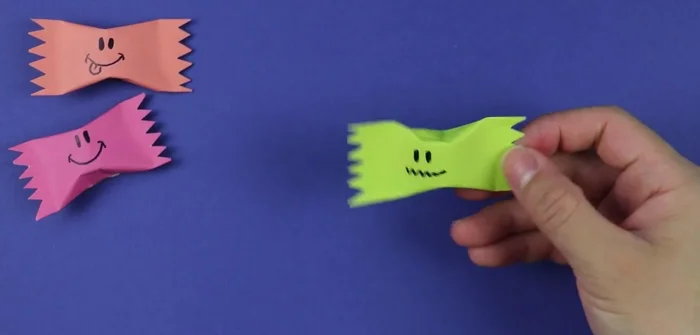
- Trim excess paper. Cut two triangles from the top, one in the middle and one on each side. Decorate with a marker.
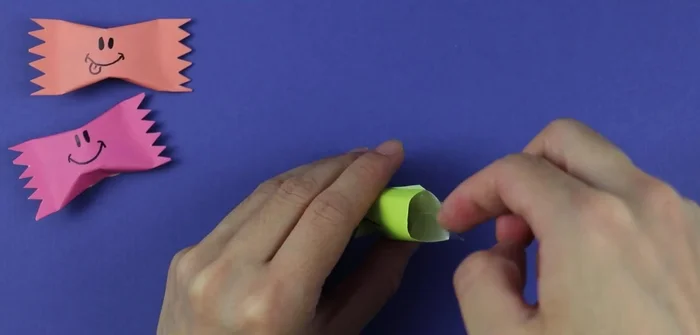
Decorate and Trim Fill with Candies
- Fill the candy with mini candies.
Fill with Candies Seal the Other End
- Secure the other end with double-sided tape, pinching to seal.
Seal the Other End Final Shaping
- Pinch the center of the candy to give it a final shape.
Final Shaping


Read more: DIY Toilet Paper Roll Rockets: A Fun and Easy Craft Project
Tips
- Double-sided tape is preferred for quicker assembly and to prevent glue from sticking to the candies.
- Adjust the width of the rolled paper to achieve your desired candy size.