Step into a world of enchanting miniature charm with this delightful DIY project! Imagine crafting your own exquisitely detailed miniature tea set, perfect for adorning a dollhouse, adding a whimsical touch to a shelf, or simply enjoying the satisfying process of creation. Forget brittle porcelain; we'll be sewing a charming rose-themed teapot and teacups, resulting in a unique and durable set that's as delightful to make as it is to display. The soft fabric will lend itself to delicate rose detailing, creating a truly captivating miniature.
This tutorial will guide you through each step of sewing your own miniature tea set, from cutting the fabric to the final stitching details. Prepare to be captivated by the simplicity and elegance of this project, and get ready to unleash your creativity as you transform humble fabric scraps into a miniature masterpiece. Let's begin!
Preparation and Safety Guidelines
- Felt
- Wide-eyed sewing needle
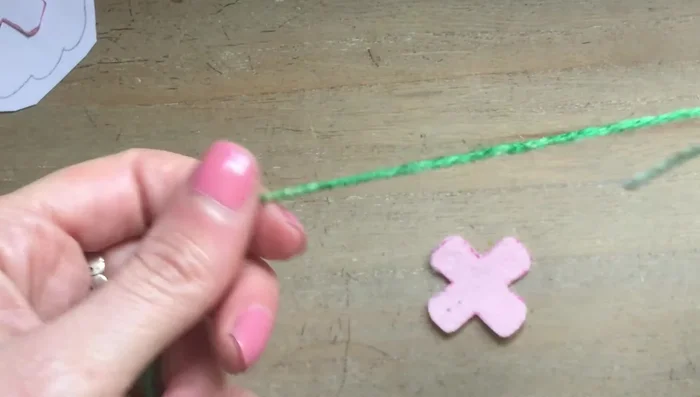
- Green wool yarn
- Glue (or hot glue)
- Scissors
- Brown paper covered wire
- Bead (optional)
- All tool or thin pair of scissors
- Use a needle and thread appropriate for your fabric. Avoid using needles that are too sharp or thin for your skill level to prevent accidental pricks and injuries.
- Always supervise children if they are involved in any part of the sewing process. Keep small parts, such as buttons or beads (if used), away from young children to prevent choking hazards.
- When using scissors, always cut away from yourself and others. Keep your workspace clean and free of clutter to avoid accidents.
Step-by-Step Instructions
Prepare the Felt Pieces
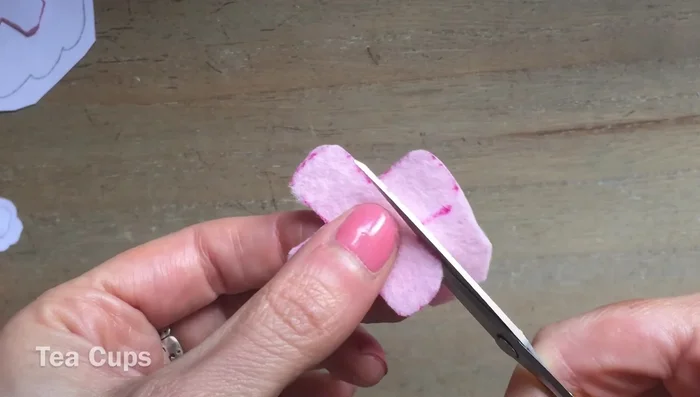
- Cut out felt pieces according to the printed templates.

Prepare the Felt Pieces Make the Teacups: Handles
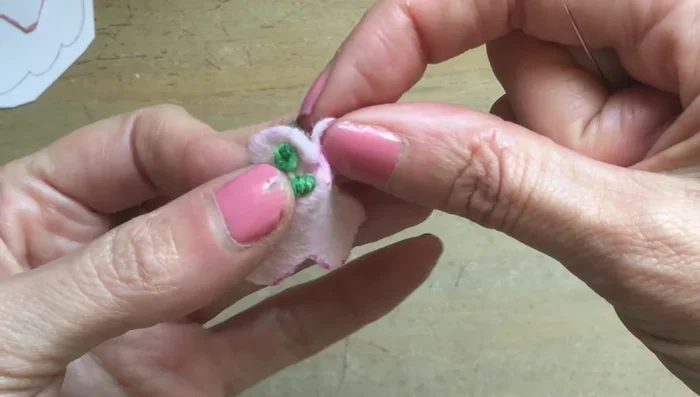
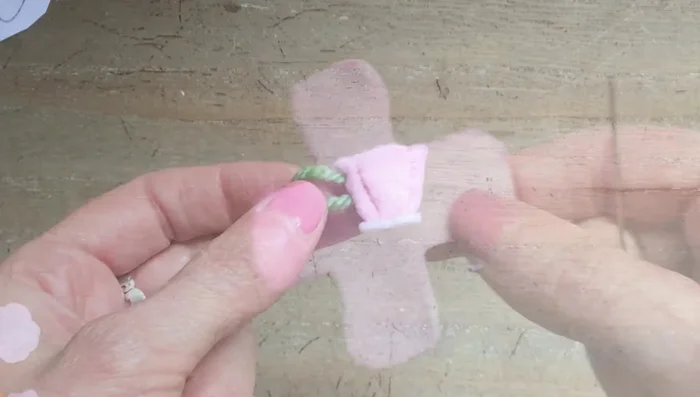
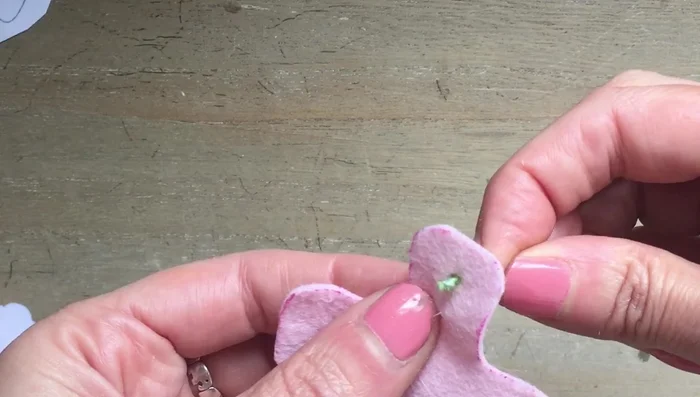
- Thread a wide-eyed sewing needle with green wool yarn for the teacup handle. Tie a knot and snip off the excess.
- Start on the inside, pull through, and go back through to the other point. Anchor a tiny bit of felt on the other side and sew another knot to finish.
Make the Teacups: Handles Make the Teacups: Sewing and Assembly
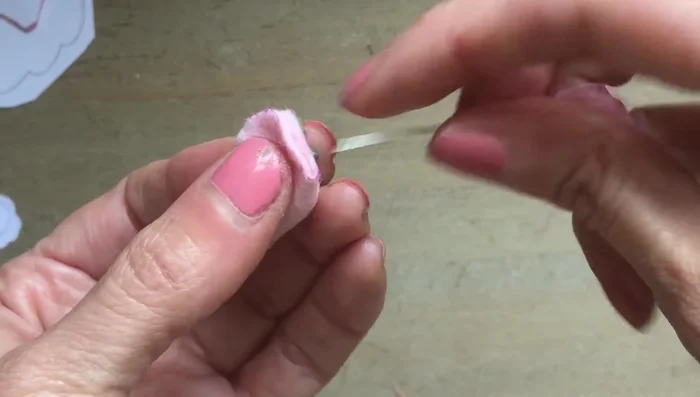
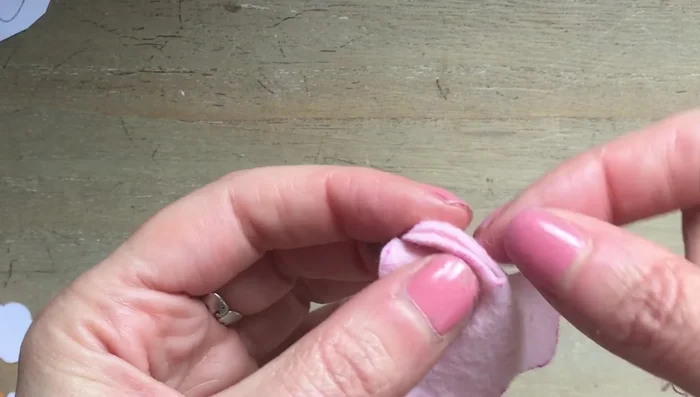
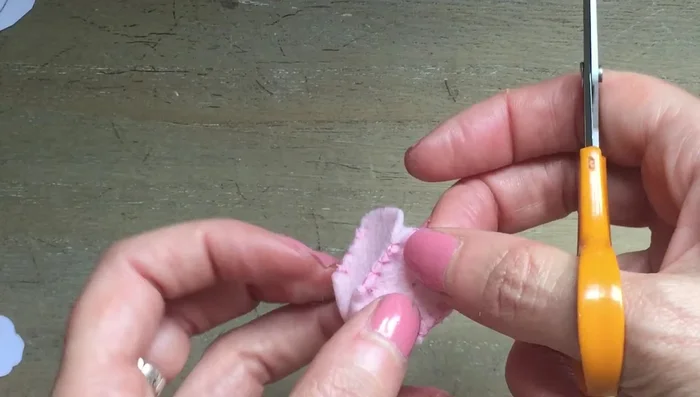
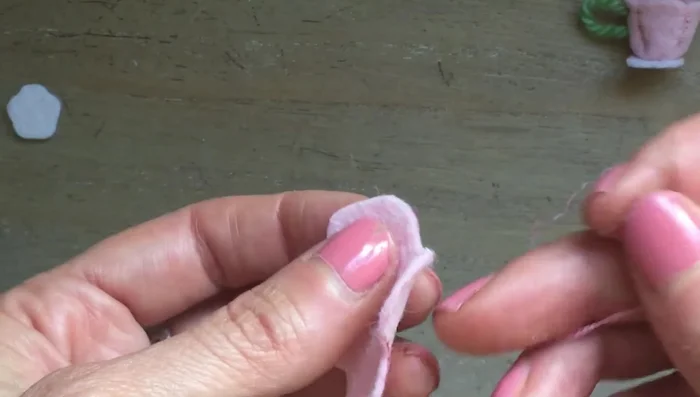
- Fold each side of the teacup inwards (right sides together) and sew the handle on the inside. Blanket stitch the sides together.
- Repeat the process for the other teacup.
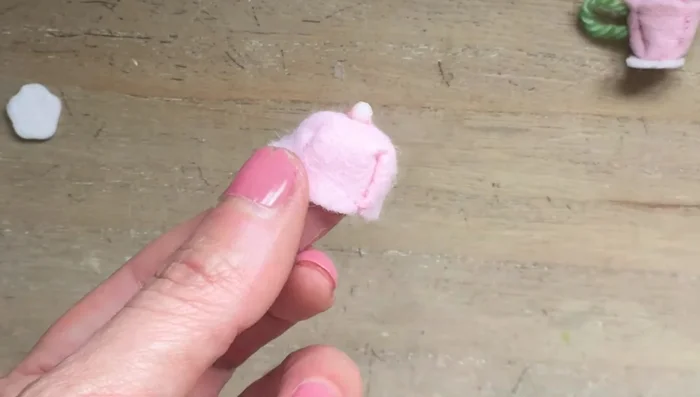
- Cut out the felt for the base of the teacups and glue it to the base of each cup.
Make the Teacups: Sewing and Assembly Make the Teapot: Body
- Make the teapot body the same way as the cups.
- Sew in the teapot handle.
- Fold each petal of the teapot upwards (right sides together) and blanket stitch along the edges.
- Use an all tool or thin scissors to make a hole for the spout.
Make the Teapot: Body - Turn the teapot right side out and glue the base to the felt.
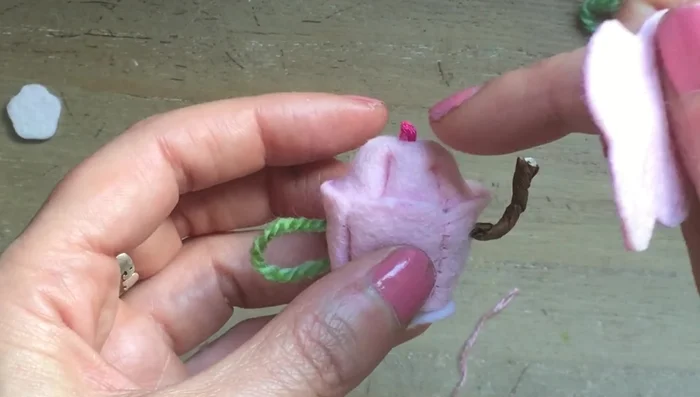
Make the Teapot: Body Make the Teapot: Spout
- Create the spout using brown paper-covered wire, twisting it to make it thicker, bending it into an S-shape, and pushing it through the spout hole. Secure with glue and extra felt.
Make the Teapot: Spout Make the Teapot: Interior and Base
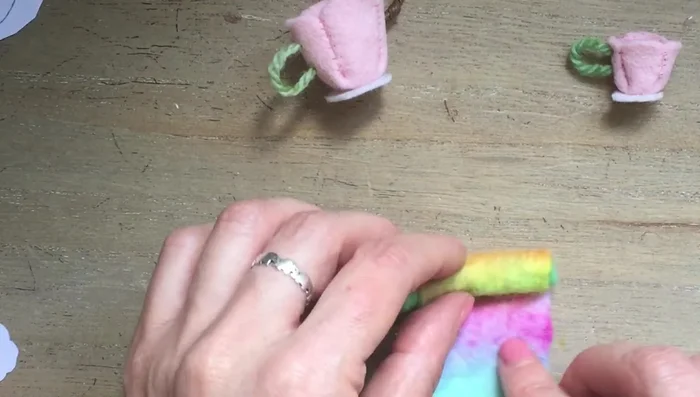
- Roll up a scrap of felt fabric, check the depth (slightly over half the teapot's depth), and cut to length. Glue the end around and attach to the inside bottom of the teapot.
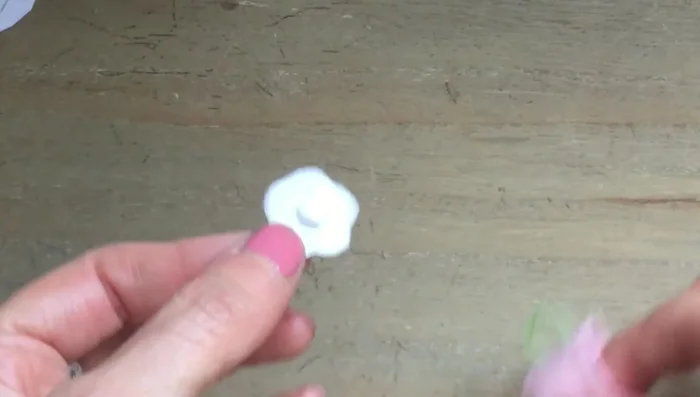
- Cut out the oval felt section for the teapot top and glue it on top of the rolled felt.
Make the Teapot: Interior and Base Make the Teapot: Lid
- Sew a little French knot or bead for the lid's handle.
- Sew the teapot lid the same way as the cups and teapot body.
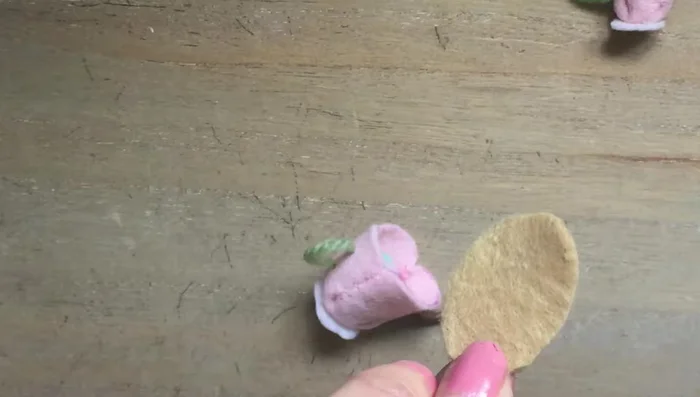
- Turn out the lid. Create a tray by cutting out a leaf shape from felt and blanket stitching around the edges.
Make the Teapot: Lid


Read more: DIY Picture Frame from Oat Cartons and Fabric: A Simple & Unique Craft
Tips
- Adjust printer paper settings if the printed templates don't match the book's size.
- You can resize patterns in the book to make smaller or larger outfits.