Stay warm and stylish this season with a reversible hooded cape, crafted entirely by your own hands! This versatile garment offers double the fashion for half the effort, allowing you to effortlessly switch between two distinct looks depending on your outfit and mood. Imagine the possibilities – a cozy fleece for chilly evenings, instantly transforming into a chic wool cape for a day out. No more choosing between favorite fabrics! This project is perfect for both beginner and intermediate sewers, requiring minimal materials and surprisingly simple techniques.
Forget complicated patterns and frustrating instructions; this DIY reversible hooded cape is designed for ease and speed. We’ll guide you through each step, from choosing your fabrics to finishing the stylish hood. Ready to embrace the satisfying world of handmade clothing and create a truly unique piece? Let's dive into the step-by-step sewing tutorial and get crafting!
Preparation and Safety Guidelines
- sewing machine
- sewing pins
- iron
- scissors
- ribbon
- chopsticks
- hot glue finger guard
- Use sharp scissors and pins to avoid accidental pricks or cuts. Handle fabric carefully to prevent snags.
- Always unplug your sewing machine before making any adjustments or cleaning.
- If using a rotary cutter, use a self-healing mat to protect your work surface and prevent blade damage.
Step-by-Step Instructions
Prepare Cape Body
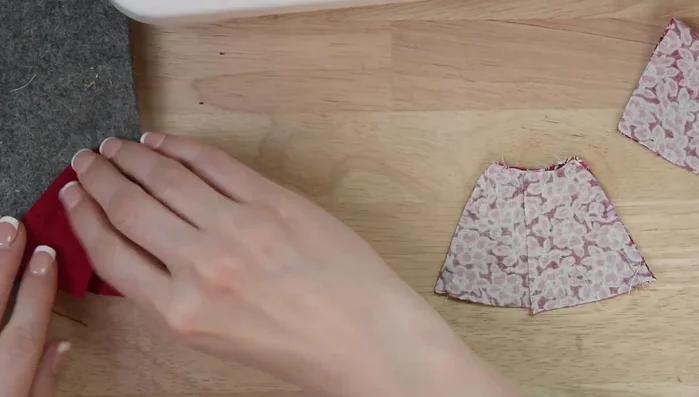
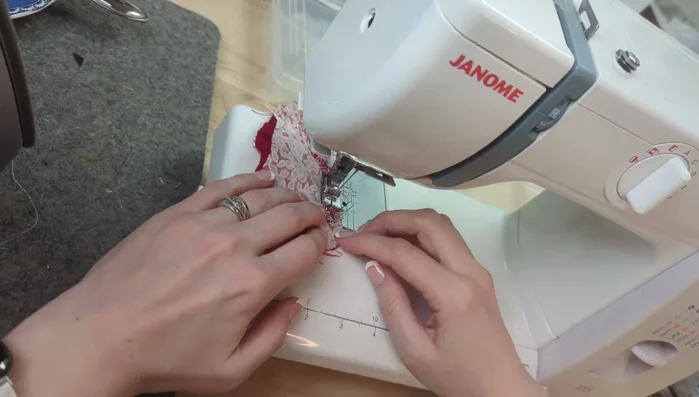
- Sew side seams of both lining and outer fabric, leaving arm openings.
- Press side seams right side out.
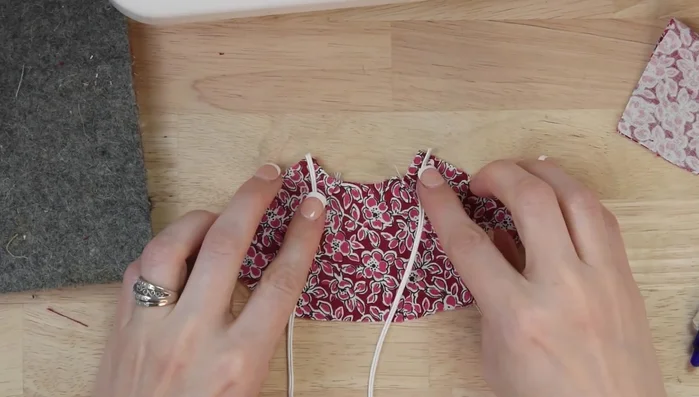
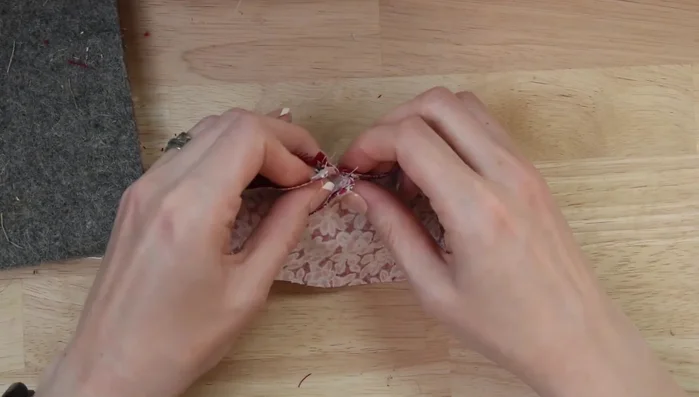
- Tack ribbon to top corners of both lining and outer fabric.

Prepare Cape Body Construct Hood
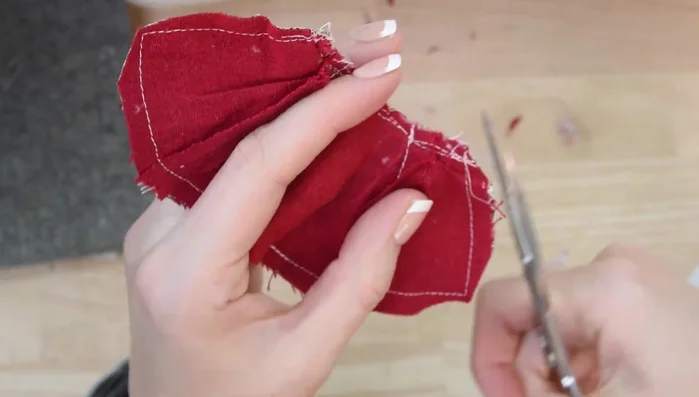
- Sew the seams of each hood piece, trim seams, turn one right side out, and fit it inside the other. Sew around the outside of the hood and press flat.
Construct Hood Attach Hood to Cape
- Baste the hood onto the outside piece of the cape, matching centers and pinning edges.
- Sew the lining to the outside of the cape, tucking ribbon ties inside. Pin seams and corners to ensure alignment.
- Sew along the top of the cape to secure the hood. Check hood placement before continuing.
Attach Hood to Cape Sew and Turn Cape
- Sew the bottom seams, including corners, leaving a center bottom opening for turning.
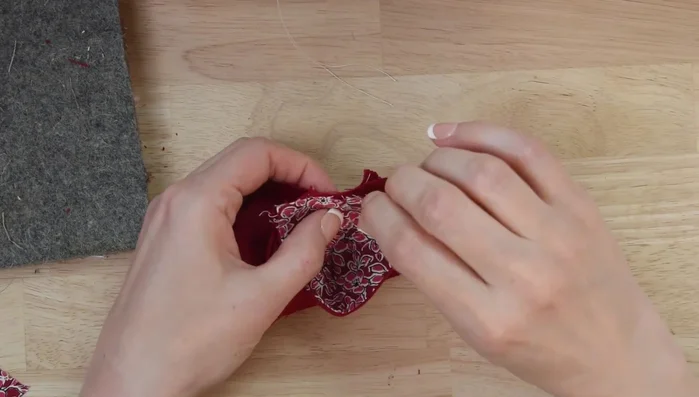
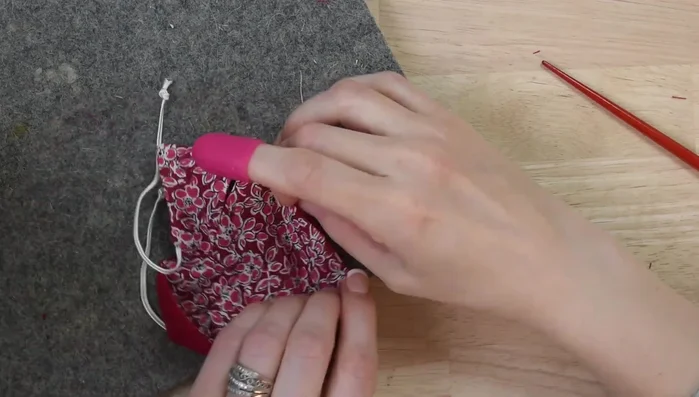
- Clip corners, turn the cape right side out using fingers or chopsticks to shape corners.
- Press the cape, ensuring the bottom opening is neatly folded. Use a hot glue finger guard to avoid burning fingers.
Sew and Turn Cape Close Openings
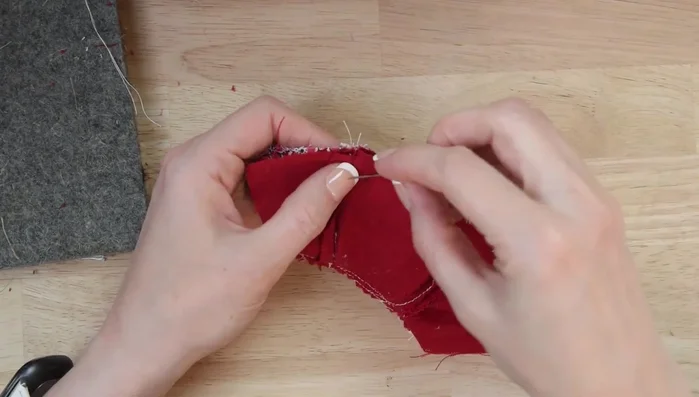
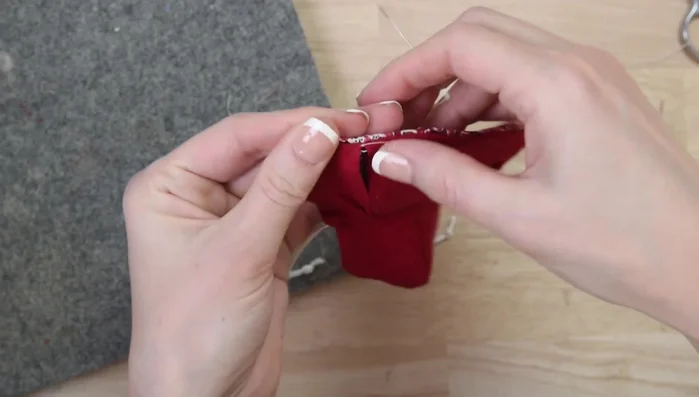
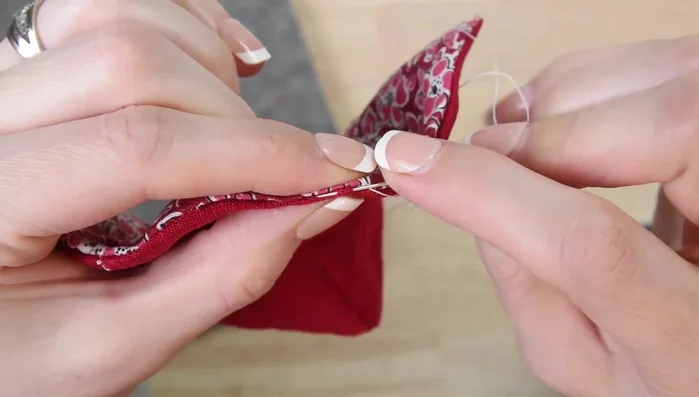
- Trim seam allowance if necessary, then use a ladder stitch to close the arm openings.
- Close the bottom opening with a ladder stitch.
Close Openings

Read more: DIY Picture Frame from Oat Cartons and Fabric: A Simple & Unique Craft
Tips
- Use double pins to ensure accurate seam alignment.
- Check hood placement after sewing the top seam to ensure proper alignment before fully attaching.
- Use chopsticks to help turn corners and create sharp points.
- Use a hot glue finger guard to protect your finger when pressing seams near the iron.