The rhythmic pulse of a tambourine adds a vibrant energy to any musical setting, from lively folk tunes to spirited celebrations. But you don't need to spend a fortune on a professionally made instrument to enjoy this percussive joy. This simple guide demonstrates how to craft your own tambourine entirely from recycled materials, transforming everyday items into a unique and charming musical instrument. Forget expensive store-bought versions – unleash your creativity and reduce your environmental footprint simultaneously! You’ll be amazed at how easily accessible and affordable the materials are.
This project is perfect for both beginners and experienced crafters, requiring minimal tools and skills. We'll guide you through each step, from selecting your recycled materials to the final, satisfying jingle of your homemade tambourine. Ready to get your hands dirty and create some beautiful, upcycled music? Let’s dive into the step-by-step process and begin making your own eco-friendly percussion instrument!
Preparation and Safety Guidelines
- bottle caps
- nail
- hammer
- marker
- hole punch
- canary cardboard cutter
- cardboard
- twisty ties or wire
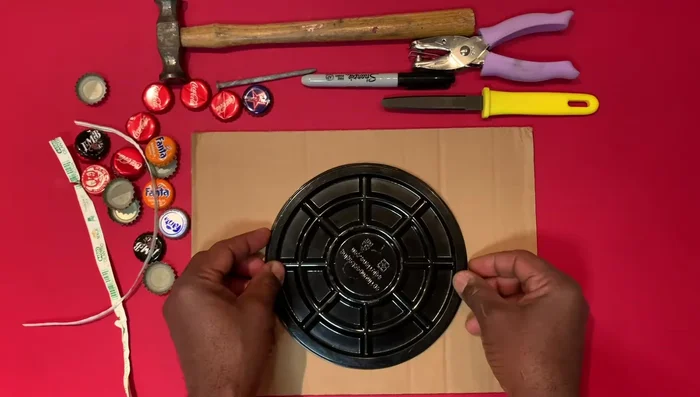
- cake pan
- Always supervise children during crafting. Sharp objects like scissors or metal used for zips should only be handled by adults.
- Ensure all recycled materials are clean and free of sharp edges or splinters before use. Sand down any rough surfaces to prevent injury.
- Use strong adhesive appropriate for the materials being used. Avoid adhesives that contain harmful chemicals, especially if working with children.
Step-by-Step Instructions
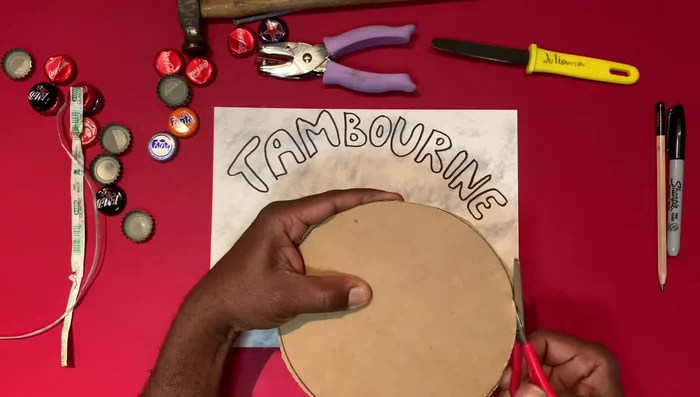
Create the Tambourine Base
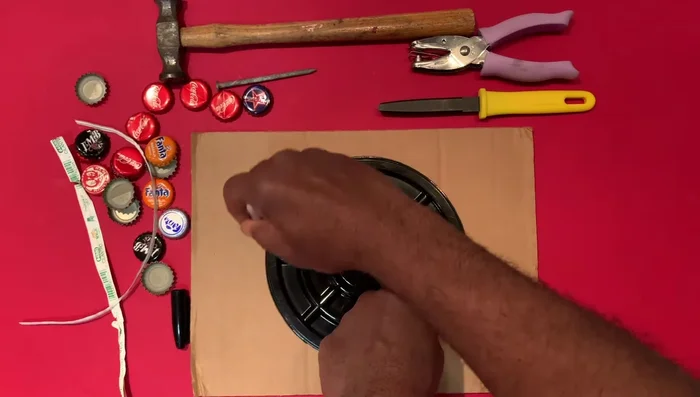
- Create a circle template using a cake pan.
- Cut a circle from cardboard using a rotary cutter.

Create the Tambourine Base Prepare the Jingles
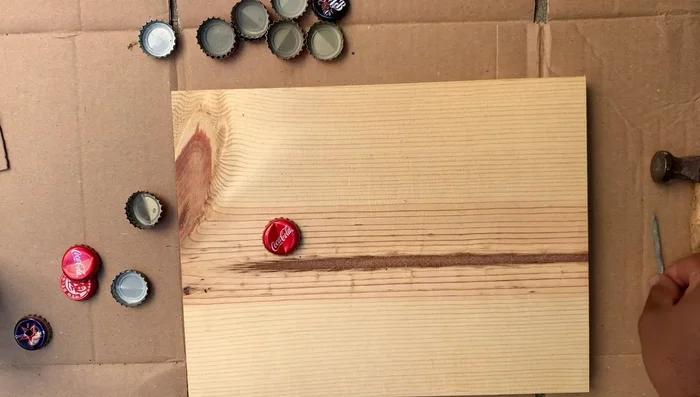
- Punch holes in the center of bottle caps using a nail and hammer (safely!).
- Attach two bottle caps back-to-back using twisty ties to create jingles.
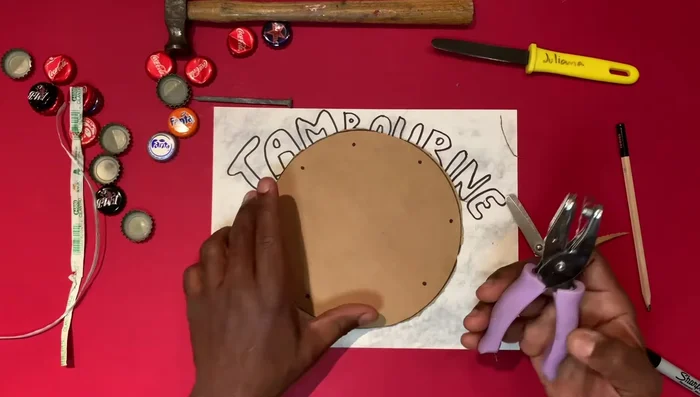
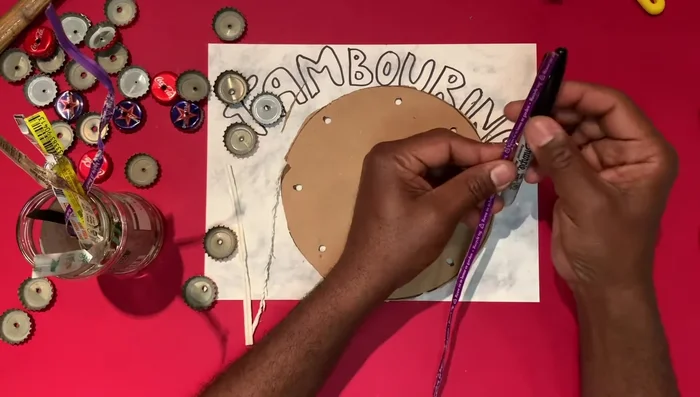
Prepare the Jingles Mark and Punch Holes
- Mark eight holes for the jingles.
- Punch holes using a heavy-duty hole punch.
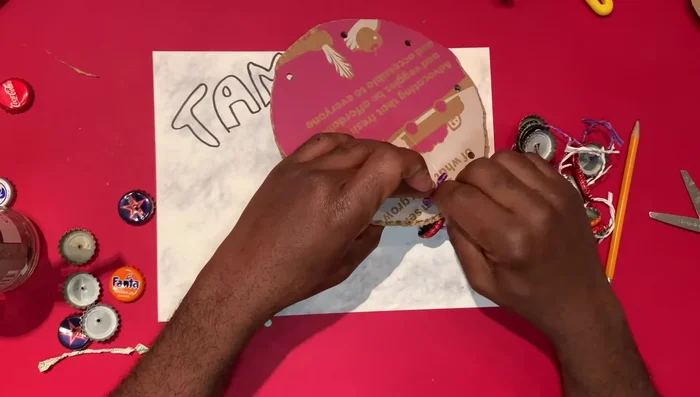
Mark and Punch Holes Attach the Jingles
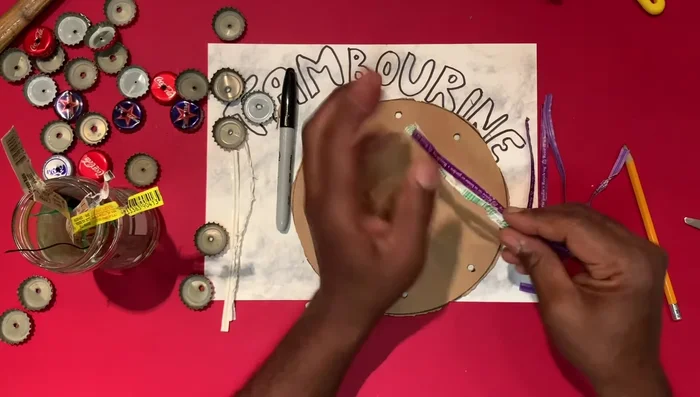
- Prepare twisty ties to a suitable length.
- Tie the jingles into the holes of the cardboard tambourine.
Attach the Jingles
Read more: DIY Dollar Store Ghost Candy Holder: Spooky Cute Halloween Decor!
Tips
- Use a cake pan as a template for an easy circle.
- For safety when using a nail and hammer, hold the nail in a way that protects your fingers.