Let's face it, sometimes the simplest crafts are the most fun! And when it comes to quick, easy, and incredibly satisfying projects, DIY paper hats reign supreme. Whether you're looking for a fun activity for a children's party, a quirky accessory for a themed event, or just a creative outlet for a rainy afternoon, making your own paper hat is the perfect solution. Forget expensive store-bought options – with just a few sheets of paper and some basic instructions, you can create a stylish and unique headpiece in minutes. They're adaptable too; from simple party hats to more elaborate designs, the possibilities are endless.
This tutorial focuses on creating an easy paper hat that's perfect for beginners, requiring no special skills or tools. We'll guide you through each step, from preparing your paper to adding your own personal touch with decorations. So grab your crafting supplies, unleash your inner artist, and get ready to follow our simple step-by-step instructions below to create your own amazing paper hat!
Preparation and Safety Guidelines
- Newspaper or A3 paper
- Ruler
- Pencil
- Always supervise young children when using scissors and other sharp objects.
- Be mindful of potential choking hazards, especially with small children. Avoid using very small pieces of paper that could be easily swallowed.
- Ensure adequate ventilation if using adhesives like glue or spray adhesive; some can release fumes.
Step-by-Step Instructions
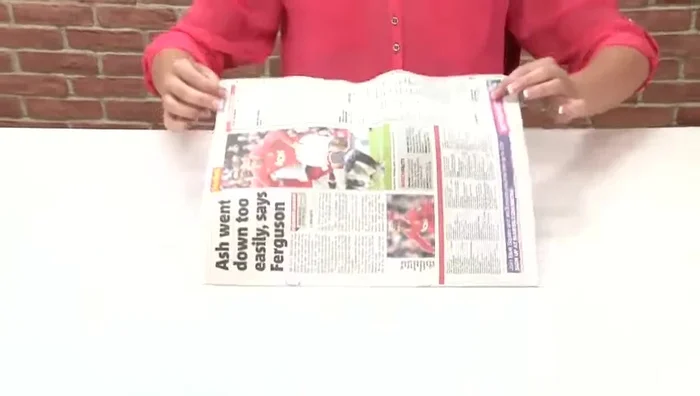
Initial Fold
- Fold the top of the paper down to create a crease.

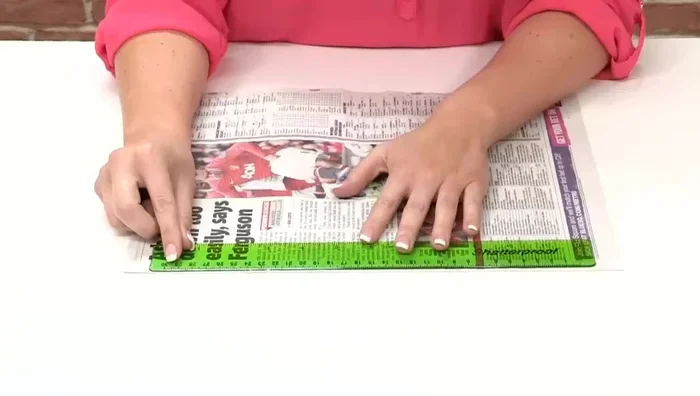
Initial Fold Measure and Mark
- Measure halfway down the folded paper using a ruler, and draw a line.
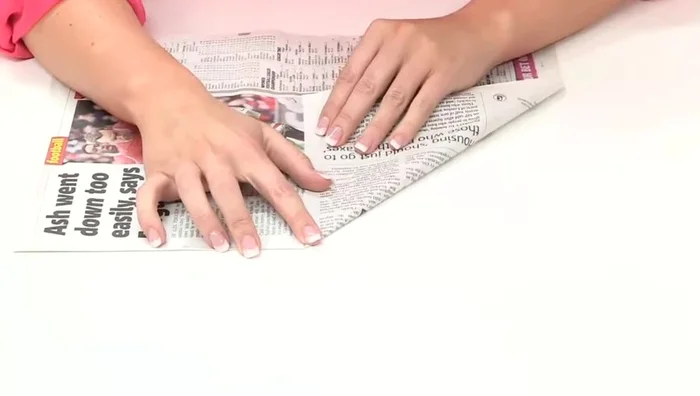
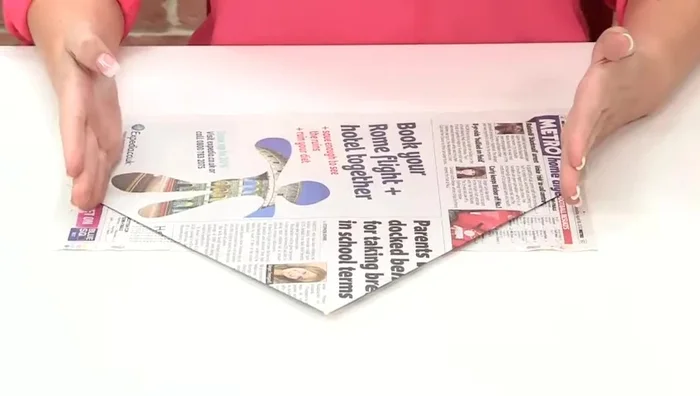
Measure and Mark First Side Folds
- Fold the top left corner of the paper down to the center line, creating a crease. Repeat on the other side.
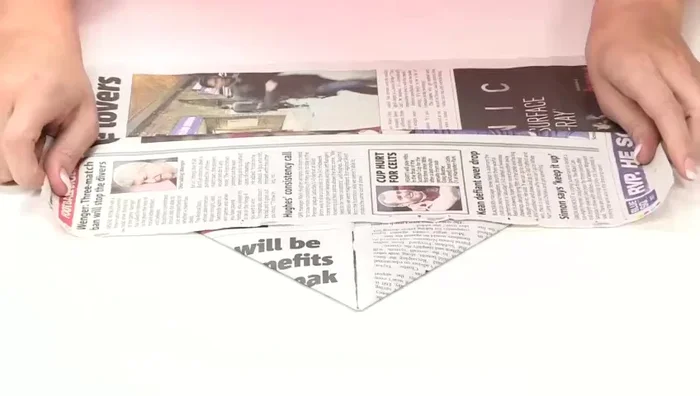
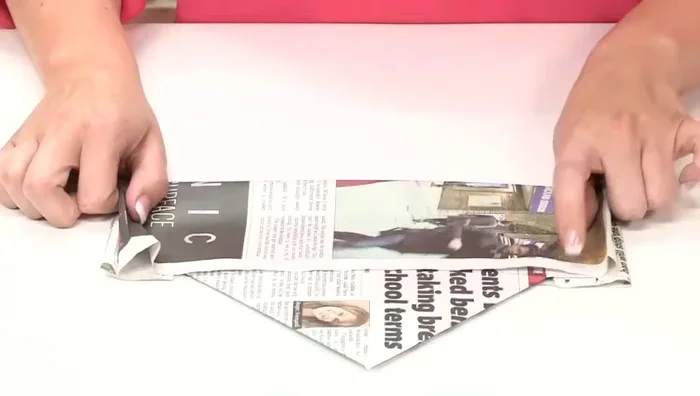
First Side Folds Second Fold
- Fold the top piece of paper up again, making a crease across.
Second Fold Side Flaps and Size Adjustment
- Turn the paper over. Fold the side flaps inwards, the amount you fold will determine the hat size. Repeat on the other side.
Side Flaps and Size Adjustment Final Fold
- Fold the remaining top section of paper up to match the other folds, creating a crease.
Final Fold
Read more: DIY Toilet Paper Roll Rockets: A Fun and Easy Craft Project
Tips
- Use a large sheet of newspaper or A3 paper for a better fit.
- Adjust the amount you fold the side flaps to customize the hat size to fit your head.