Ever wished you could cuddle a fluffy fox, but your allergies or the local wildlife population prevents it? Fear not! This adorable paper craft lets you create your very own sleeping fox, perfect for a desk buddy, a charming room decoration, or a delightful gift. With simple materials and easy-to-follow instructions, even the youngest crafters can participate in making these charming little creatures. This project is a perfect rainy day activity, combining creativity with a satisfying sense of accomplishment.
Prepare to be charmed as we guide you through the simple steps of creating this sweet, slumbering fox. Forget complicated origami or intricate paper sculptures; this project is designed for ease and enjoyment, focusing on creating a delightful and recognizable fox in its peaceful sleeping pose. Let's dive into the step-by-step instructions and bring your paper fox to life!
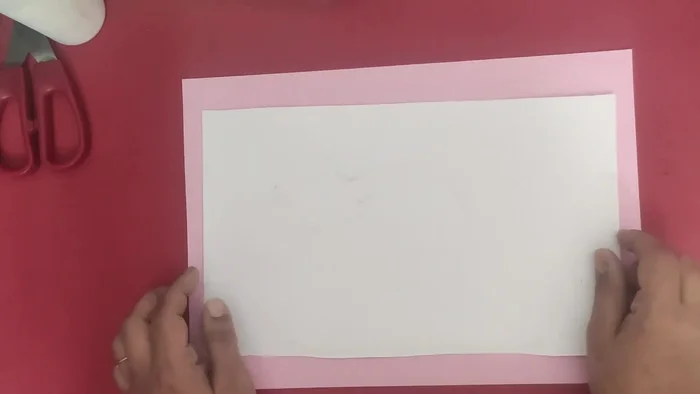
Preparation and Safety Guidelines
- Fourth size paper
- Pencil
- Black marker/sketch pen
- Scissors (zigzag optional)
- Crayons/oil pastels/markers/brush pens
- Green paper/cloth/grass
- Adult supervision is required at all times, especially when using scissors and glue.
- Keep small craft items away from young children to prevent choking hazards.
- Ensure the workspace is clean and free of clutter to avoid accidents.
Step-by-Step Instructions
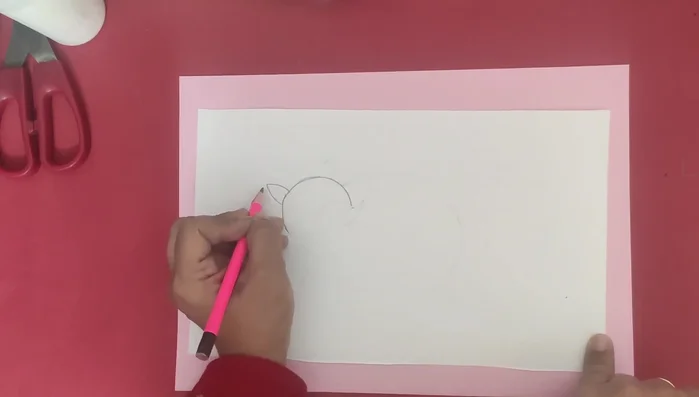
Draw the Fox Shape
- Draw a curved line, half circle, and leaf shape on the paper.
- Divide the leaf shape into smaller parts.

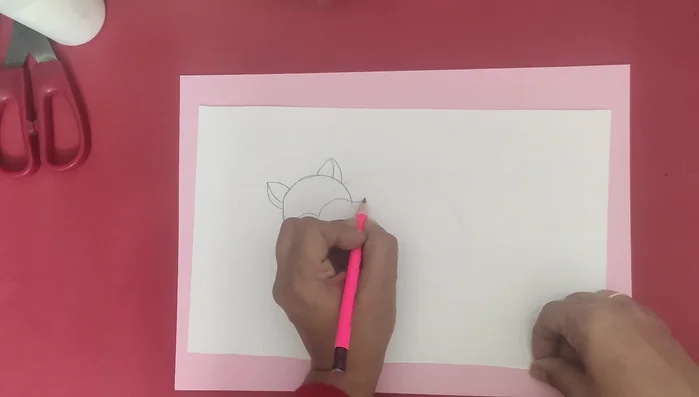
Draw the Fox Shape Cut the Initial Shape
- Cut out the drawn shape.
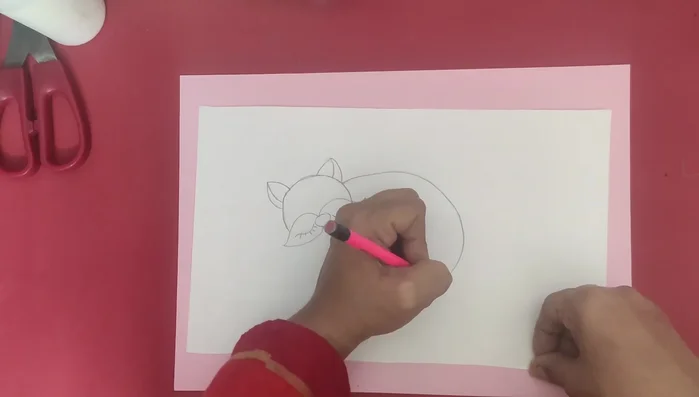
Cut the Initial Shape Draw the Sleeping Fox
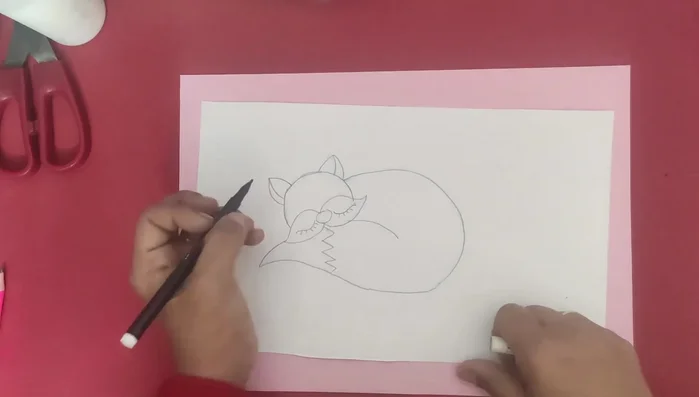
- Draw a sleeping fox on the cut-out shape.
- Draw curved lines to create the body and tail.
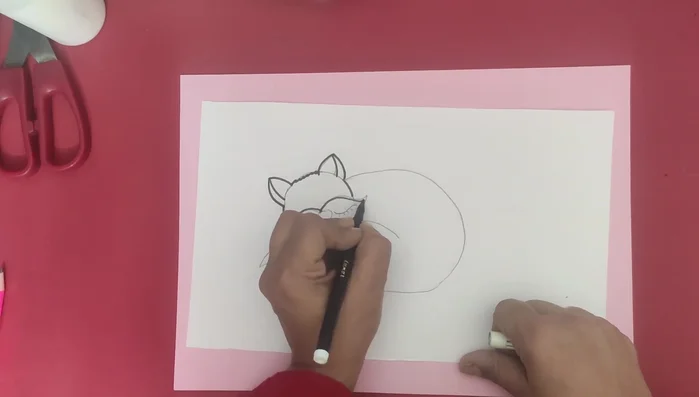
Draw the Sleeping Fox Outline and Detail the Fox
- Outline the entire shape with a black marker.
- Add details to the fox's face (eyes, nose).
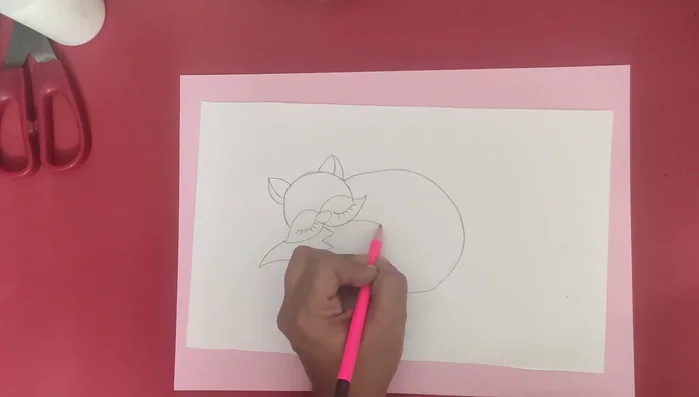
Outline and Detail the Fox Add Fur Texture
- Add texture lines to the fox's fur using a marker/pen.
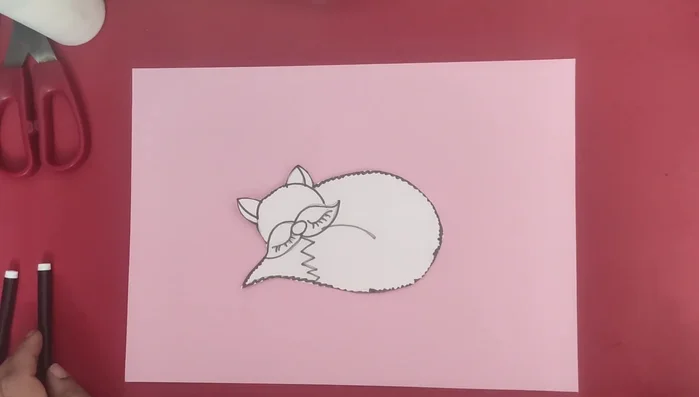
Add Fur Texture Cut Out the Final Fox Shape
- Cut out the final shape of the fox.
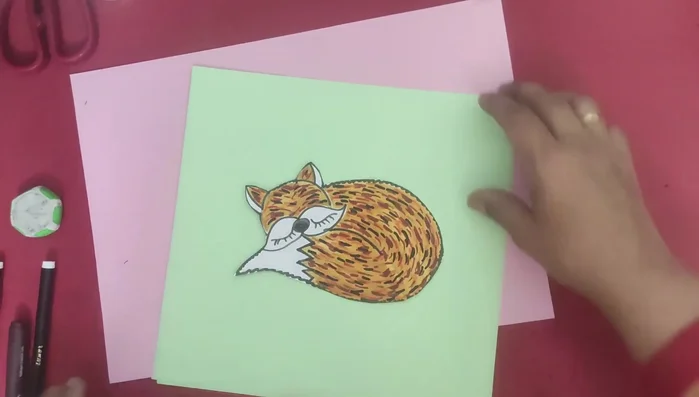
Cut Out the Final Fox Shape Color the Fox
- Color the fox using crayons, pastels, markers, or brush pens.
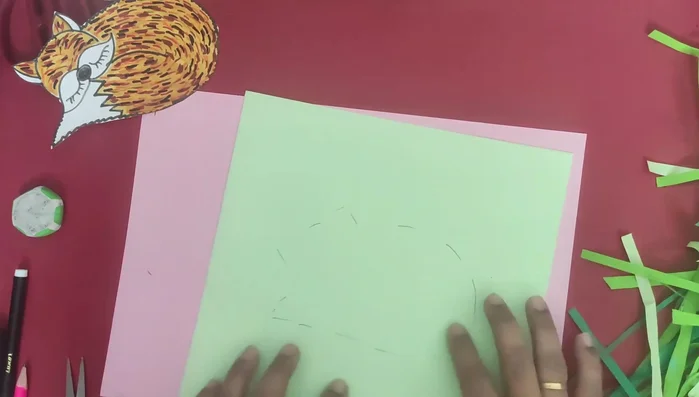
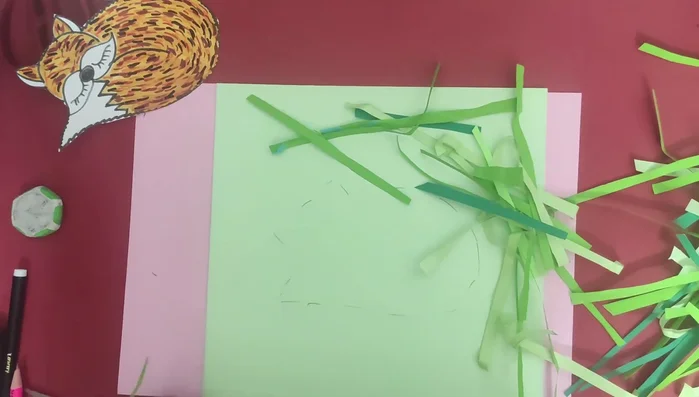
Color the Fox Prepare the Grass Base
- Prepare green paper/cloth/grass for the base.
- Cut green paper into strips.
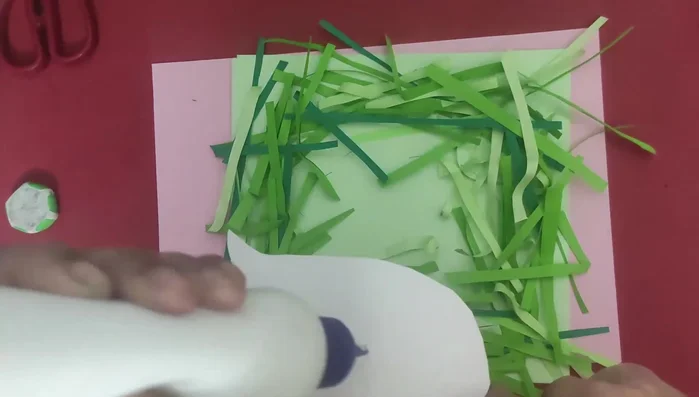
Prepare the Grass Base Apply Glue and Paste Grass
- Apply glue around the base (excluding the fox).
- Paste the green paper strips to create a grass effect.
Apply Glue and Paste Grass Assemble the Craft
- Paste the fox onto the grass base.
Assemble the Craft


Read more: DIY Picture Frame from Oat Cartons and Fabric: A Simple & Unique Craft
Tips
- Use zigzag scissors for a more textured look.
- Experiment with different colors and shading techniques.
- Use short dashes to create a furry effect on the fox.
- Overlap lines for a richer, more textured look.