Origami, the ancient art of paper folding, offers a wonderfully calming and creative outlet for people of all ages. From simple shapes to intricate creatures, the possibilities are endless, and the satisfaction of transforming a flat sheet of paper into a three-dimensional object is truly rewarding. Today, we'll be embarking on a particularly charming origami project: a delightful sea turtle! This gentle creature, with its slow, deliberate movements and ancient wisdom, makes a perfect subject for this paper-folding adventure. The intricate details are surprisingly accessible, even for beginners.
This easy origami sea turtle tutorial provides a clear and concise step-by-step guide, perfect for both novices and those looking for a fun, relaxing activity. Whether you're looking for a new craft to try, a unique gift to make, or simply a peaceful way to unwind, this project is sure to bring a smile to your face. Let's dive in and learn how to create your own adorable paper sea turtle, following the simple instructions below.
Preparation and Safety Guidelines
- Square paper
- Use sharp, clean scissors to avoid injury. Adult supervision is recommended, especially for younger children.
- Be patient and take your time with each fold. Rushing can lead to mistakes and frustration.
- If the paper tears, start again with a new sheet. Don't try to force a fold.
Step-by-Step Instructions
Initial Folds
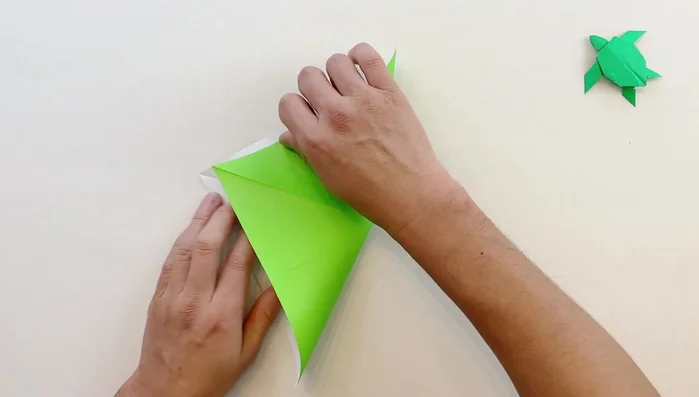
- Fold the square paper in half both horizontally and vertically, then flip it over.
- Fold diagonally in both directions.

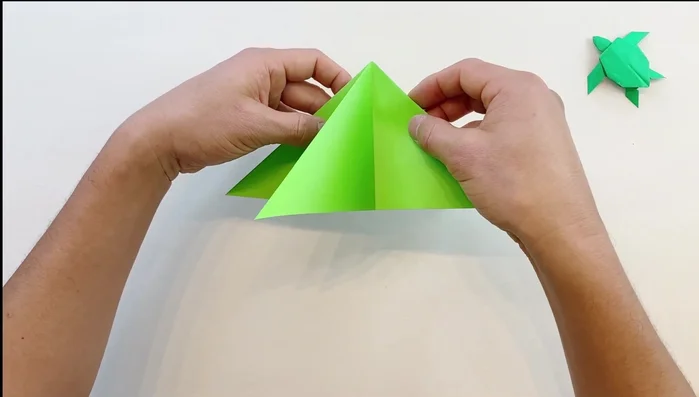
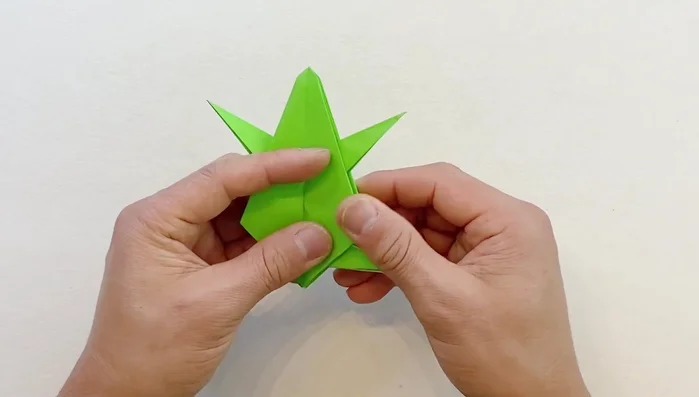
Initial Folds Forming the Triangle Base
- Bring the edges together to form a triangle base. Bring the pointy end to the top on both sides.
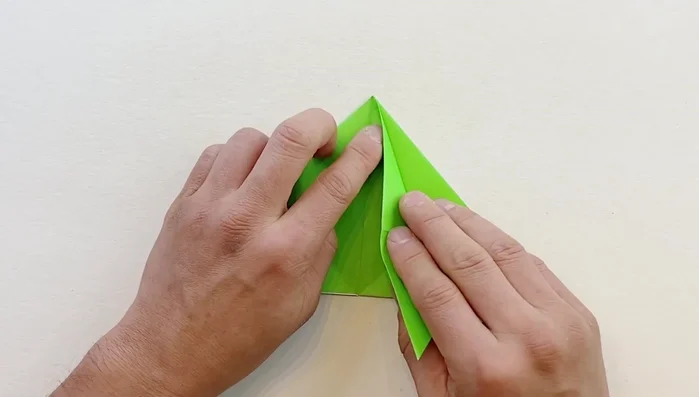
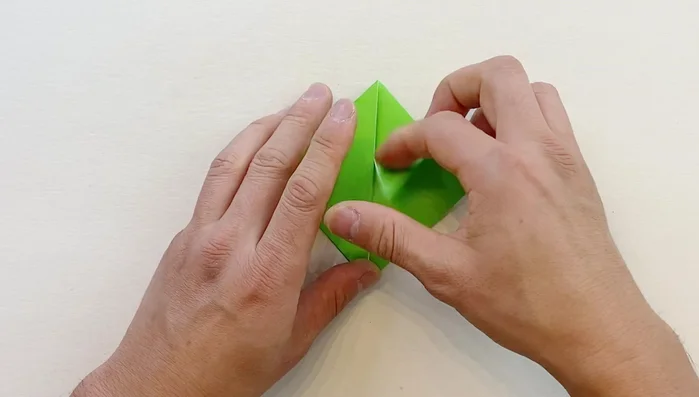
Forming the Triangle Base Creating the Body Shape (Side 1)
- Open the model. Bring one line to another, slightly to the side (about half a cm). Ensure the point meets the center line. Repeat on the other side.
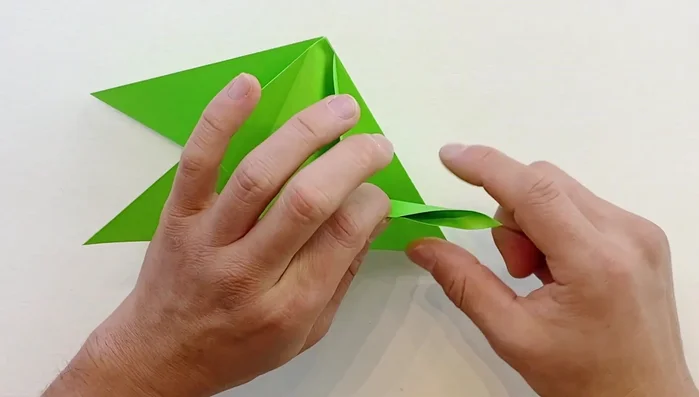
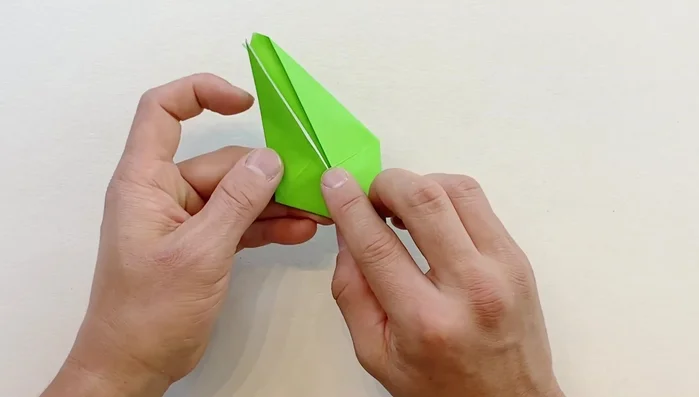
- Fold one flap in half, bringing the two sides together, then fold it to a point and let it fall. Repeat on the other side.
Creating the Body Shape (Side 1) Creating the Body Shape (Side 2)
- Repeat steps 4 and 5 on the other side of the model.
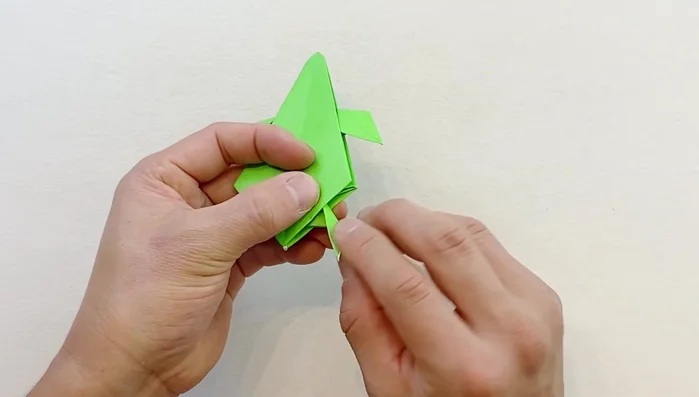
Creating the Body Shape (Side 2) Forming the Front Fins
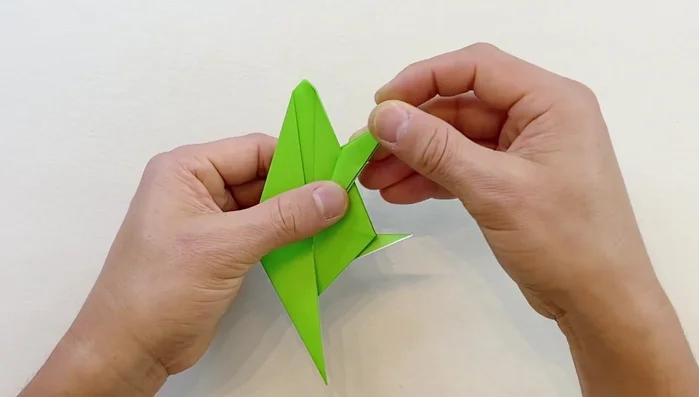
- Fold one flap downward to create the front fin. Fold it slightly sideways diagonally, then open and perform a reverse outside fold. Repeat on the opposite side.
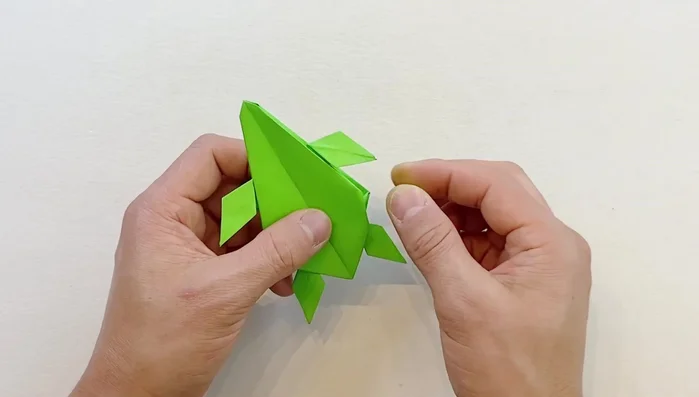
Forming the Front Fins Forming the Back Legs and Tail
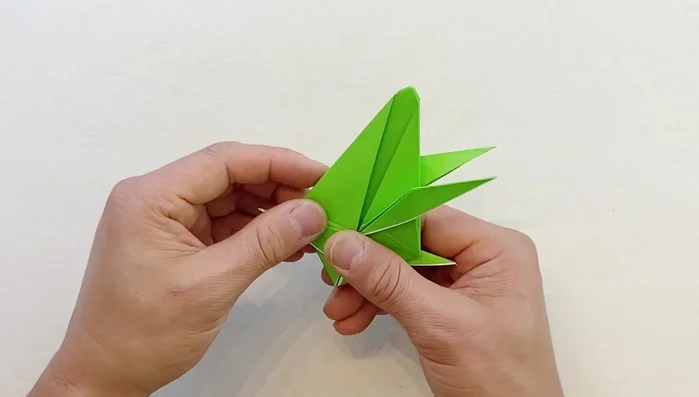
- Fold the opposite side downward, matching the other side. Open and do a reverse outside fold, then a vertical fold, open from the side, and perform a reverse inside fold.
- Bring one side slightly downward, open from the bottom and fold it down. Repeat on the other side.
Forming the Back Legs and Tail Flattening the Sides
- Open one side from the bottom, then the other, creating flat surfaces.
Flattening the Sides Refining the Fins
- To make the front fin, fold one section down, open from the bottom, and flatten. Repeat on the other side.
- To make the back legs, fold downward from the inside, open from the bottom, and fold again. Repeat on the other side.
Refining the Fins Rounding the Edges
- Make the pointy ends rounder by folding inward on both top and bottom sides.
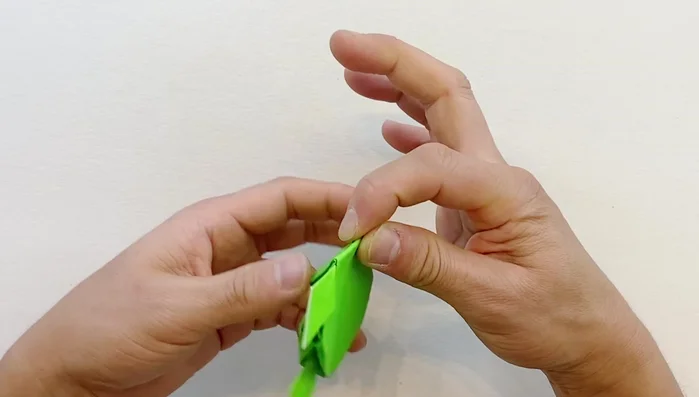
Rounding the Edges Creating and Shaping the Head
- Fold the head backward, then upward. For a rounder head (optional), fold along a line and fold downward.
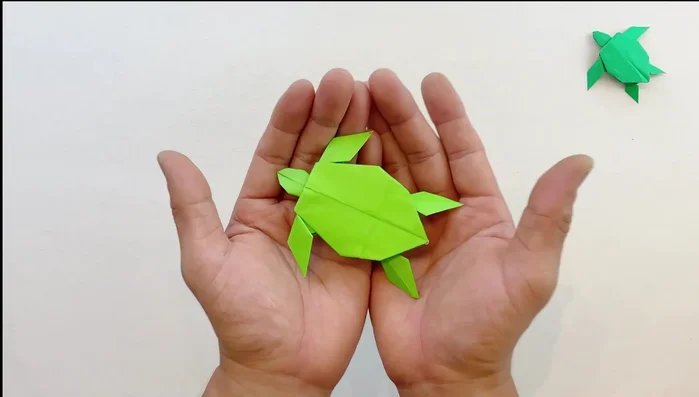
Creating and Shaping the Head Final Touches
- Round the shell with your fingers.
Final Touches


Read more: DIY Toilet Paper Roll Rockets: A Fun and Easy Craft Project
Tips
- You might need to try a few times to get the shape right.
- If a step is too difficult, you can skip it and still create a sea turtle.