Origami, the ancient art of paper folding, offers a world of creative possibilities, from intricate cranes to charming animals. But what if you crave a quick, satisfying project, perfect for a moment of mindfulness or a fun activity to share? Then look no further than the one-minute origami paper star! This deceptively simple design allows even beginners to experience the joy of creating something beautiful in a remarkably short time. It's a perfect craft for kids, a handy party favor, or simply a delightful way to brighten your day.
This tutorial will guide you through the surprisingly easy steps involved in crafting your own miniature star in under a minute. Prepare to be amazed by how quickly you can transform a single square of paper into a sparkling, three-dimensional star. Follow the easy-to-follow instructions below, and you'll be creating your own constellation of paper stars in no time!
Preparation and Safety Guidelines
- Square piece of paper
- Scissors
- Use sharp scissors carefully to avoid cuts. Adult supervision is recommended, especially for children.
- Keep small paper pieces away from young children to prevent choking hazards.
- Work on a flat, stable surface to prevent accidental spills or injuries.
Step-by-Step Instructions
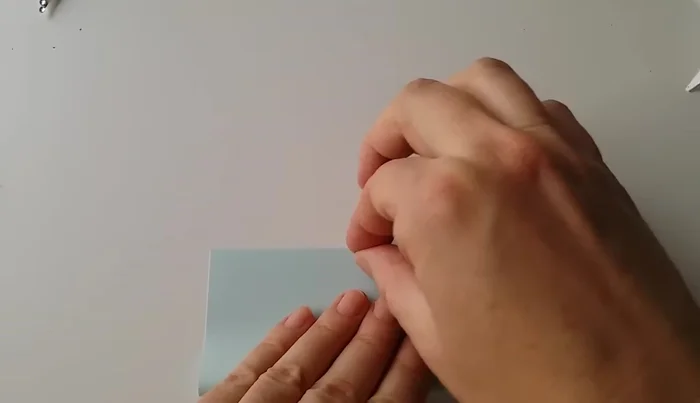
Initial Fold
- Fold the square paper in half.

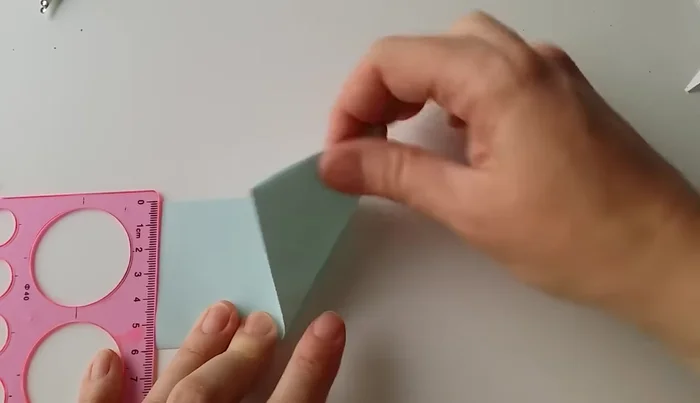
Initial Fold First Triangular Fold
- Fold one corner to the left side, aligning it with a point approximately 1/3 from the top and 2/3 from the bottom.
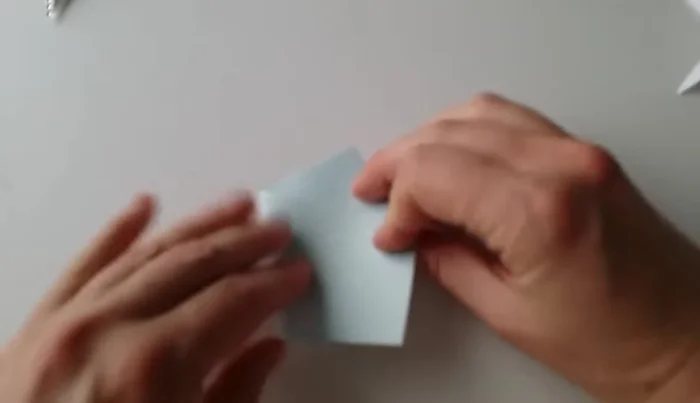
First Triangular Fold Mirrored Triangles
- Fold the resulting triangle to the other side, creating mirrored triangles.
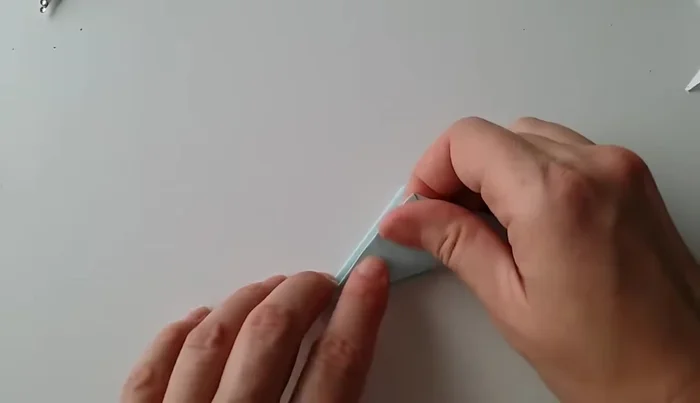
Mirrored Triangles Second Triangular Fold
- Fold the left side triangle to the other side again.
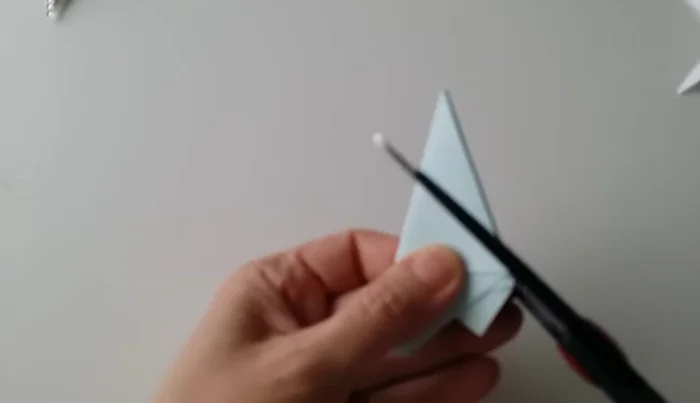
Second Triangular Fold Cutting the Star
- Cut along the center of the folded shape from the starting point to the middle of the base.
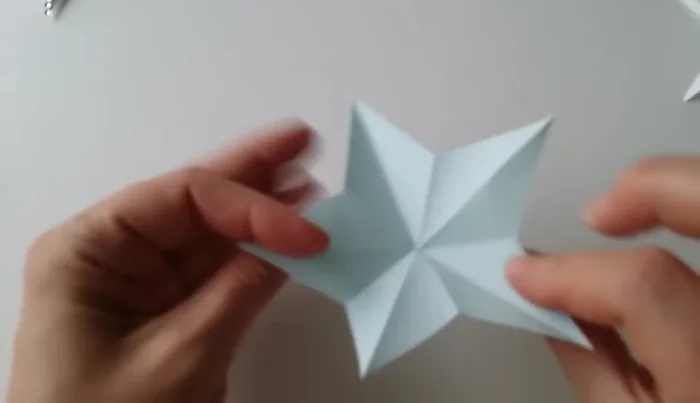
Cutting the Star Final Shaping
- Open the star, adjusting the folds to point upwards.
Final Shaping
Read more: DIY Toilet Paper Roll Rockets: A Fun and Easy Craft Project
Tips
- Precise folding in step 2 is crucial for the rest of the process.
- Use your fingers to firmly crease the folds.
- Adjusting the depth of the cut in step 5 will alter the star's appearance (smaller cut = smaller star with longer spikes).
- Take your time, especially when learning. Accuracy is more important than speed.