Pinwheels are a classic quilting motif, instantly recognizable and brimming with cheerful energy. But who says you need a sewing machine to enjoy their vibrant charm? This tutorial demonstrates how to create delightful no-sew pinwheels, perfect for adding a pop of color to any project, from quilts and placemats to wall hangings and even unique gift wrapping. Whether you're a seasoned crafter or a complete beginner, this simple technique utilizes readily available fabric squares – charm packs or fat quarters are ideal – and requires only a few basic supplies. You’ll be amazed at how quickly you can produce these beautiful, handcrafted pinwheels.
Forget the hassle of needles and threads! This no-sew method makes crafting accessible and enjoyable for everyone. The process is surprisingly straightforward, and we'll guide you through each step with clear instructions and helpful images. Ready to unleash your inner artist and create a stunning array of pinwheels? Let's dive into the step-by-step instructions below!
Preparation and Safety Guidelines
- Charm packs or fat quarters
- Heat n Bond light
- Marking pen
- Buttons
- Skewer
- Rotary cutter (optional)
- Rotary ruler
- Hot glue gun
- Iron
- Adult supervision is required, especially for young children handling sharp pins. Pins can cause injury if not handled carefully.
- Always pin away from yourself to avoid accidental pricks. Point pins downwards when not in use.
- Use a firm surface to work on; a cutting mat is recommended to protect your work surface and prevent the pins from sliding or getting lost.
Step-by-Step Instructions
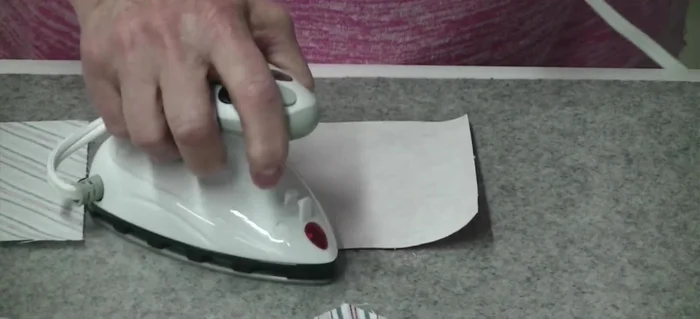
Prepare Fabric Squares
- Iron Heat n Bond to the wrong side of charm squares.
- Peel off the paper backing from the Heat n Bond.
- Iron a contrasting charm square onto the glued side of the first square.

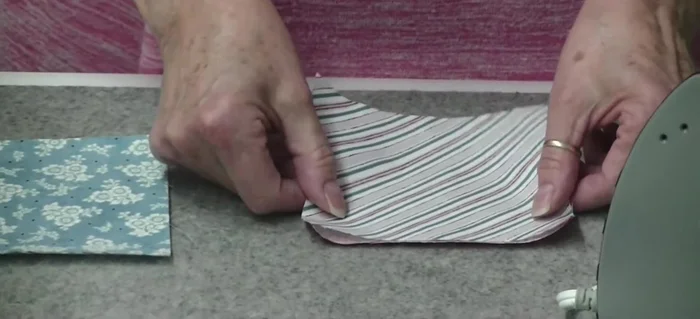
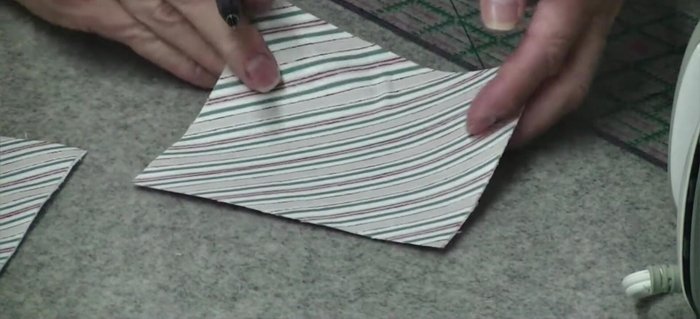
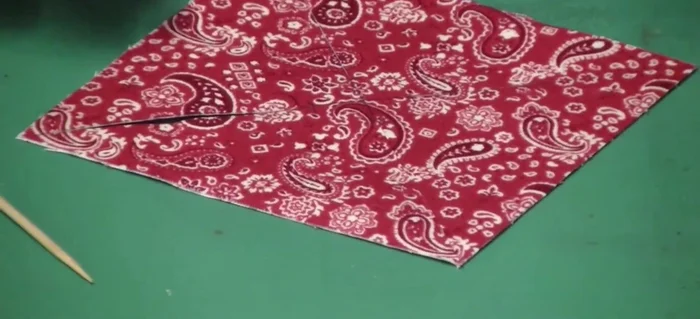
Prepare Fabric Squares Mark and Cut Fabric
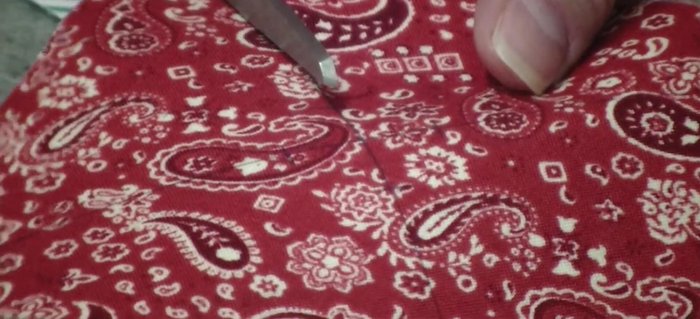
- Draw two diagonal lines on the fabric square using a ruler and marking pen.
- Mark a half-inch point on each diagonal line from the center.
- Cut along the diagonal lines up to the half-inch marks.
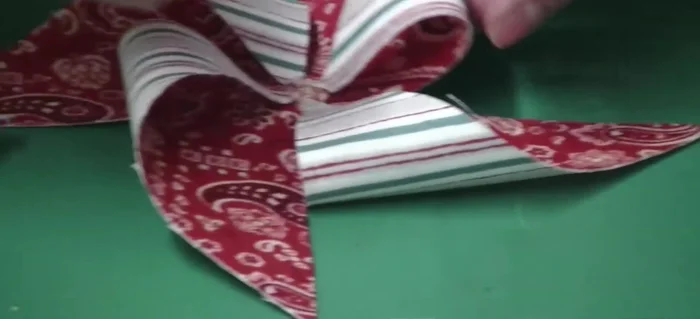
Mark and Cut Fabric Assemble the Pinwheel
- Apply a small amount of hot glue to the center back of the fabric.
- Use a skewer to press and adhere the fabric points to the center, creating the pinwheel shape.
Assemble the Pinwheel Finish the Pinwheel
- Glue a button to the center of the pinwheel to cover the glue.
Finish the Pinwheel


Read more: DIY Picture Frame from Oat Cartons and Fabric: A Simple & Unique Craft
Tips
- Use fabrics with good contrast for a more visually appealing pinwheel.
- Don't overheat your iron when using Heat n Bond. A setting around 4 is recommended.
- Use a small rotary cutter for precise cuts, especially on smaller squares.
- Rotate each section of the pinwheel as you glue it to ensure accurate placement.
- Leave a half-inch of fabric uncut at the center to allow for gluing and button attachment. Adjust this amount based on the size of your squares.