Unleash your inner crafter and transform a plain wall into a personalized masterpiece with this delightful DIY project! Forget complicated sewing techniques and embrace the simplicity of a no-sew fabric state map wall hanging. This charming decoration is perfect for adding a touch of rustic elegance to your home, a unique gift for a loved one, or a fun activity for a creative afternoon. Whether you're a seasoned DIY enthusiast or a complete beginner, this project is surprisingly easy and incredibly rewarding, allowing you to showcase your state pride in a beautiful and handcrafted way.
Using readily available materials and a few simple techniques, you can create a stunning piece of wall art that reflects your personal style. This guide will walk you through each step of the process, from selecting your fabrics to finalizing the hanging details. Let's dive into the step-by-step instructions and create your own personalized no-sew fabric state map wall hanging!
Preparation and Safety Guidelines
- Map (printable at 75% scale)
- Heat n Bond
- Fabric (charm pack or scraps)
- Iron
- Drop cloth
- Light source
- Tape
- Magnetic frame
- Always supervise children around crafting materials, especially sharp scissors or pins if used for any optional embellishments.
- Ensure your work surface is clean and free of obstructions to prevent accidents.
- If using fabric dyes or paints, work in a well-ventilated area and wear appropriate protective gear like gloves and a mask.
Step-by-Step Instructions
Prepare the Template
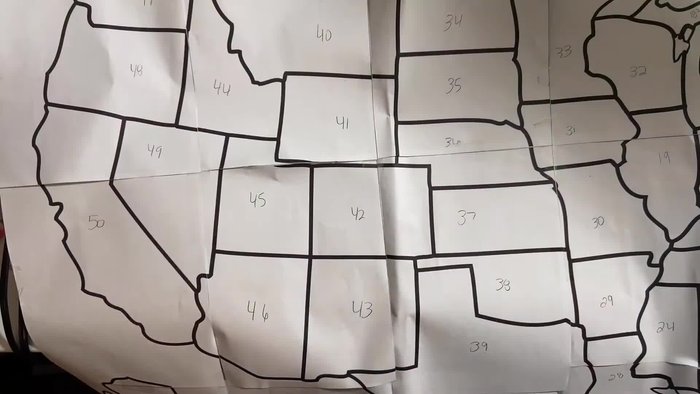
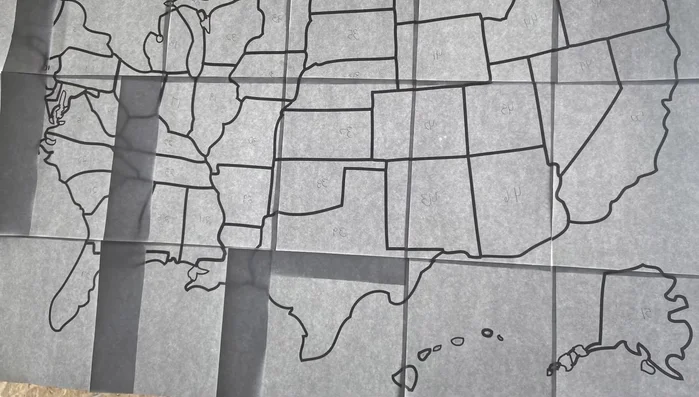
- Print, assemble, and number the map.
- Place the map face down on a light source, trace states with Heat n Bond, and number them.

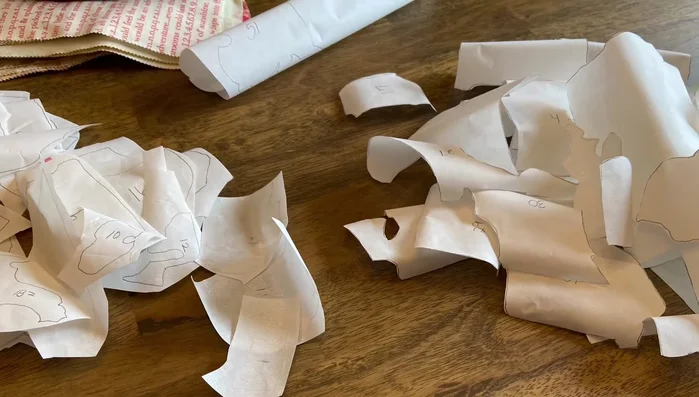
Prepare the Template Cut Heat n Bond States
- Cut out the Heat n Bond traced states.
Cut Heat n Bond States Apply Heat n Bond to Fabric
- Iron Heat n Bond states to the wrong side of fabric and cut out.
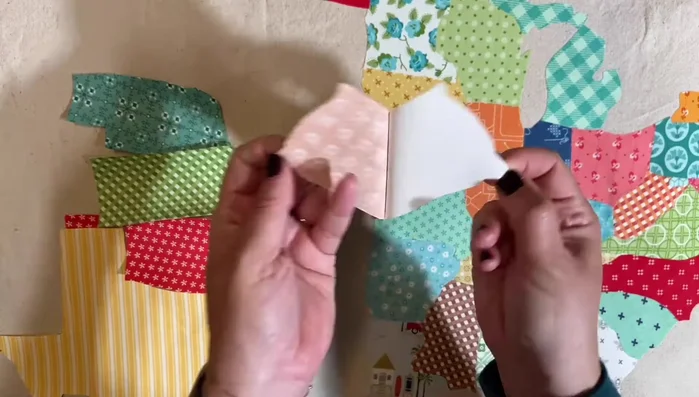
Apply Heat n Bond to Fabric Initial State Placement
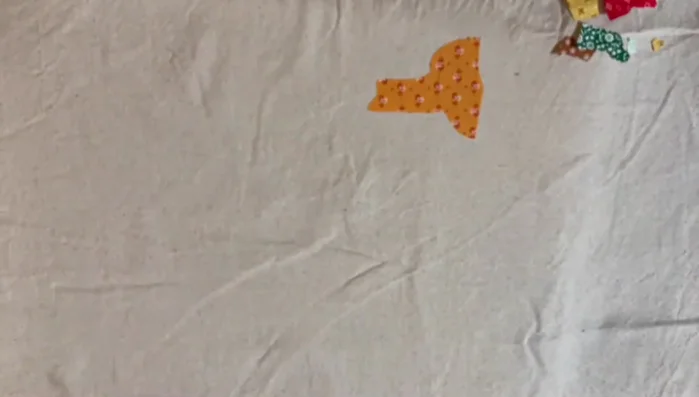
- Remove paper backing and place states face down on drop cloth.
- Iron each state to adhere it to the drop cloth.
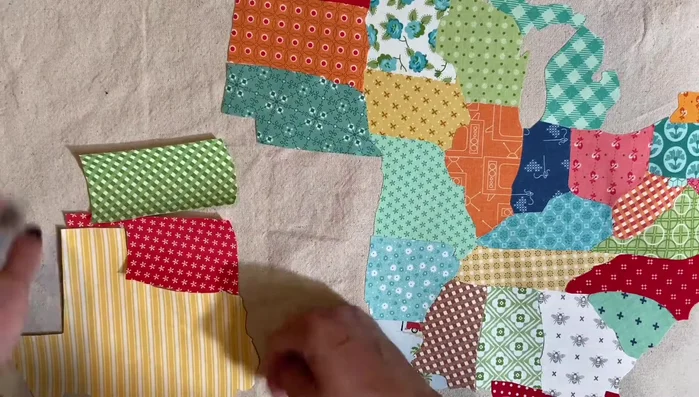
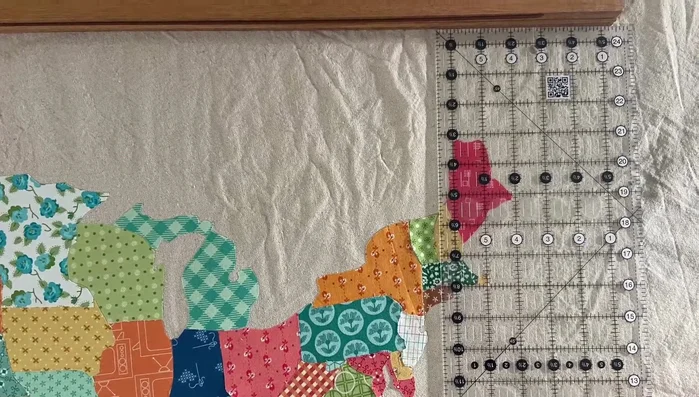
Sectional State Placement and Ironing
- Continue removing paper backing and placing states face down, working in sections for easier placement.
- Iron states in sections, lifting and pressing to prevent shifting.
- Work in larger sections to ensure alignment, especially for larger states.
- Remove backing from remaining states, aligning and ironing in sections.
Sectional State Placement and Ironing - Use charm packs or fabric scraps for the states (consider size).
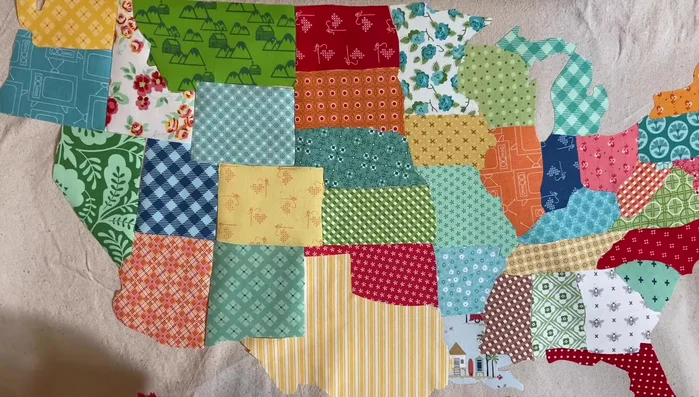
Sectional State Placement and Ironing Final State Placement and Ironing
- Continue placing and ironing states, adjusting as needed.
- Iron down all the states, wait until the end to cut out Alaska and Hawaii.
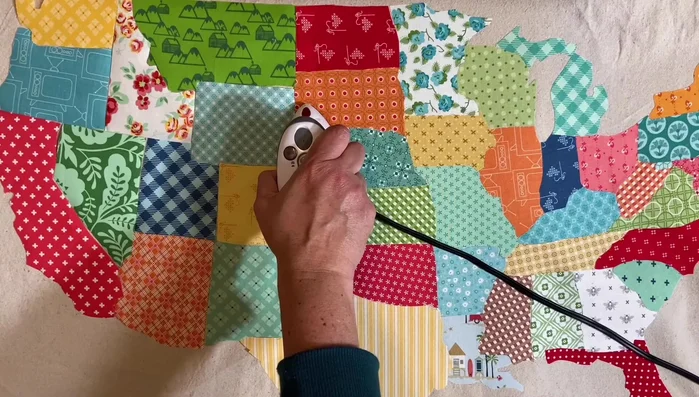
Final State Placement and Ironing Prepare Drop Cloth
- Cut and hem the drop cloth using Heat n Bond Ultra Hold.
Prepare Drop Cloth Create Drop Cloth Hem
- Apply Heat n Bond to the back of the drop cloth, fold and iron to create hem.
- Remove paper backing from the hem, fold and iron.
Assemble and Display
- Attach the fabric map to a magnetic frame.

Read more: DIY Picture Frame from Oat Cartons and Fabric: A Simple & Unique Craft
Tips
- Work in sections when placing and ironing the states for easier management.
- Lift and press the iron instead of sliding it to prevent state shifting.
- Wait to cut out Alaska and Hawaii until the very end to prevent losing small pieces.