Unleash your inner child and discover the joy of crafting adorable finger puppets without even touching a needle and thread! This simple, no-sew project is perfect for a rainy afternoon, a fun family activity, or a creative classroom exercise. With just a few basic materials readily available in most homes, you can create a whole cast of whimsical characters ready for imaginative storytelling adventures. Forget complicated instructions and frustrating techniques; this project is designed to be accessible and enjoyable for crafters of all skill levels, from absolute beginners to seasoned DIY enthusiasts.
Get ready to transform scraps of fabric into delightful finger puppets with our easy-to-follow, step-by-step tutorial. We'll guide you through each stage of the process, showing you how to cut, shape, and decorate your puppets to create truly unique and personalized creations. Prepare to be amazed at how quickly and easily you can bring your fabric scraps to life and start putting on your own miniature puppet shows!
Preparation and Safety Guidelines
- Fabric
- Fusible Interfacing (single-sided and double-sided)
- Felt
- Velcro (optional)
- Needle
- Thread
- Adult supervision is required, especially for young children, throughout the crafting process to prevent accidental choking hazards from small parts.
- Always use fabric that is soft and free from small, loose threads or embellishments that could pose a choking risk. Avoid using fabrics with long dangling strings.
- Ensure proper handwashing before and after handling craft materials to maintain hygiene.
Step-by-Step Instructions
Prepare Fabric Pieces
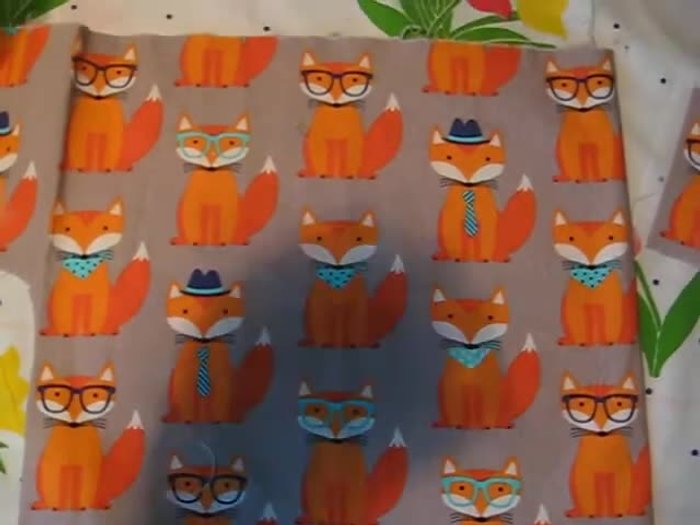
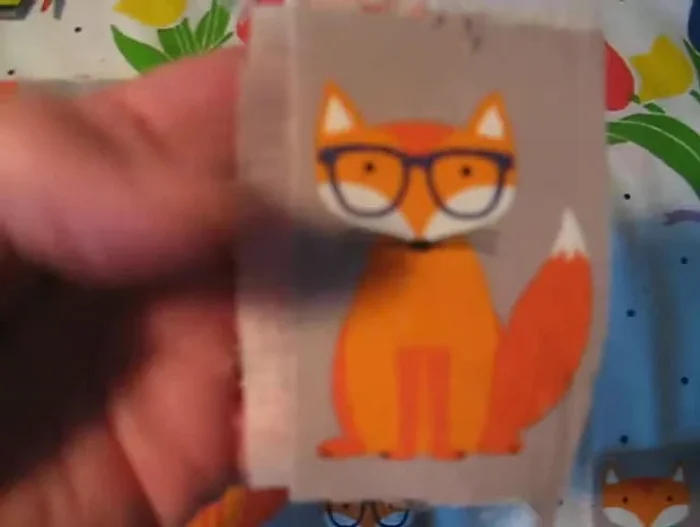
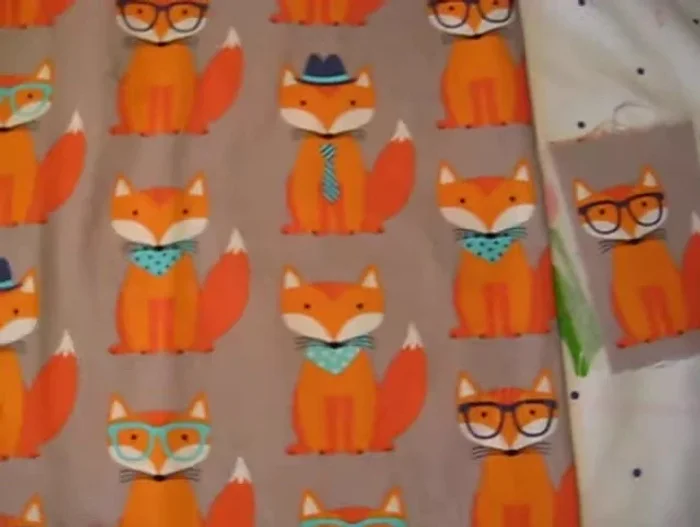
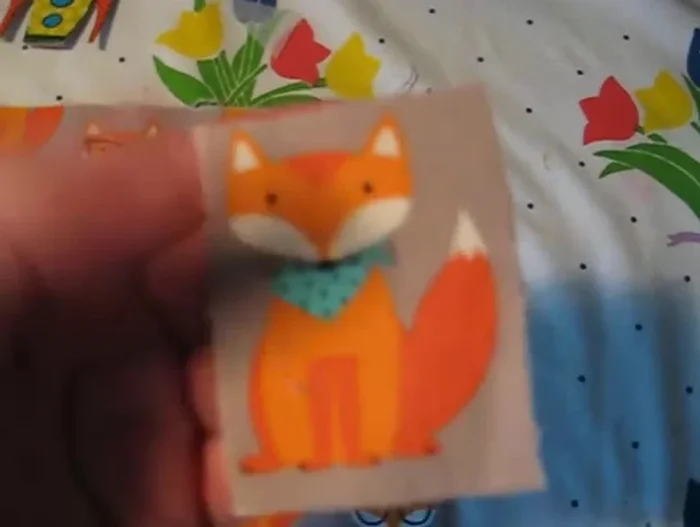
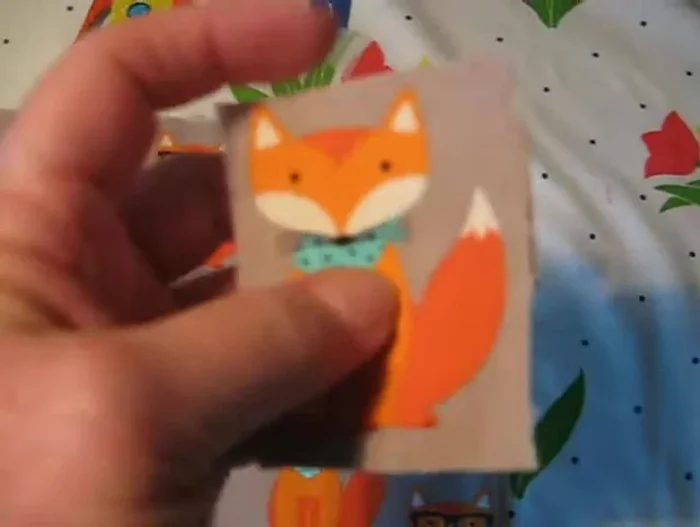
- Choose your fabric and cut out your desired shapes. The example uses a fox image, about 3 inches tall by 2 inches wide. Cut at least two.
- Apply single-sided fusible interfacing to the back of your fabric pieces. Press with an iron.
- Cut out the fabric shapes again after applying the interfacing.

Prepare Fabric Pieces Adhere Fabric to Felt
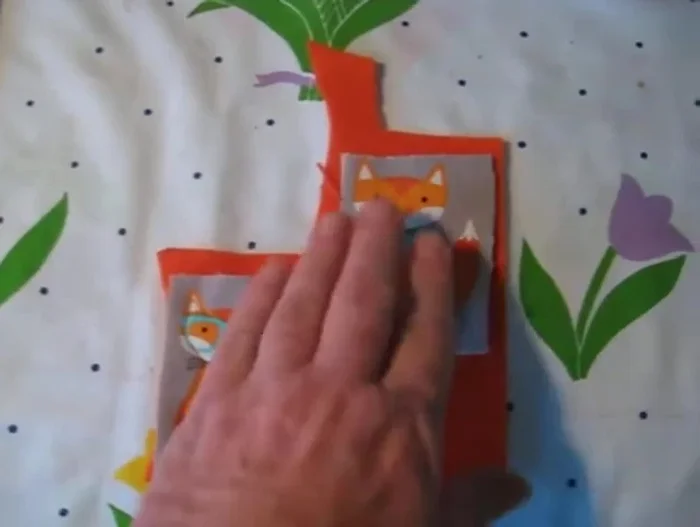
- Use double-sided fusible interfacing to adhere one fabric shape to a piece of felt (making sure the felt is slightly larger than the fabric).
- Place another piece of felt (preferably the same color as the edges of the image, or a contrasting color for a unique look) on top, aligning it with the first piece of felt and the fabric image.
Adhere Fabric to Felt Stitch and Finish
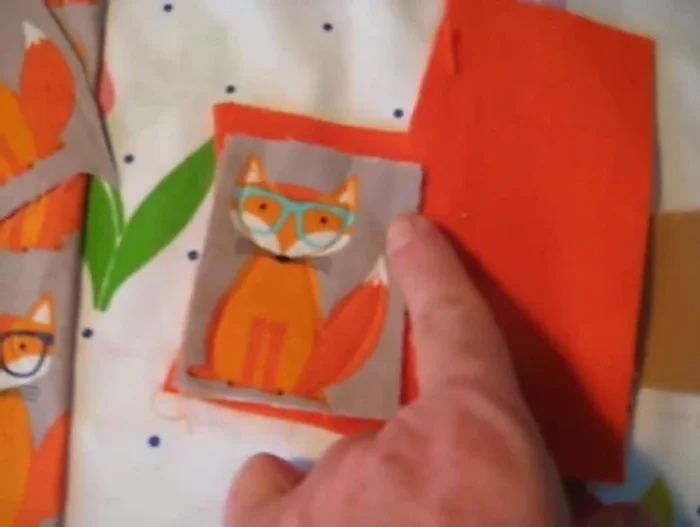
- Pin the layers together. Stitch around the inside edge of the fabric image, leaving the bottom open to create the finger opening.
- Carefully cut around the outer edge of the finished piece, trimming close to the stitching but not cutting the stitching itself.
Stitch and Finish
Read more: DIY Picture Frame from Oat Cartons and Fabric: A Simple & Unique Craft
Tips
- Use felt that matches the edges of your fabric image for a seamless look. If you use contrasting felt it will show a border on the back.
- Leave the bottom of the puppet open to allow space for your finger. Consider the size of the opening when choosing your fabric and design.