Do you dream of creating adorable fabric dolls with your kids, but the thought of needles and thread feels daunting? Fear not! This no-sew fabric doll tutorial is designed specifically for kids and absolute beginners, making the crafting process fun, simple, and accessible to everyone. Forget complicated stitching and intricate patterns; we'll be using easy-to-find materials and techniques that even the youngest crafters can master. Prepare to unleash your creativity and bond with your children through a rewarding and imaginative activity.
This tutorial will guide you through the process of making your very own charming fabric doll, all without a single stitch! We’ll walk you through selecting the right fabrics, assembling the doll's body and features, and adding those final personal touches that make each creation unique. Ready to get started on this delightful project? Let's dive into the step-by-step instructions!
Preparation and Safety Guidelines
- Fabric
- Polyester fiber fill
- Needle and thread (optional)
- Sewing machine (optional)
- Scissors
- Iron
- Pinking shears (optional)
- Chopstick or turning tool (optional)
- Fabric glue or hot glue (optional)
- Adult supervision is required at all times, especially when using scissors or other sharp objects.
- Ensure all fabric edges are securely tucked in and tied to prevent small parts from becoming choking hazards.
- Only use fabrics specifically designed for crafts or toys; avoid fabrics that may fray easily or contain small loose threads.
Step-by-Step Instructions
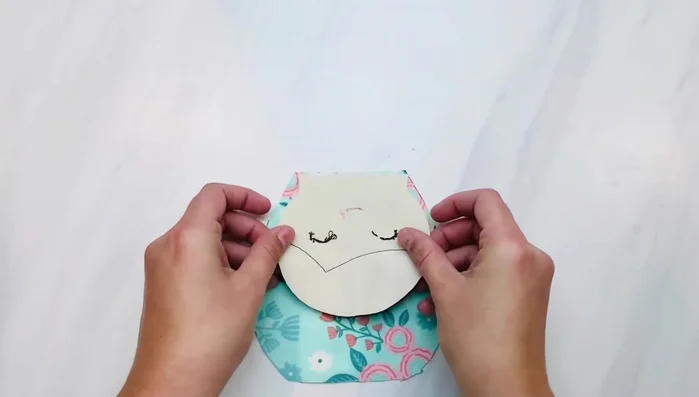
Prepare the Pattern and Fabric
- Print the doll pattern (available in the description box).
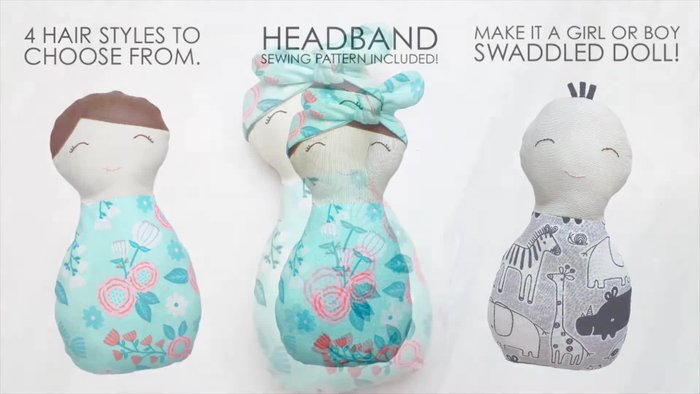
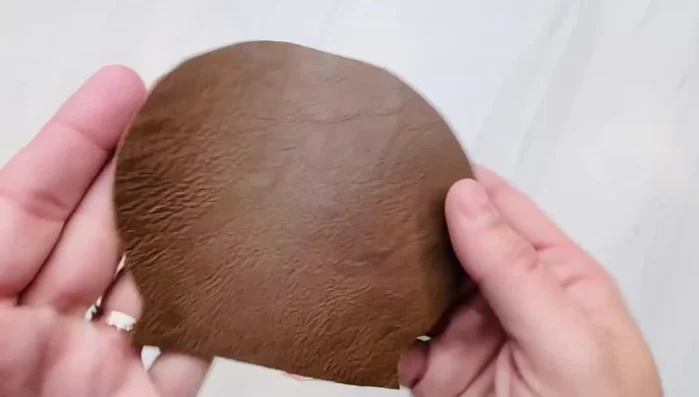
- Cut out the pattern pieces from your chosen fabric. If adding hair, the back of the doll head should be the same color as the hair.

Prepare the Pattern and Fabric Add Facial Features (Optional)
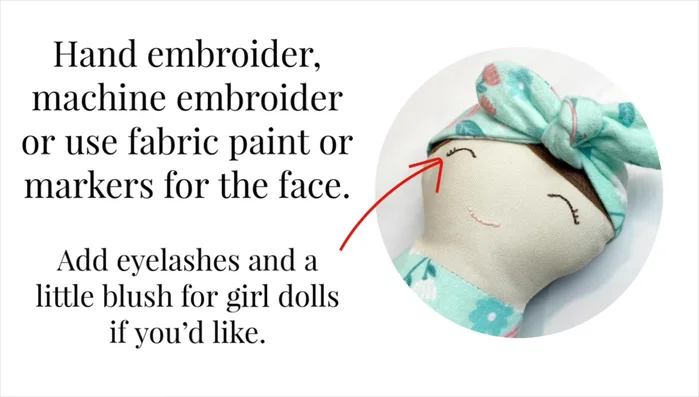
- Embroider facial features (optional, but easy to do in 15 minutes).
Add Facial Features (Optional) Attach the Hair (If Applicable)
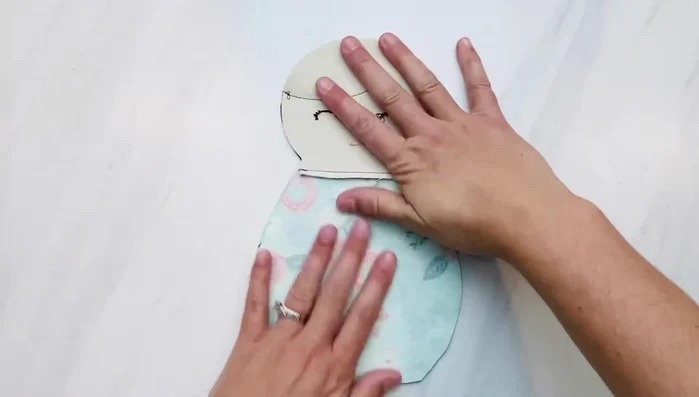
- Sew the hair piece to the front of the doll head, along the hairline using a 1/8 inch seam allowance.
Attach the Hair (If Applicable) Attach the Head to the Body
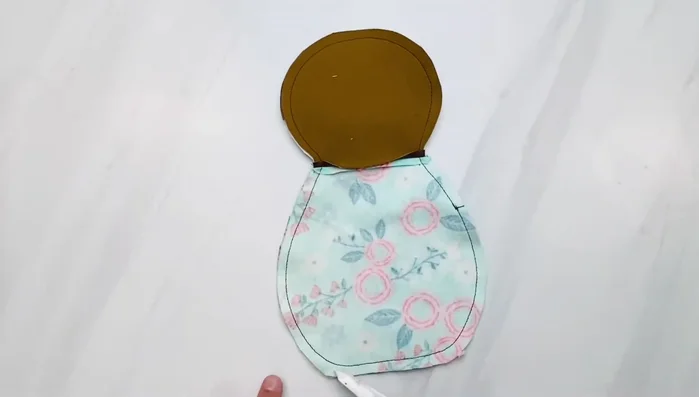
- Place the doll head (facing down) onto the front of the doll body, aligning the necks. Sew across the neck using a 1/4 inch seam allowance.
- Sew the back of the doll head to the doll body, leaving a gap in the middle for stuffing. Only sew about an inch on each side to secure it.
Attach the Head to the Body Sew the Doll Body
- Place the front and back pieces of the doll together, right sides facing in. Pin and sew around the entire doll, leaving the opening at the back.
Sew the Doll Body Prepare for Turning
- Cut slits around the curves of the fabric doll, near the stitches, to allow for easier turning.
Prepare for Turning Turn and Stuff the Doll
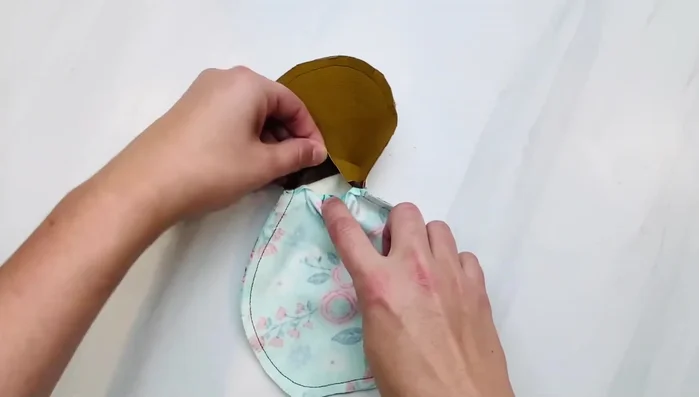
- Turn the doll right side out through the opening in the back. Use a chopstick or turning tool if needed.
- Stuff the doll firmly with polyester fiber fill, paying attention to curves to avoid puckering.
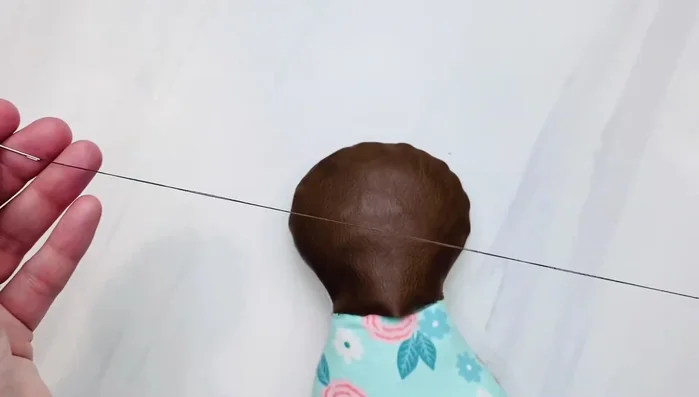
Turn and Stuff the Doll Close the Opening
- Close the opening at the back using a ladder stitch. (Tutorial link provided)
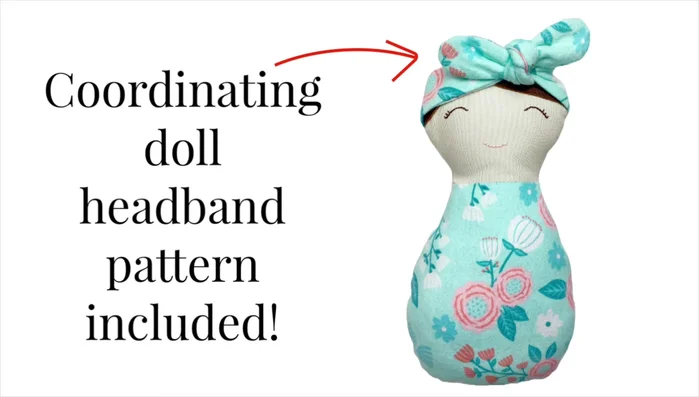
Close the Opening Make and Attach the Headband (Optional)
- Cut two pieces from the headband pattern piece, sew around the edges, leaving a gap to turn right side out. Turn and press flat. Tie around the doll’s head.
Make and Attach the Headband (Optional)


Read more: DIY Picture Frame from Oat Cartons and Fabric: A Simple & Unique Craft
Tips
- Use a sturdy fabric like canvas for the doll’s face for easier embroidery.
- For hair, use non-fraying materials like faux fur, felt, or faux leather.
- Press seams open to create a smooth, flat finish.
- Add extra stuffing to curves to prevent puckering.
- Use a coordinating thread to minimize visible seams.