Embrace effortless elegance with this quick and simple no-sew cape tutorial! Tired of complicated crafting projects that demand hours of work and specialized skills? Then you've come to the right place. This guide offers a refreshing alternative, showing you how to create a stylish and wearable cape without the need for needles, thread, or a sewing machine. Perfect for beginners and seasoned crafters alike, this project utilizes readily available materials and requires minimal time commitment. You'll be surprised how easily you can transform a simple piece of fabric into a chic accessory.
Whether you're looking for a cozy addition to your autumn wardrobe, a fun costume for a party, or just a quick and easy craft project, this no-sew cape is the perfect solution. Forget fussy seams and complicated patterns; this method relies on clever techniques that even the most novice crafter can master. Let's dive into the step-by-step instructions and get started on making your very own fabulous no-sew cape!
Preparation and Safety Guidelines
- Fabric (red fabric is used in the example)
- Pins
- Sewing machine
- Velcro
- Always use sharp scissors and cut away from your body to prevent accidental injury.
- If using fabric glue, ensure adequate ventilation and follow the manufacturer's instructions carefully. Avoid contact with skin and eyes.
- Be mindful of any potential choking hazards, especially if making a cape for a child. Avoid using small, loose embellishments that could be detached and swallowed.
Step-by-Step Instructions
Prepare the Cape Fabric
- Find material
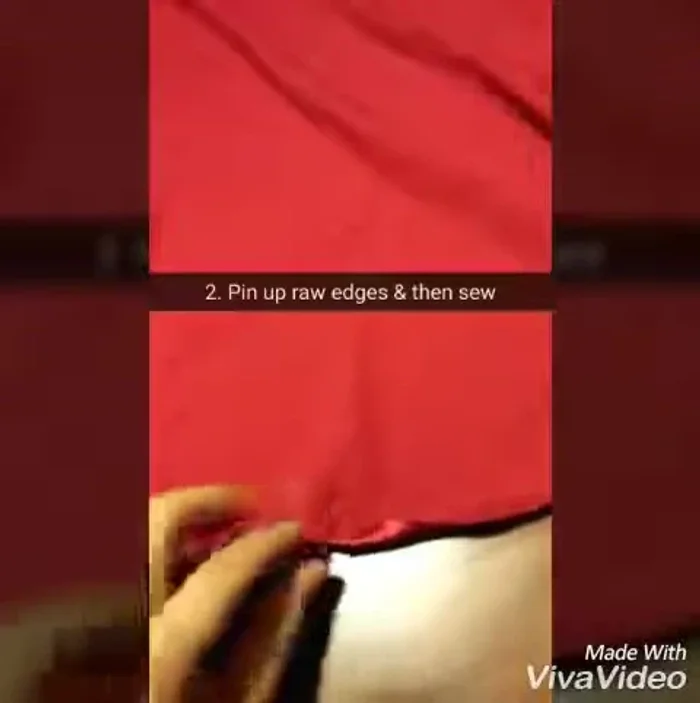
- Pin up the raw edges. Fold the edge once, then again, and pin it. Make sure to stretch the fabric.
- Sew the pinned edges.
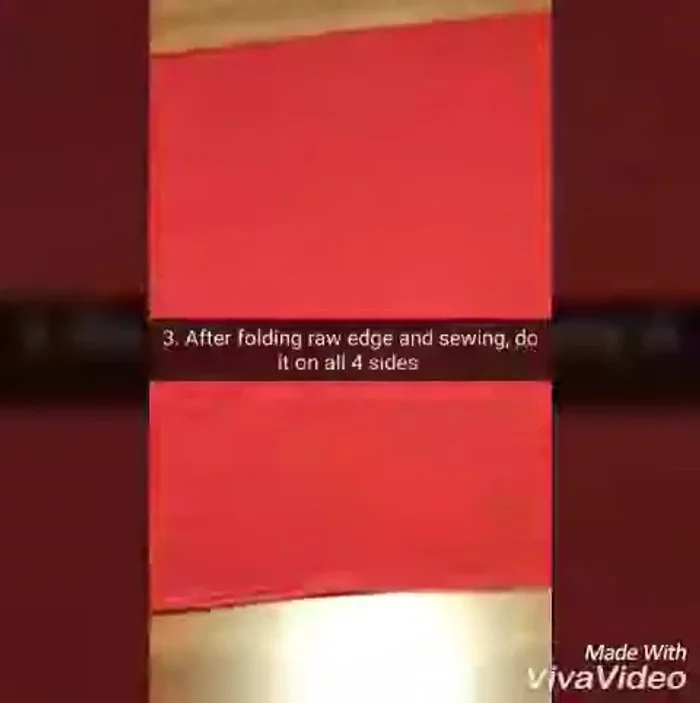
- Repeat steps 2 and 3 for the other two sides of the cape's main piece.

Prepare the Cape Fabric Prepare the Collar
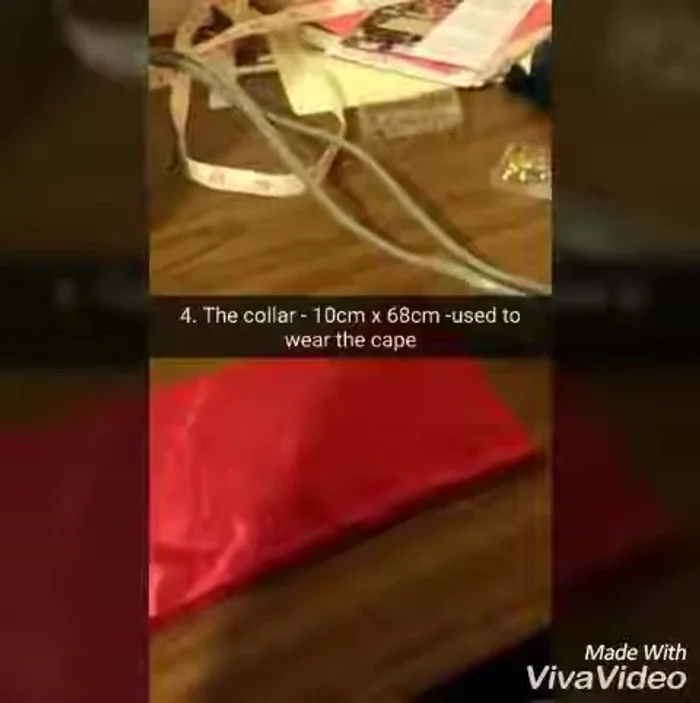
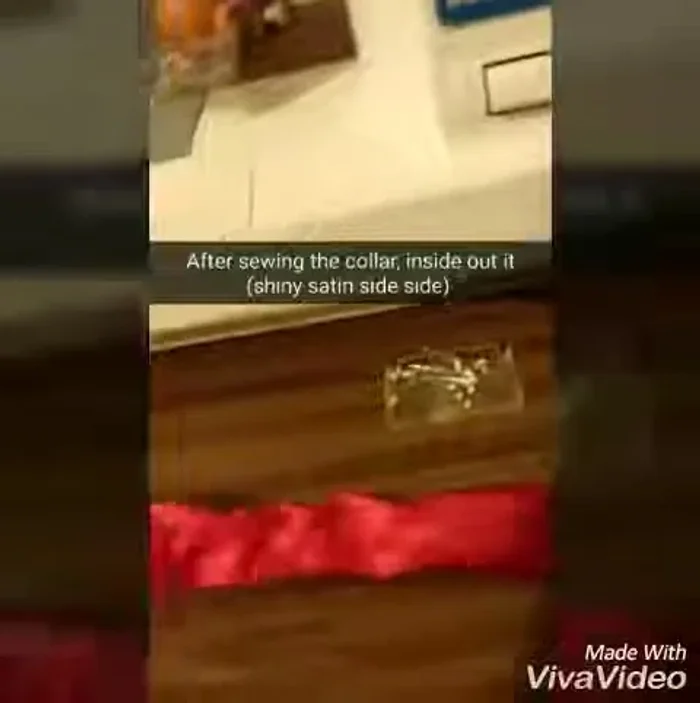
- Prepare the collar (10 x 68 cm). Pin the collar's raw edges together, right sides facing. Sew the edges.
- Turn the collar right side out. Fold the collar twice to create a neat edge and pin.
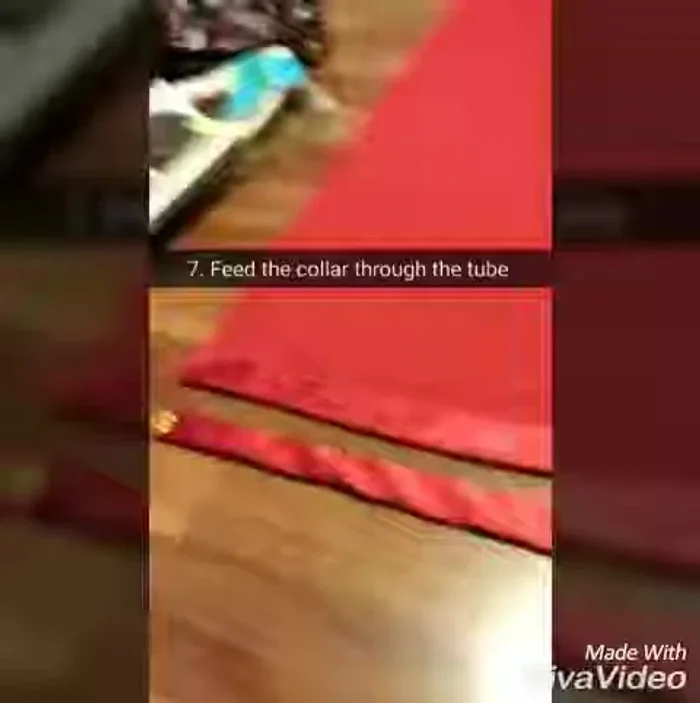
- Sew along the pinned edge of the collar tube, leaving an opening for inserting the collar later.
Prepare the Collar Attach the Collar
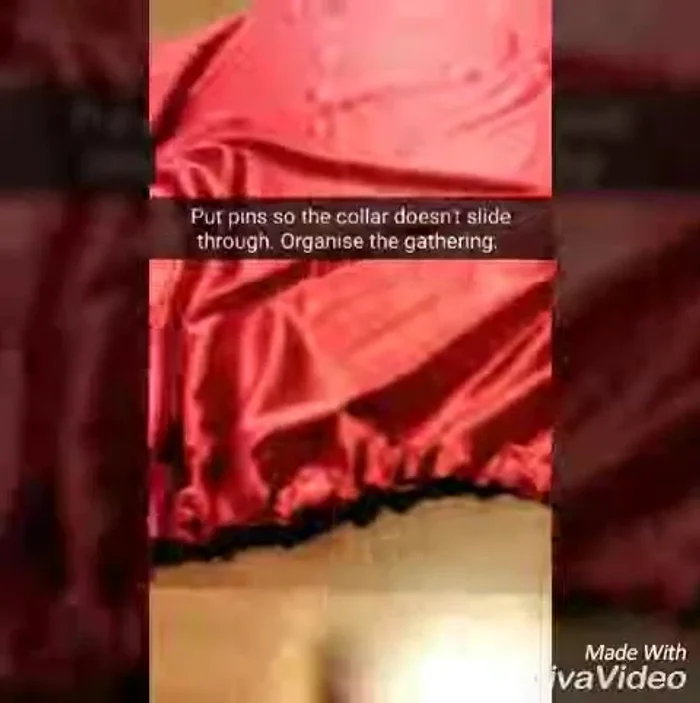
- Insert the collar into the cape’s main body through the opening. Use clips or pins to hold it in place, ensuring even distribution.
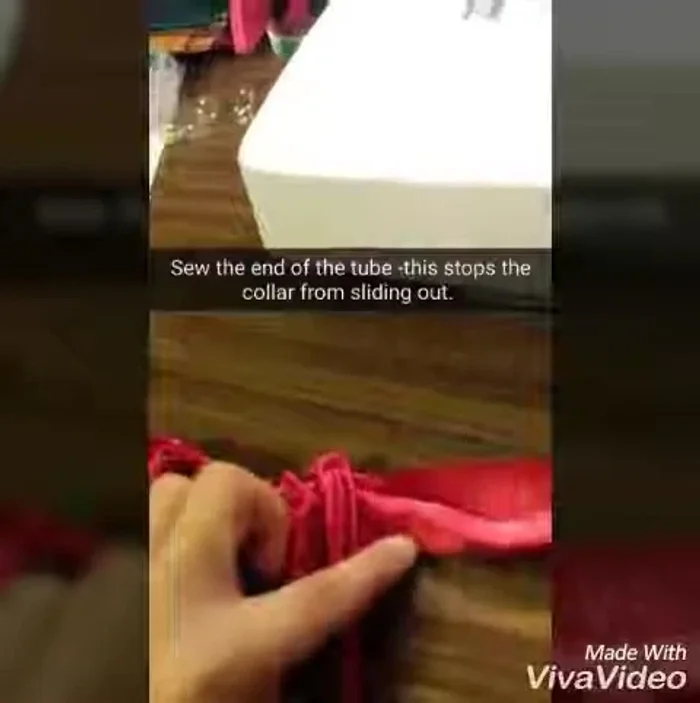
- Sew up the remaining opening of the collar.
Attach the Collar Attach Velcro and Finalize
- Attach velcro to both sides of the collar, ensuring the velcro sticks to the right side of the fabric for secure fastening.
- Try on the cape to ensure proper velcro placement and functionality.
- Sew the velcro onto both sides of the cape
Attach Velcro and Finalize

Read more: DIY Picture Frame from Oat Cartons and Fabric: A Simple & Unique Craft
Tips
- When pinning and sewing, don't forget to pull out the pins before sewing and to stretch the fabric for a better result.
- Use Velcro without a sticky backing to prevent clogging your sewing machine needle.