Unleash your child's creativity with this delightful DIY project: crafting miniature dollhouse purses! This fun and engaging activity combines the satisfaction of creating something unique with the charm of miniature artistry. Imagine the joy on your child's face as they design and construct their own tiny, perfectly scaled handbags, complete with intricate details and vibrant colors. It’s a fantastic way to spend quality time together, fostering patience, fine motor skills, and a sense of accomplishment. No special tools or expensive materials are needed, making this a perfect weekend craft.
This tutorial provides a simple, step-by-step guide to creating adorable miniature purses that will fit perfectly in any dollhouse. From selecting the right materials to adding those finishing touches, we'll walk you through the entire process, ensuring even the youngest crafters can participate and feel proud of their handiwork. Let's dive into the fun and get started!
Preparation and Safety Guidelines
- Fabric
- Foam interfacing
- Needle
- Thread
- Scissors
- Ruler
- 45-degree angle ruler
- Elastic
- Decorative elements (buttons, fabric scraps, etc.)
- Adult supervision is required at all times, especially when using sharp objects like scissors or glue guns.
- Small parts pose a choking hazard. Keep all components out of reach of young children until the project is complete and thoroughly inspected.
- Use non-toxic glue and paints suitable for children. Ensure proper ventilation when using paints or adhesives.
Step-by-Step Instructions
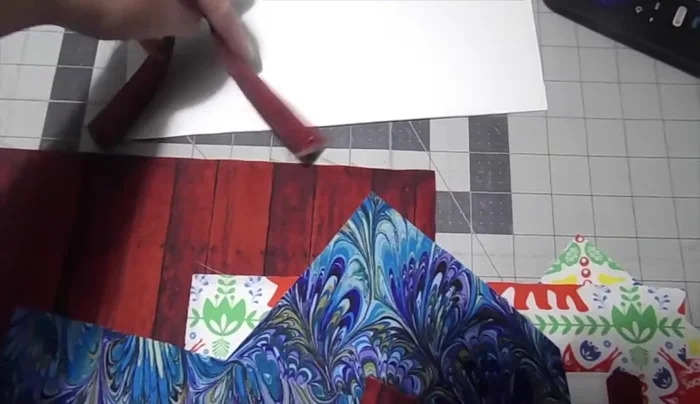
Prepare Fabric Pieces
- Measure and cut fabric pieces for the dollhouse purse. The front and back are 11 x 10 inches. The sides are 7.5 x 8 inches, with an additional piece added to the top to create the roofline. The roof is 5.5 x 11 inches.
- Cut the foam interfacing pieces 0.25 inches smaller than the fabric pieces to avoid bulk in the seam allowances.

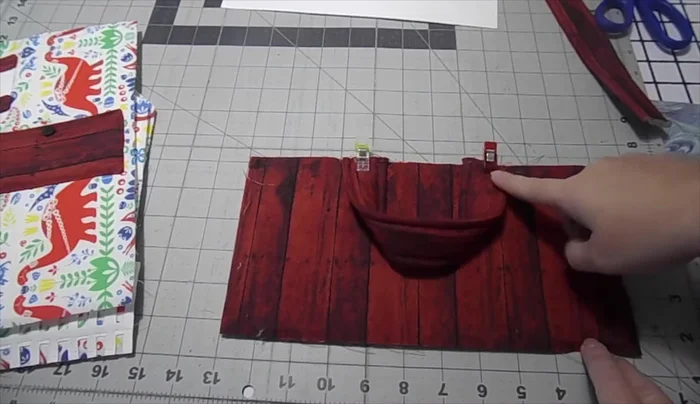
Prepare Fabric Pieces Create Dollhouse Exterior
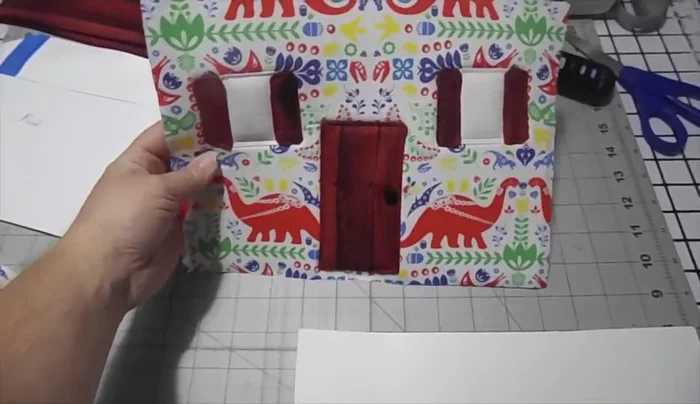
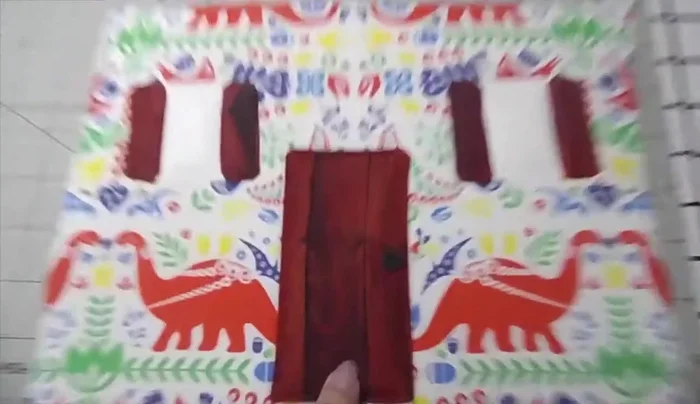
- Create the dollhouse shape by adding a door, windows, and other desired features. (Decorations are customizable)
- Sew the exterior fabric pieces together, leaving the bottom open. Attach the roof pieces.
Create Dollhouse Exterior Make the Handle
- Make a handle by sewing together two 2 x 9 inch fabric pieces with foam interfacing inside, turning inside out and topstitching.
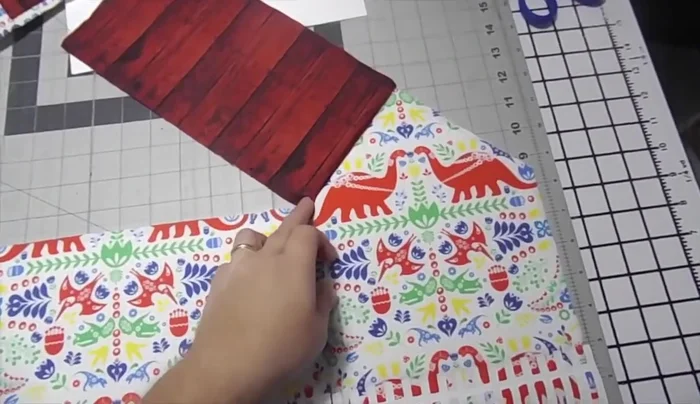
Make the Handle Attach Handle and Roof
- Attach the handle to the roof. Sew the roof to the front piece, leaving the bottom open for the flap.
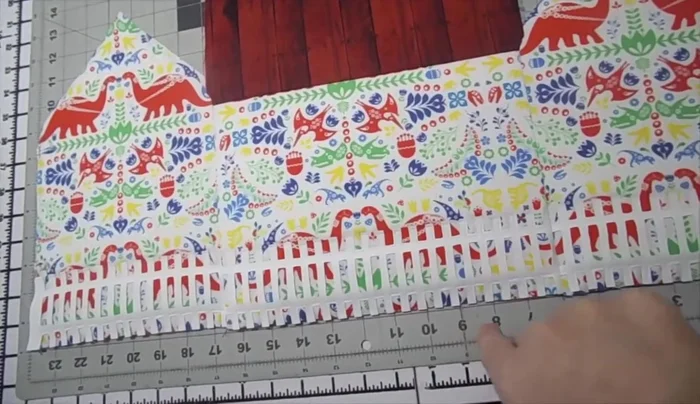
Attach Handle and Roof Assemble Sides and Back
- Sew the side pieces to the back piece, adding elastic straps for closure.
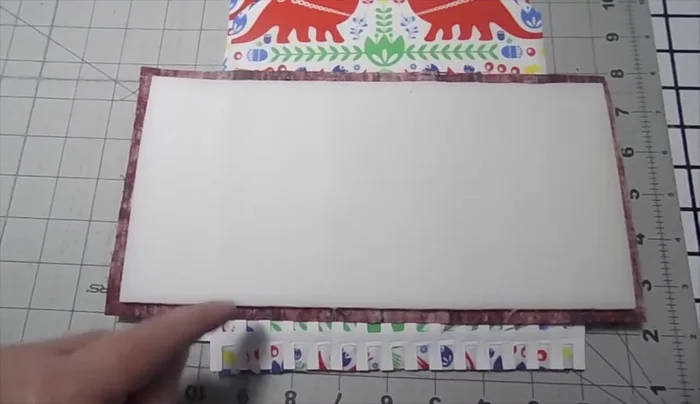
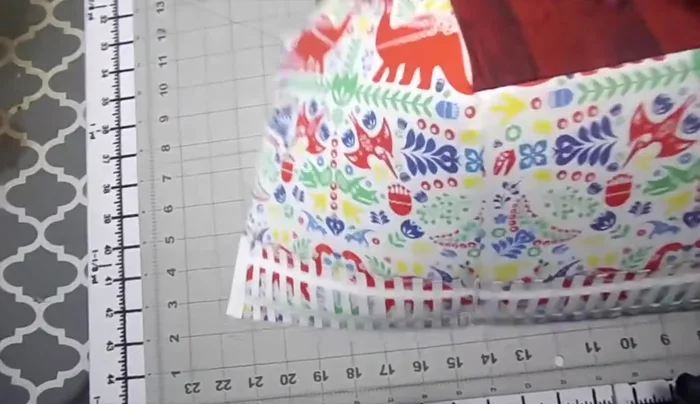
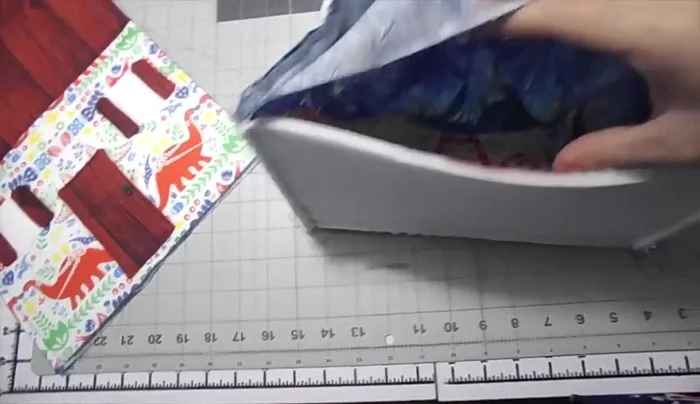
Assemble Sides and Back Create the Lining
- Sew the lining pieces together, mirroring the construction of the exterior, creating a pocket inside.
Create the Lining Attach Lining and Exterior
- Attach the lining to the exterior, leaving an opening to turn the purse right side out. Sew the opening closed.
Attach Lining and Exterior Finish the Purse
- Topstitch all seams for a clean finish.
Read more: DIY Picture Frame from Oat Cartons and Fabric: A Simple & Unique Craft
Tips
- Use a thicker foam interfacing for added structure and durability.
- Customize the decorations to match your child's interests.
- Add a pocket to the lining to keep small items secure inside the purse.
- Leave a larger opening when turning the purse right side out to make it easier to maneuver the thicker fabric.