Who doesn't love a delicious ice cream cone on a hot day? And who doesn't love cute plushies? Well, today we're combining the best of both worlds with this easy-to-follow tutorial on making your very own miniature ice cream cone plushie! This adorable little craft is perfect for beginners, requiring minimal sewing skills and readily available materials. Imagine the delightful charm of a tiny, huggable ice cream cone, ready to add a touch of sweetness to your home or become a treasured gift for a friend. It's a fun project that yields big results in terms of cuteness and satisfaction.
Forget expensive, store-bought toys – let's unleash our inner creativity and craft something truly unique! This DIY project is surprisingly simple, transforming basic fabric scraps into a delightful ice cream cone plushie that will surely bring a smile to your face. Ready to get started on creating your own miniature masterpiece? Let's dive right into the step-by-step instructions below!
Preparation and Safety Guidelines
- Felt (two colors)
- Thread (matching felt colors)
- Stuffing
- Scissors (fabric scissors recommended)
- Pins
- Sewing needle
- Optional: Ribbon, Bow, Glitter glue, Tacky glue
- Adult supervision is required, especially when using needles and scissors. Keep these tools out of reach of young children.
- Always use fabric scissors for cutting fabric, not paper scissors. This prevents damage to the blades and ensures clean cuts.
- Be mindful of stuffing the plush. Overstuffing can cause misshapen seams and make the plushie difficult to sew up cleanly.
Step-by-Step Instructions
Prepare the Pattern Pieces
- Cut out all pieces using the template (found in description box). You need one cone piece and two ice cream pieces.

Prepare the Pattern Pieces Sew the Ice Cream Cone
- Fold the cone piece in half, then thread your needle with matching thread. Use a back stitch to sew the two sides together, leaving the top open.
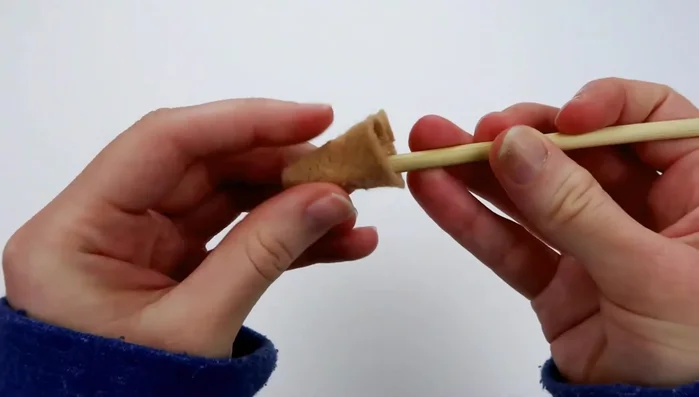
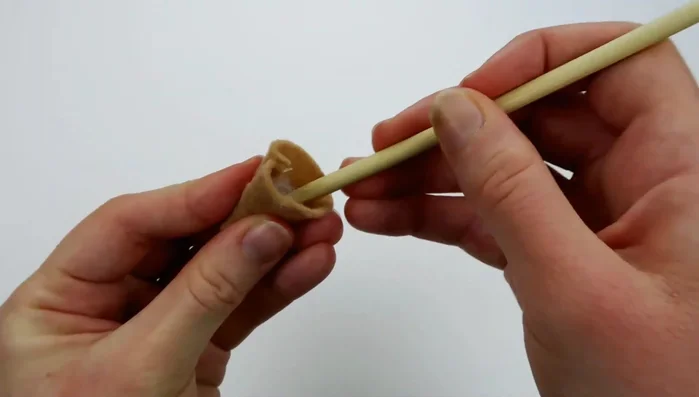
- Turn the cone inside out using a dowel or pencil.
Sew the Ice Cream Cone Prepare the Ice Cream Scoop
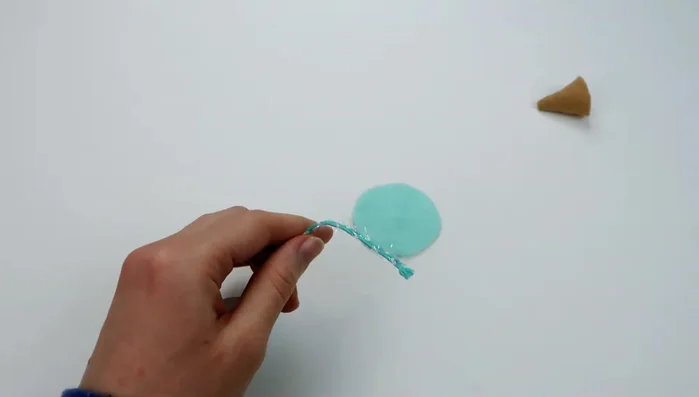
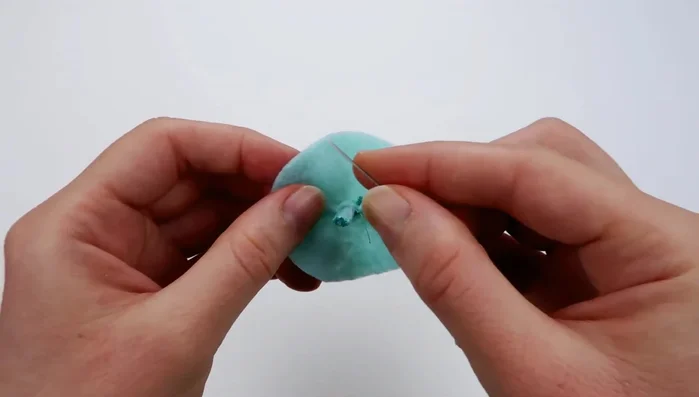
- Fold one ice cream piece in half twice. Cut a small hole near the top.
- Cut a small piece of ribbon, form it into a loop, and secure with tape. Insert the loop through the hole and sew it onto the ice cream piece using a back stitch.
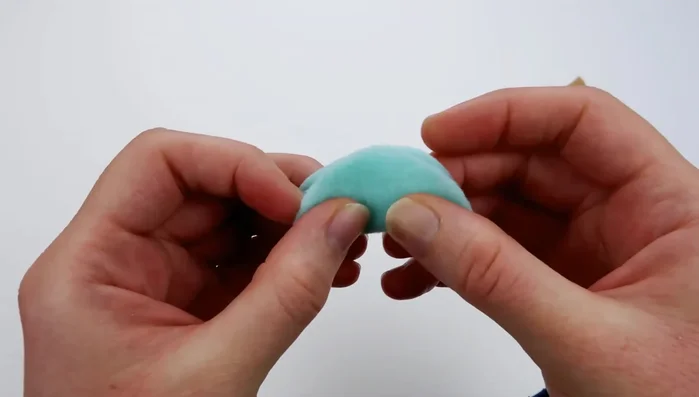
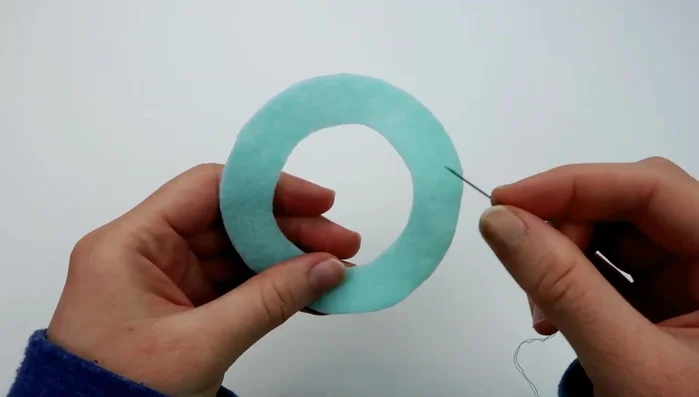
- Use a running stitch to sew around the perimeter of the ice cream piece, then pull the thread to gather the fabric into a scoop shape. Fill with stuffing and knot the thread securely.
Prepare the Ice Cream Scoop Assemble the Ice Cream Cone Plushie
- Fill the ice cream cone with stuffing. Place the ice cream scoop on top of the cone and sew them together using a back stitch.
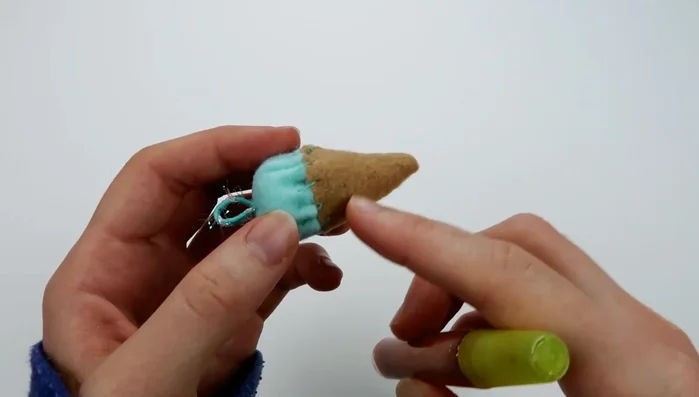
Assemble the Ice Cream Cone Plushie Add Glitter Glue (Optional)
- Apply glitter glue to the cone and let it dry completely.
Add Glitter Glue (Optional) Create and Attach the Ice Cream Base
- Use a running stitch along the middle of the remaining ice cream piece. Pull the thread to gather the fabric and attach it to the bottom of the ice cream scoop, securing with a knot.
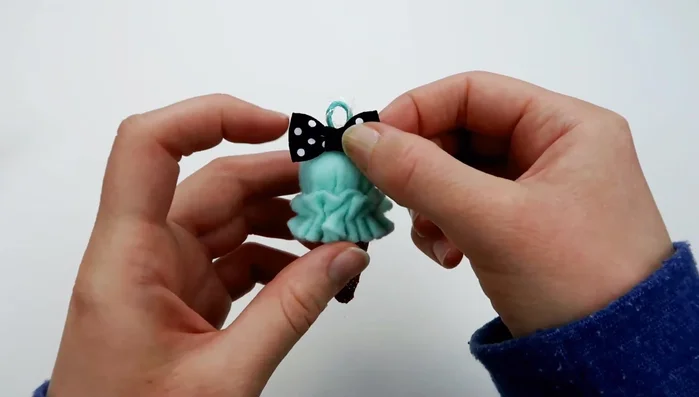
Create and Attach the Ice Cream Base Add a Bow (Optional)
- Glue a bow onto the front of the plushie.
Add a Bow (Optional)


Read more: DIY Picture Frame from Oat Cartons and Fabric: A Simple & Unique Craft
Tips
- Feel free to use any material, not just felt.
- Enlarge the pattern to make a bigger plushie.
- Use a dowel or pencil to help turn the plush inside out.
- To prevent the knot from showing, knot the thread before starting the running stitch on the base.
- Position the base piece so the knot is hidden by the seam.