Let's face it, assembling a child's drum set can sometimes feel like a daunting task, especially with the myriad of parts and pieces involved. But fear not, aspiring drummers and equally aspiring parents! This guide is designed to make the process quick, easy, and fun, transforming what might seem complicated into a simple and enjoyable experience. We’ll walk you through each step, using clear language and helpful visuals, so you can have your little one banging out a beat in no time. Remember, patience is key, especially with younger helpers who might want to participate!
Getting your child's drum set ready for its musical debut doesn't have to be a headache. This easy-to-follow guide provides clear, concise instructions, avoiding technical jargon and focusing on practical steps. Whether it's a basic starter kit or a slightly more advanced set, we’ll cover everything from identifying the parts to tightening the final bolts. So, ready to get started and unleash your child's inner rockstar? Let's dive into the step-by-step assembly process now!
Preparation and Safety Guidelines
- Kid's drum kit
- Adult supervision is required at all times during assembly and play. Small parts present a choking hazard.
- Ensure the drum is assembled on a stable, flat surface to prevent tipping or accidental injury.
- Check all screws and bolts are tightened securely after assembly to prevent parts from detaching during use.
Step-by-Step Instructions
Prepare the Parts
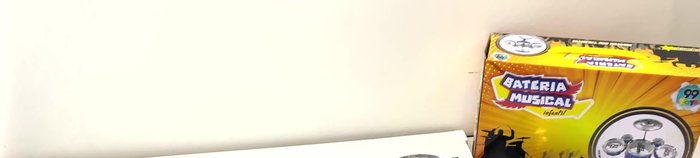
- Take all pieces out of the box and place them on a table.
- Remove the drum from its packaging by turning it approximately 35° – do not pull it straight out.

Prepare the Parts Assemble the Base
- Assemble the legs by pushing the two similar pieces together until they are tight.
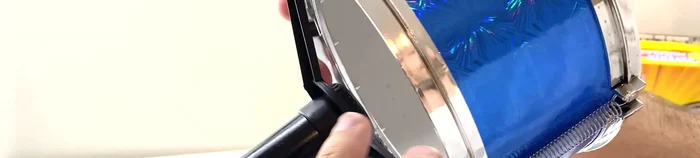
- Place the drum onto the assembled legs, ensuring the top part with the hole is facing up.
Assemble the Base Attach the Drum Body
- Attach each corner of the leg support to the drum, making sure each connection is tight.
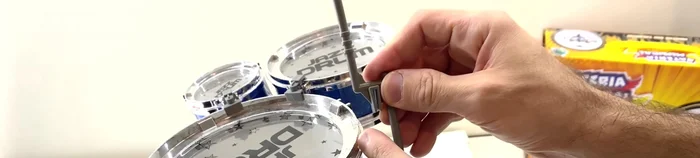
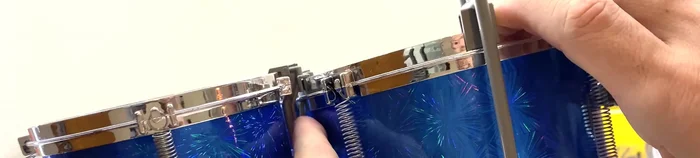
Attach the Drum Body Connect the Drum Components
- Attach the small, gray/silver connecting pieces to join all parts of the drum together. Note the locking mechanism under each connection to prevent parts from separating.
- Attach the last piece into the small hole at the top, joining it to the edge of the drum.
Connect the Drum Components Install the Top Plate
- Attach the final plate by connecting the two parts and securing them together.
Install the Top Plate


Read more: DIY Dollar Store Ghost Candy Holder: Spooky Cute Halloween Decor!
Tips
- Don't force the drum out of its packaging; rotate it to remove it.
- Ensure all connections are tight for stability.
- The orientation of the drum's name might be upside down or sideways after assembly; this is acceptable.