Embark on a delightful quilting journey as we craft adorable jungle animal appliqué quilt blocks using the innovative in-the-hoop embroidery technique! This method allows for precise placement and intricate detailing, transforming simple fabric shapes into charming lions, playful monkeys, and majestic elephants, all perfectly positioned within the confines of your embroidery hoop. Forget fussy applique piecing and enjoy the efficiency and precision of machine embroidery to create these delightful blocks. Imagine the vibrant jungle scene you’ll create, bursting with personality and perfectly stitched details.
This guide provides a comprehensive, step-by-step approach to creating these enchanting in-the-hoop jungle animals, perfect for quilters of all skill levels. From preparing your fabrics and designs to completing the final touches, we will walk you through every stage of the process, equipping you with the knowledge and confidence to bring your own wild and wonderful jungle quilt to life. Let’s dive into the instructions!
Preparation and Safety Guidelines
- 8x8 hoop
- cutaway stabilizer
- wash-away stabilizer
- batting
- fabric (various colors and types)
- masking tape
- scissors
- sewing machine
- needles
- threads (various colors)
- Always use a stabilizer appropriate for your fabric and machine. Too little stabilizer can lead to puckering, while too much can make it difficult to stitch and cause needle breakage.
- Keep your fingers clear of the needle at all times, especially when working with sharp appliqué pieces or during the in-the-hoop stitching process. Use the machine's safety features, and consider using a darning foot or other appropriate embroidery foot.
- Before starting your project, test your design and stitching on a scrap of fabric to ensure proper settings and to avoid any surprises on your final quilt block. This is particularly important for ensuring the correct placement and sizing of your appliqué shapes within the hoop.
Step-by-Step Instructions
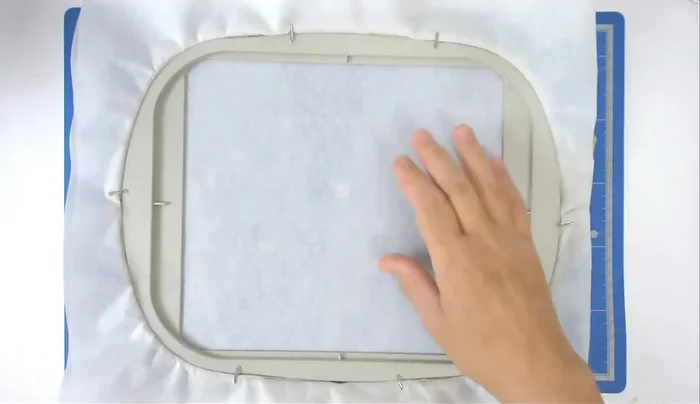
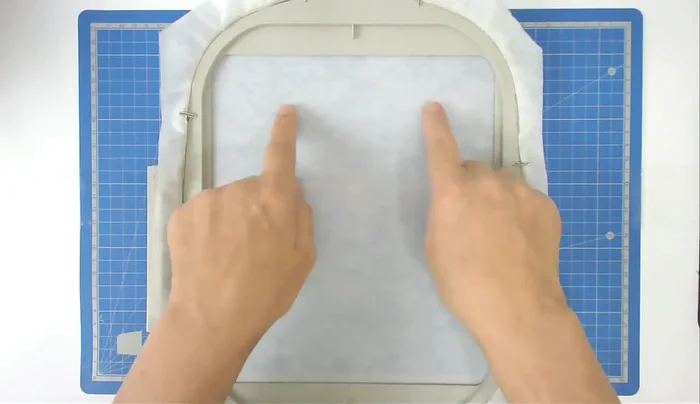
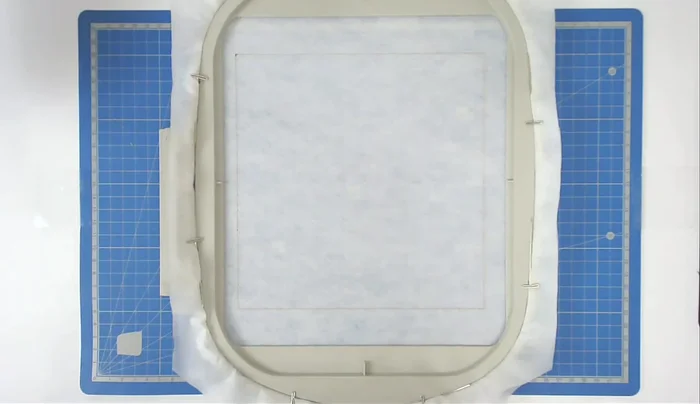
Prepare the Hoop
- Hoop the stabilizer (cutaway for in-the-hoop, wash-away for appliqué).

Prepare the Hoop Create Placement Outline
- Stitch around the placement outline (number one on the pattern).
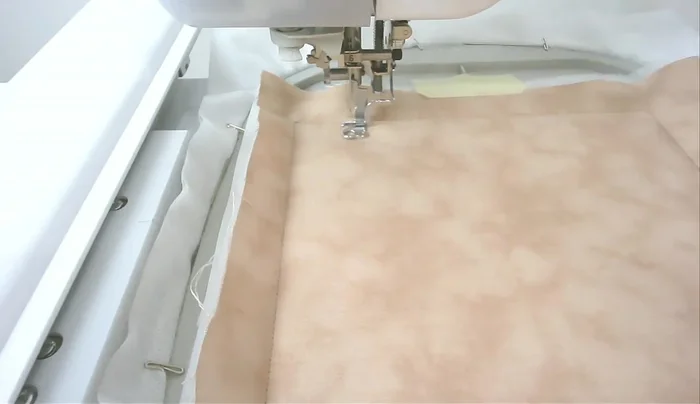
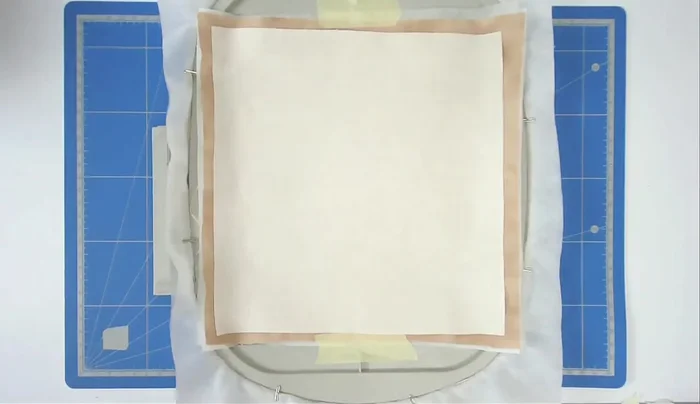
Create Placement Outline Secure Main Fabric and Batting
- Place batting and main fabric, secure with stitching (number two).
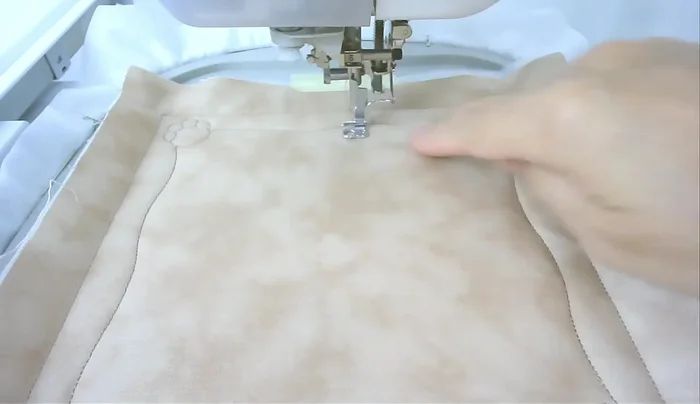
Secure Main Fabric and Batting Quilt the Outer Frame
- Quilt the frame around the edge (number three).
Quilt the Outer Frame Stitch Inner Fabric Placement
- Stitch the placement line for the inner fabric (number four).
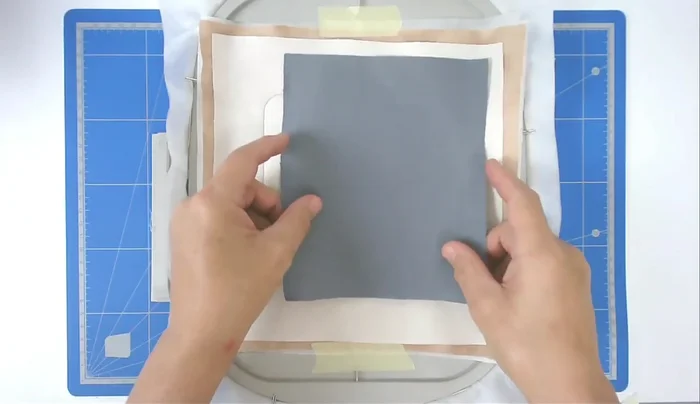
Stitch Inner Fabric Placement Attach Inner Fabric
- Place and tape the inner fabric, stitch it down (number five).
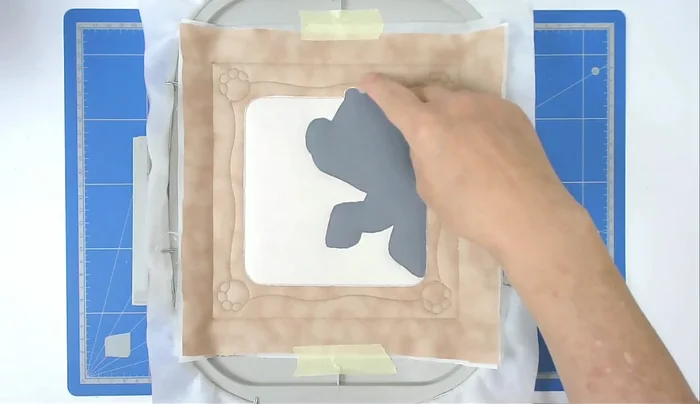
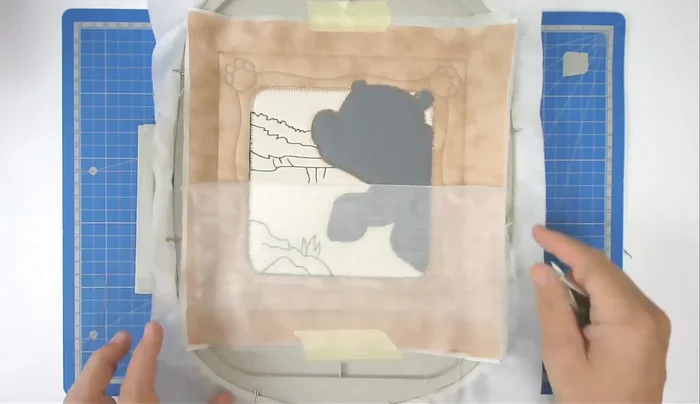
Attach Inner Fabric Attach Animal Fabric
- Place and tape the animal fabric, stitch it down (number six).
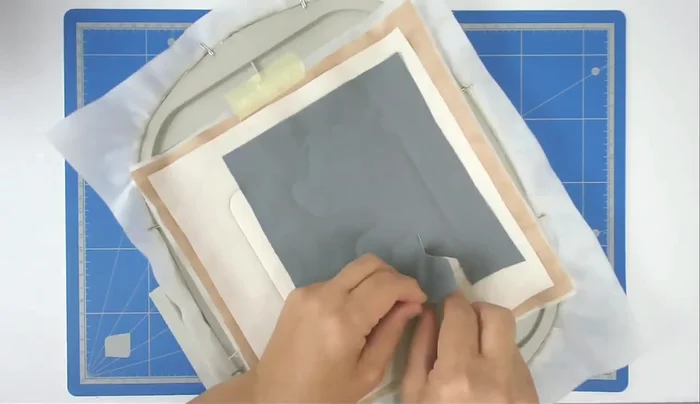
Attach Animal Fabric Trim Excess Fabrics
- Trim excess fabric.
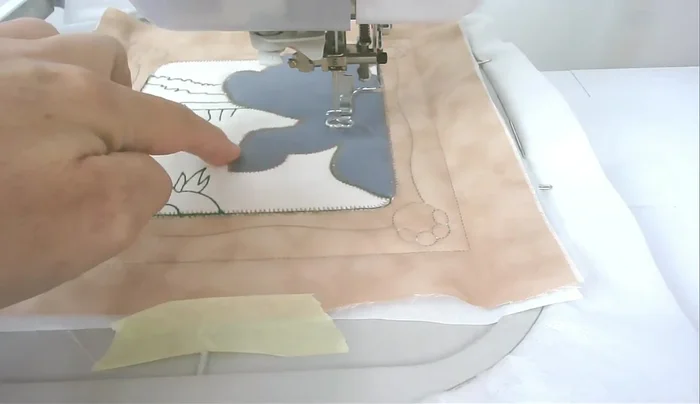
Trim Excess Fabrics Secure Raw Edges
- Zigzag stitch the raw edges of the animal and inner frame (number seven).
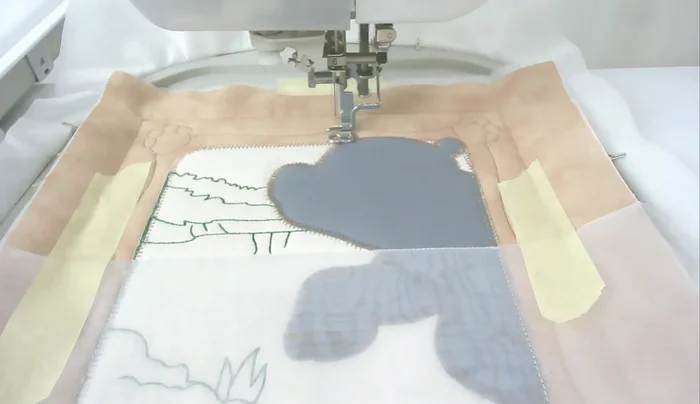
Secure Raw Edges Stitch Background
- Stitch the background scenery (number eight).
Stitch Background Satin Stitch Feet
- Satin stitch around the feet (number nine).
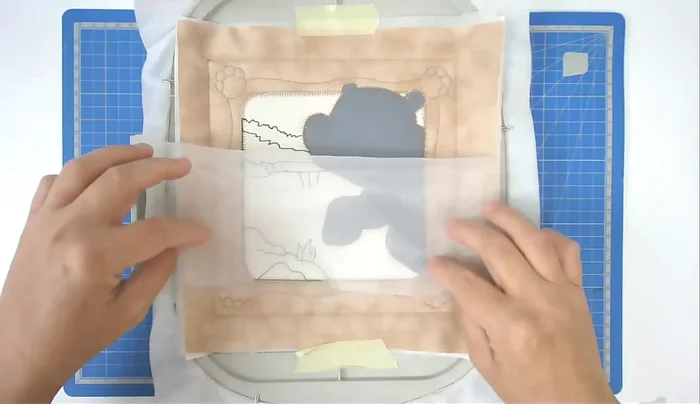
Satin Stitch Feet Attach and Secure Organza (First Layer)
- Place, tape, and stitch the organza (number ten).
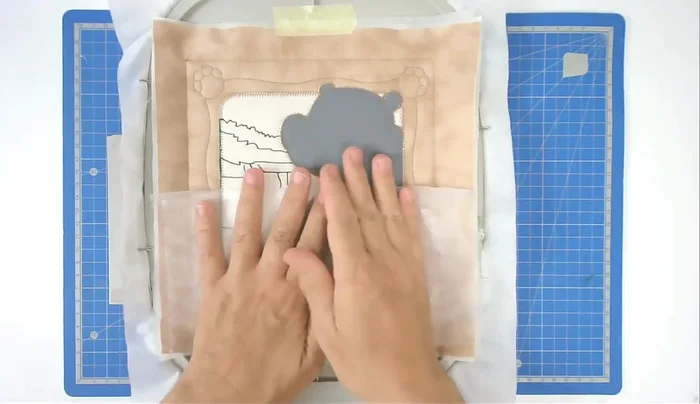
Attach and Secure Organza (First Layer) Attach and Secure Organza (Second Layer)
- Fold back and tape the organza, stitch to secure (number eleven).
Attach and Secure Organza (Second Layer) Trim Excess Organza
- Trim excess organza.
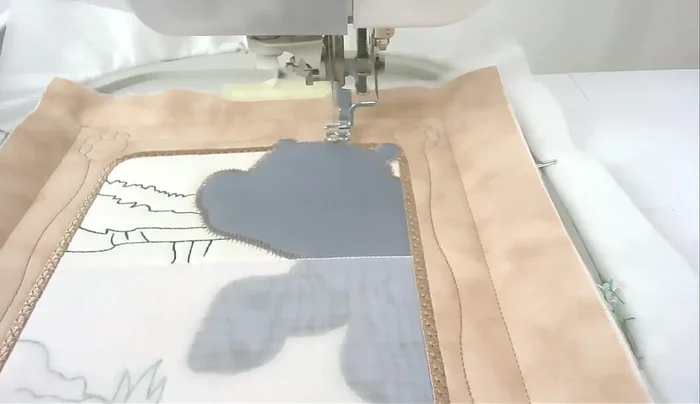
Trim Excess Organza Satin Stitch Frame
- Satin stitch around the frame (number twelve).
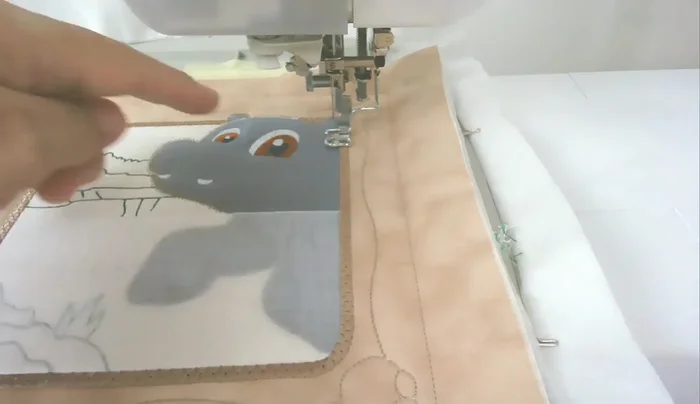
Satin Stitch Frame Satin Stitch Eyes
- Satin stitch the eyes (numbers thirteen, fourteen, fifteen).
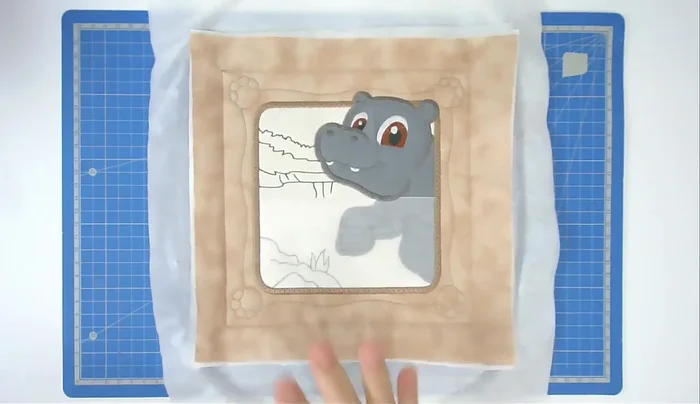
Satin Stitch Eyes Satin Stitch Head
- Satin stitch around the head (number sixteen).
Satin Stitch Head Finishing Touches
- Remove from hoop and trim.
Finishing Touches

Read more: DIY Picture Frame from Oat Cartons and Fabric: A Simple & Unique Craft
Tips
- Use wash-away stabilizer for appliqué and cutaway for in-the-hoop.
- Pin the stabilizer to the hoop for secure placement.
- Use dark inner fabric to help with trimming.
- Tape fabric pieces in place to prevent shifting during stitching.
- Change thread colors as needed for different elements.