Felt is a wonderfully versatile crafting material, and its soft texture makes it ideal for creating adorable and durable toys. This tutorial will guide you through the simple process of making a charming dress for your felt doll, perfect for adding a touch of handmade whimsy to your cherished creation. Whether you're a seasoned sewist or a complete beginner, this project is approachable and rewarding, requiring minimal supplies and basic sewing skills. You'll be surprised how quickly you can transform a plain doll into a fashion icon!
Forget complicated patterns and intricate stitching; this project prioritizes ease and fun. We'll focus on straightforward techniques to create a beautifully fitting dress that your felt doll will adore. Ready to get started? Let's dive into the step-by-step instructions that will transform your fabric scraps into a delightful doll dress.
Preparation and Safety Guidelines
- Felt
- Sewing machine (optional)
- Needle and thread
- Scissors
- Ribbons, lace, buttons, puff paint (for decoration)
- Always supervise young children when using scissors or needles.
- Use a sharp pair of scissors to prevent pulling or tearing the felt.
- If using a sewing machine, ensure it is properly threaded and adjusted for felt before beginning.
Step-by-Step Instructions
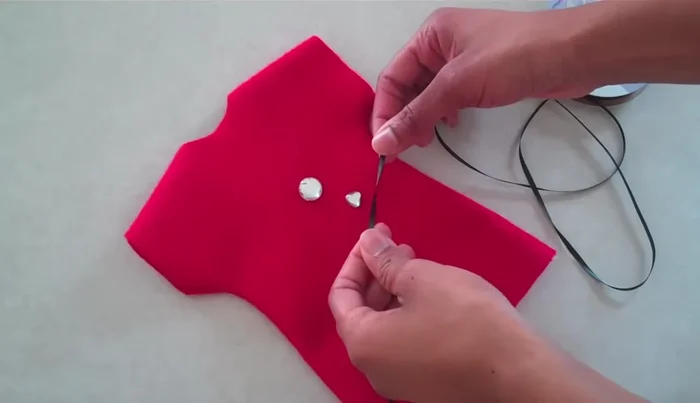
Cut Felt Pieces
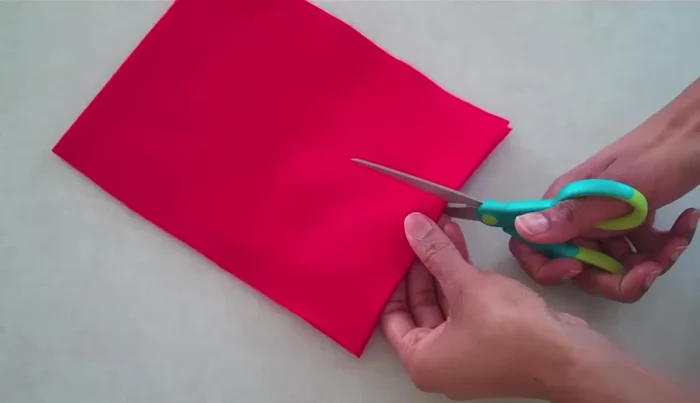
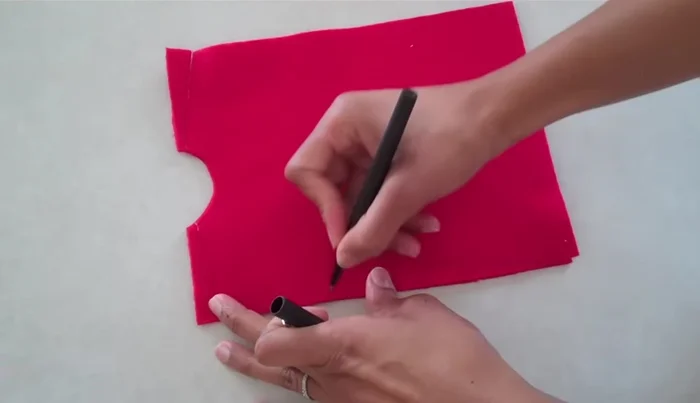
- Measure and cut two rectangular pieces of felt, each about the same width as your doll.
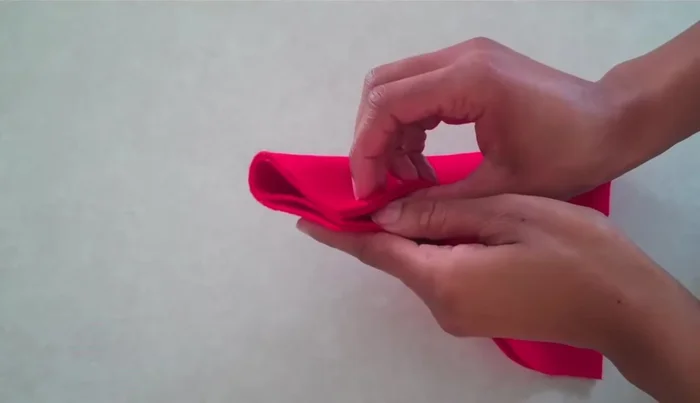
- Find the center of each rectangle by folding it in half and cutting a small notch.
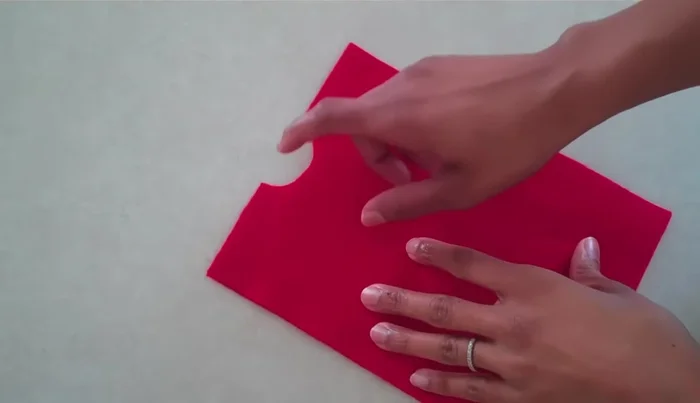
- Cut a small semicircle around the notch for the neck opening.

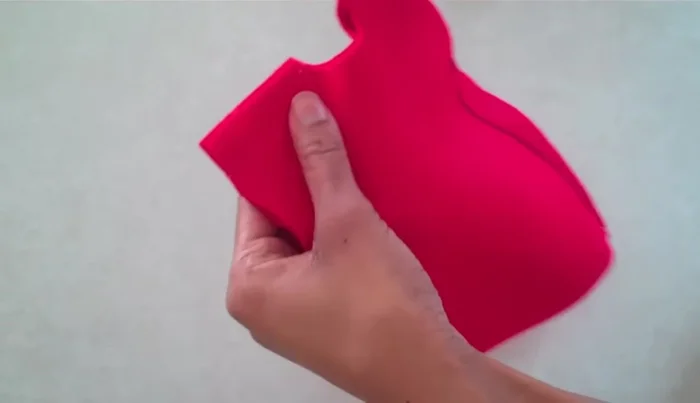
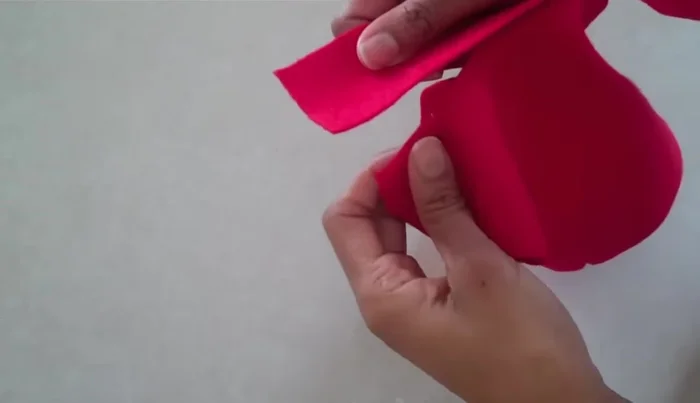
Cut Felt Pieces Assemble the Dress Body
- Sew a diagonal line from shoulder to shoulder to attach the two pieces. This can be done by machine or hand.
- Position the felt pieces on your doll to determine the placement of the armholes. Mark these locations.
- Sew the armholes on both sides.
- Trim excess felt.
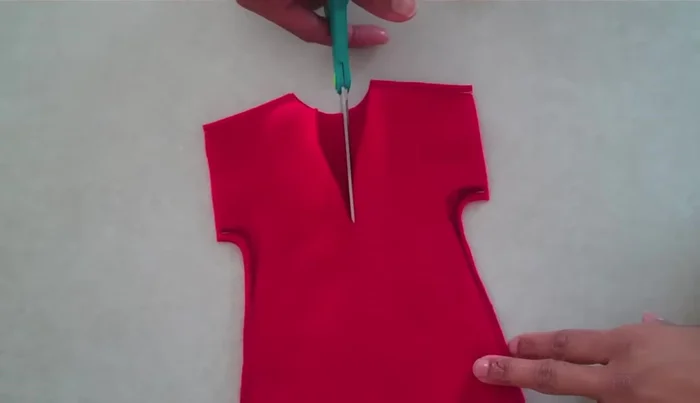
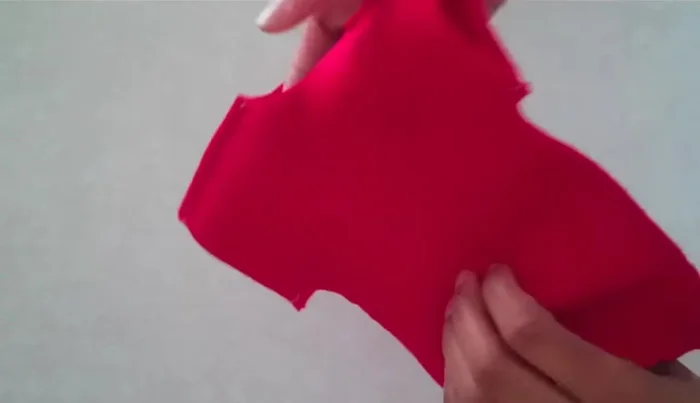
Assemble the Dress Body Finish the Dress
- Cut a slit in the back for the doll to fit through.
- Turn the dress inside out.
Finish the Dress Decorate the Dress
- Decorate the dress with ribbons, lace, buttons, puff paint, etc.
Decorate the Dress Add a Collar (Optional)
- Optionally, add a collar by cutting a felt strip, placing it inside the neckline, sewing it in place, and flipping it over.
Add a Collar (Optional) Dress the Doll
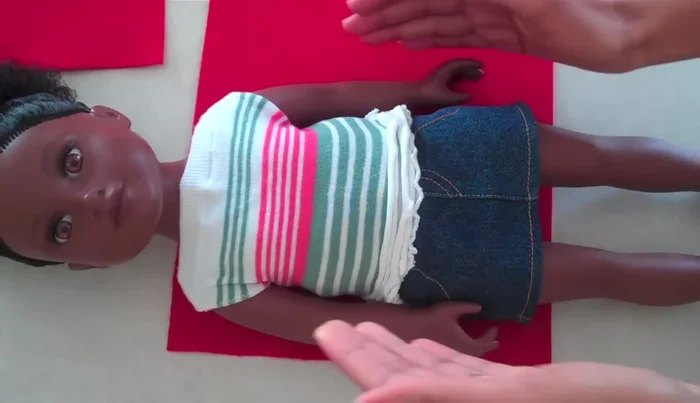
- Dress the doll, tie a ribbon around the waist (optional).

Read more: DIY Picture Frame from Oat Cartons and Fabric: A Simple & Unique Craft
Tips
- N/A