Spring has sprung, and what better way to celebrate the season's vibrant energy than by crafting your own delightful fabric butterflies? This easy DIY project is perfect for all skill levels, requiring minimal supplies and offering maximum creative freedom. Imagine adorning your home with these charming flutterers – hanging them from your windows, weaving them into wreaths, or even using them as whimsical embellishments on clothing or gifts. The possibilities are as endless as your fabric stash! These charming decorations are surprisingly simple to create, adding a touch of handmade elegance to your spring decor.
Transforming scraps of fabric into beautiful butterflies is easier than you think! This tutorial will guide you through a straightforward step-by-step process, showing you exactly how to create these lovely spring decorations in no time at all. Get ready to unleash your inner artist and let's get crafting!
Preparation and Safety Guidelines
- Lightweight 100% cotton fabric
- Fabric Mod Podge
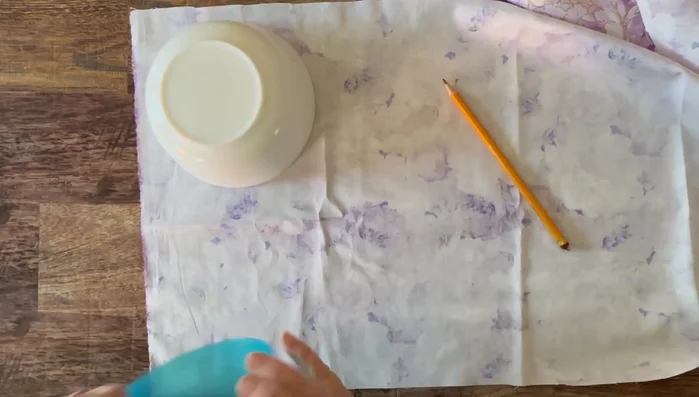
- Two different size bowls (one large, one medium)
- Pencil
- Scissors
- Wax paper
- Pipe cleaners (white, black, or brown)
- Toothpick
- Hot glue
- Pearlized embellishments (optional)
- Floral sticks or bamboo skewers (optional)
- Floral tape (optional)
- Always supervise children when using scissors and needles. Sharp objects should be handled with care.
- If using fabric glue, ensure adequate ventilation and follow the manufacturer's instructions carefully. Avoid contact with skin and eyes.
- Consider pre-washing fabrics, especially if they're new, to prevent shrinkage or color bleeding after your butterflies are completed.
Step-by-Step Instructions
Prepare Fabric Circles
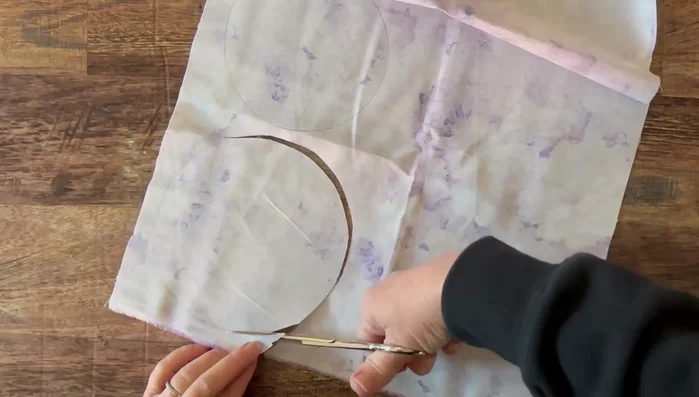
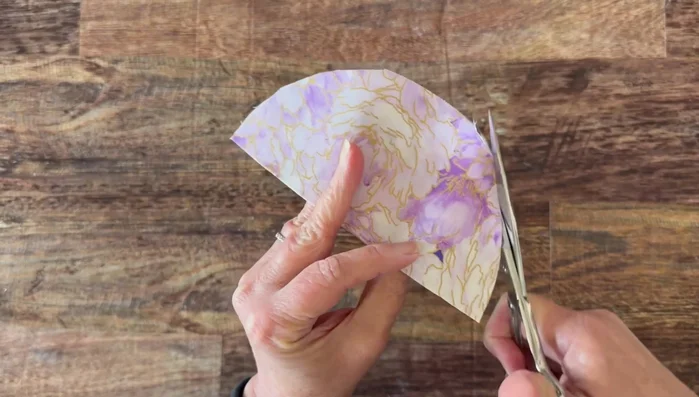
- Trace two circles onto fabric (one large, one medium) using bowls as templates. Print side of the fabric should be facing down.
- Cut out both circles for each butterfly (two circles per butterfly).

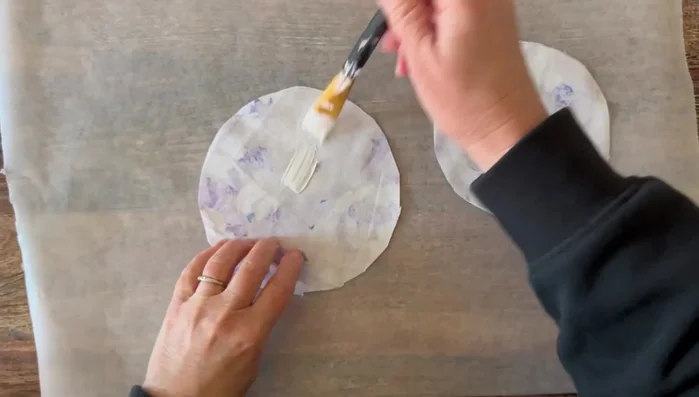
Prepare Fabric Circles Apply Mod Podge and Glue
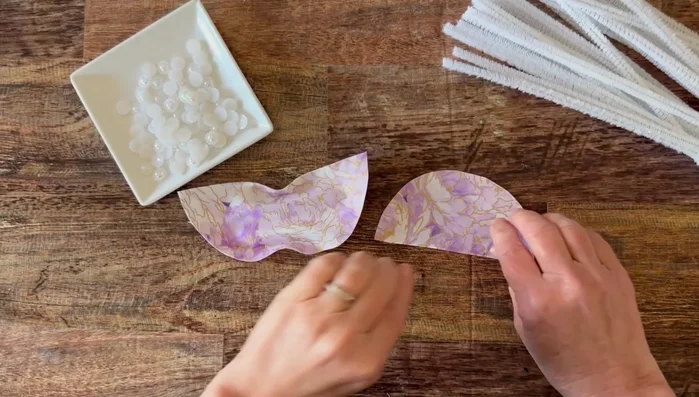
- Apply a thick coat of fabric Mod Podge to one half of each circle.
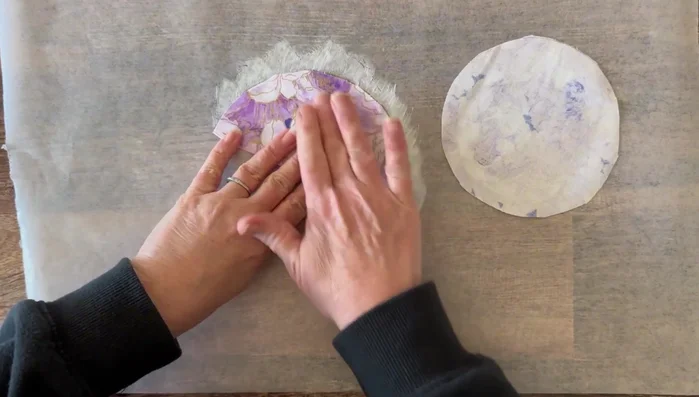
- Glue the Mod Podge-coated halves of the circles together, print sides facing out. Let it dry.
Apply Mod Podge and Glue Finish Fabric Shapes
- Trim the edges of the dried fabric circles to create a clean finish.
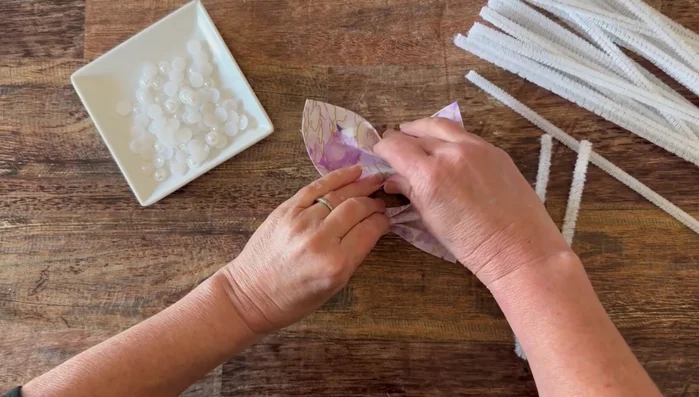
- Pinch the center of each circle to create pleats.
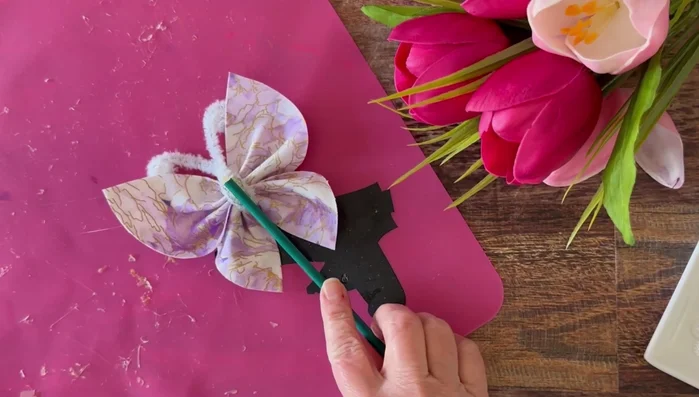
Finish Fabric Shapes Assemble Butterfly
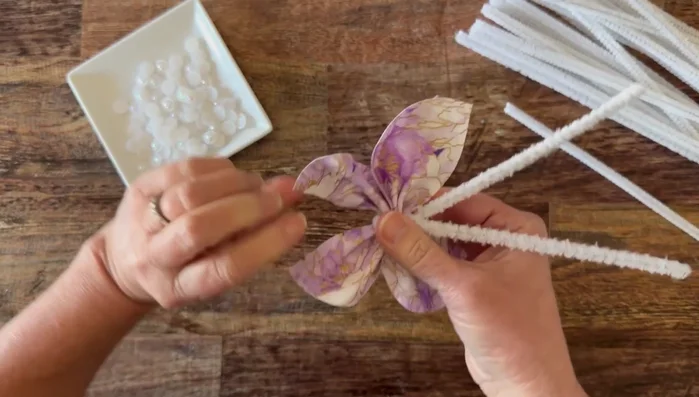
- Wrap a pipe cleaner around the pleated center of both fabric circles, twisting the top to secure.
- Shape the pipe cleaner ends into antennae by wrapping and twisting them.
- Add optional pearlized embellishments with hot glue to the center.
Assemble Butterfly Create Floral Picks (Optional)
- Add hot glue to the base of the butterfly and attach it to a floral stick or bamboo skewer. Cover the stick with floral tape if desired.
Create Floral Picks (Optional)
Read more: DIY Picture Frame from Oat Cartons and Fabric: A Simple & Unique Craft
Tips
- Use different sizes of bowls to create butterflies of varying sizes.
- Ensure a thick coat of Mod Podge is applied to the edges for a better seal.
- Fabric Mod Podge remains flexible when dry, allowing for easy shaping.
- This craft is easy enough for kids to participate in.
- Experiment with different fabric colors and embellishments to create unique butterflies.