Tired of flimsy kites that tear at the first gust of wind? Do you yearn for a kite that can withstand the elements and provide hours of exhilarating flight? Then this guide is for you! We'll show you how to transform a cheap, disposable kite into a durable, high-performance flyer using readily available materials and simple techniques. Forget about constantly replacing broken kites; this project empowers you to create a robust, long-lasting kite that's built to withstand even the most challenging conditions. Imagine soaring your custom-crafted kite high above, feeling the pride of creation with each graceful swoop and dive.
This DIY project is surprisingly affordable and straightforward, requiring minimal tools and skills. We'll be focusing on reinforcing weak points and upgrading materials to significantly increase the kite's resilience and flight capabilities. Ready to upgrade your kite game? Let's dive into the step-by-step instructions to build your own durable fabric kite.
Preparation and Safety Guidelines
- Cheap plastic kite
- Fabric (at least 23" x 23"
- Iron-on interfacing
- Eyelets & setter (or Crop-a-dile)
- Sewing machine
- Scissors
- Pen
- Measuring tape
- Dowels (same size as original kite)
- String
- Fabric for tail (2.5 feet)
- Never fly your kite near power lines or electrical equipment. Electricity and kites are a dangerous combination.
- Always be aware of your surroundings. Avoid flying your kite in strong winds or during thunderstorms. High winds can cause the kite to break or become uncontrollable, and lightning poses a significant risk.
- Keep a safe distance from other people and objects while flying your kite. A runaway kite, especially a large or heavy one, can cause injury or damage.
Step-by-Step Instructions
Fabric Cutting and Preparation
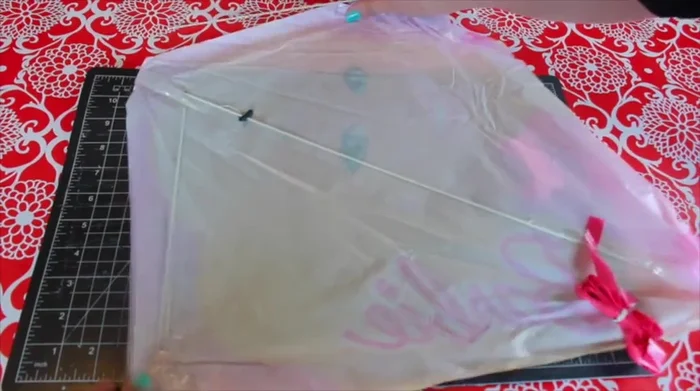
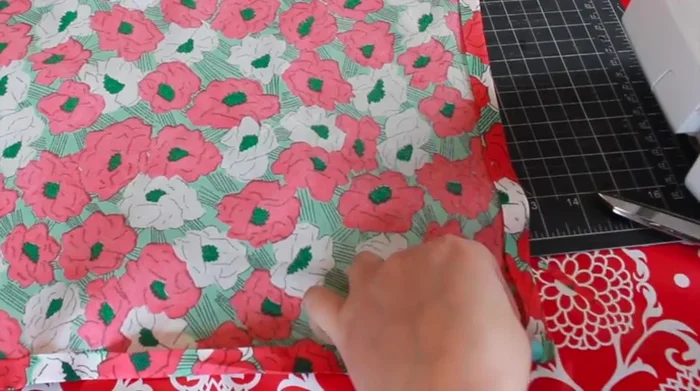
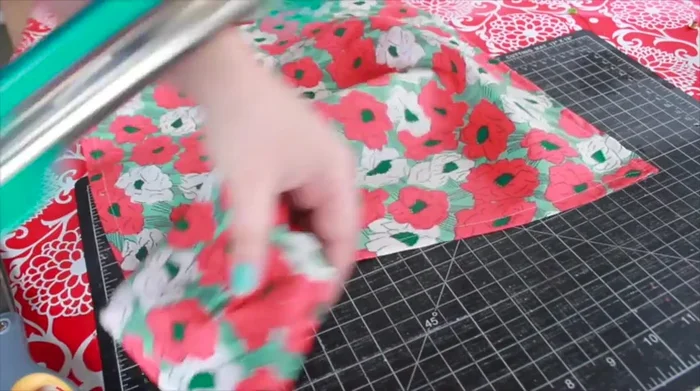
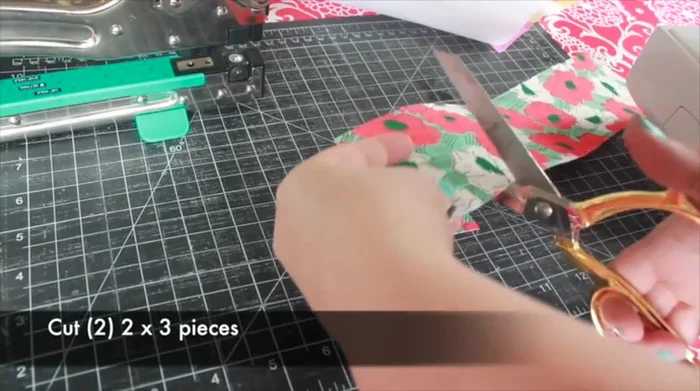
- Lay the plastic kite facedown on the fabric's backside. Cut the fabric, adding a 1-inch border.
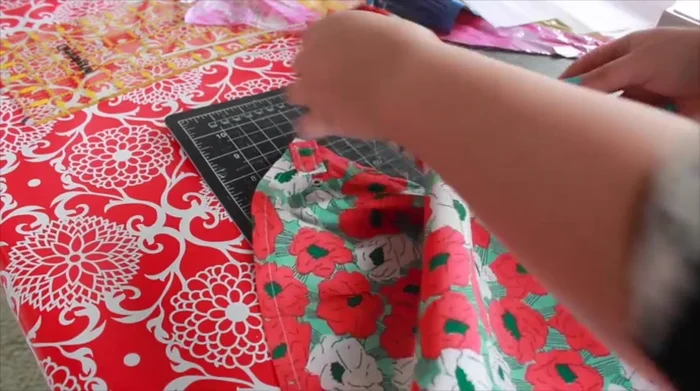
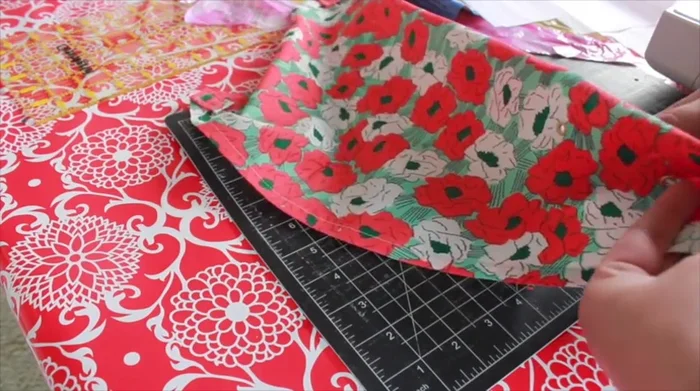
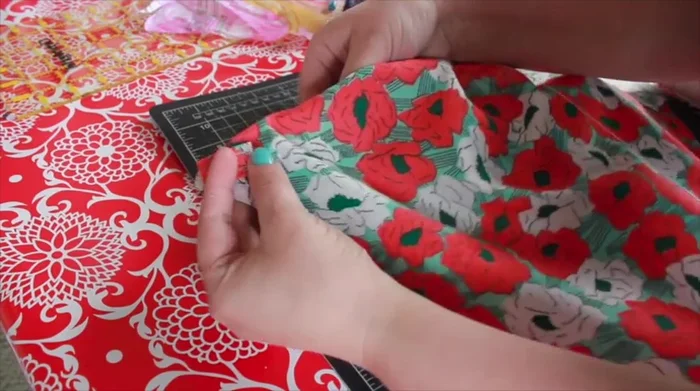
- Fold the fabric edges 1/2 inch, press, fold again, and press to encase the raw edge.
- Cut the excess fabric at the corners and sew the sides with a 1/4 inch seam.

Fabric Cutting and Preparation Reinforcing Holes and Adding Eyelets
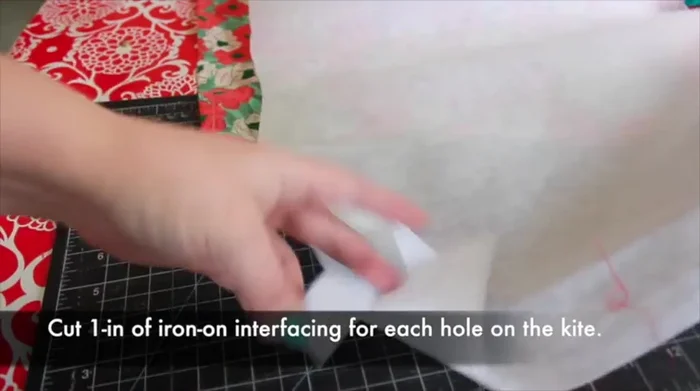
- Cut 1-inch squares of iron-on interfacing for each hole. Transfer hole markings to the fabric and iron the interfacing to the wrong side.
- Punch holes and add eyelets.
Reinforcing Holes and Adding Eyelets Creating and Attaching Dowel Pockets
- Make four pockets for the dowels using iron-on interfacing and fabric strips. Sew the pockets to the fabric kite leaving one side open to insert the dowels.
Creating and Attaching Dowel Pockets Assembling the Kite
- Insert dowels into pockets.
- Tie a 2.5-foot fabric strip to the bottom dowel as a tail.
- Attach the string, clipping it higher towards the top for better lift.
Assembling the Kite

Read more: DIY Picture Frame from Oat Cartons and Fabric: A Simple & Unique Craft
Tips
- Use a Crop-a-dile tool or a standard eyelet setter kit for adding eyelets.
- Clipping the string higher towards the top of the kite gives it better lift.