In a world dominated by digital communication, a handwritten thank-you note holds a unique power – a tangible expression of gratitude that resonates deeply with the recipient. For children, crafting a thank-you card offers more than just polite etiquette; it's a chance to express their appreciation creatively and personalize their message in a way a simple email or text message never could. This engaging activity fosters important life skills, such as expressing gratitude and developing fine motor skills, all while nurturing their artistic talents. It's a win-win for both the giver and receiver!
This guide offers a fun and simple step-by-step process for creating adorable DIY thank you cards, perfect for children of all ages and skill levels. Whether you're using paint, glitter, stickers, or recycled materials, the possibilities are endless, allowing for unique and heartwarming creations. Let’s dive into the detailed instructions to create a beautiful and heartfelt thank you card your child will be proud of.
Preparation and Safety Guidelines
- Paper (printable template provided)
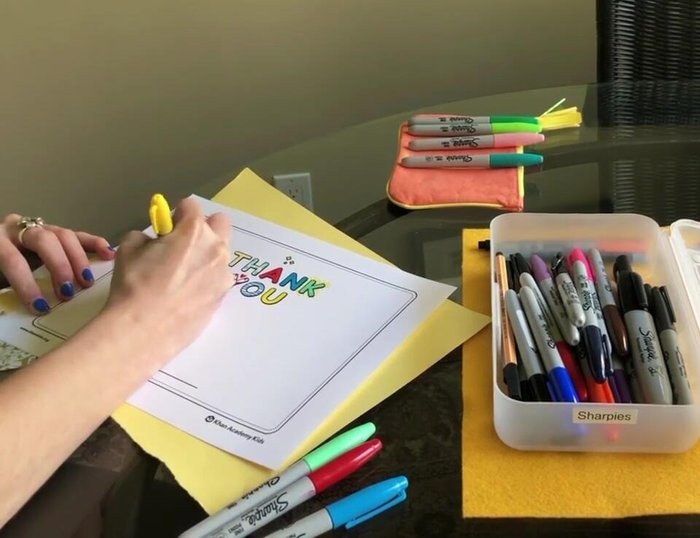
- Crayons
- Markers
- Adult supervision is required, especially when using scissors, glue, and other sharp or potentially messy crafting tools.
- Ensure all materials are age-appropriate and non-toxic. Check for small parts that could pose a choking hazard for young children.
- Work in a well-ventilated area, especially when using paints, markers, or adhesives with strong fumes.
Step-by-Step Instructions
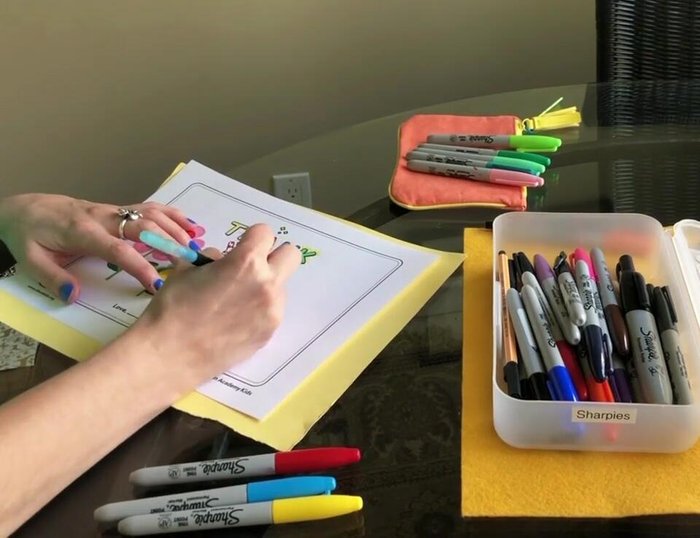
Prepare the Card
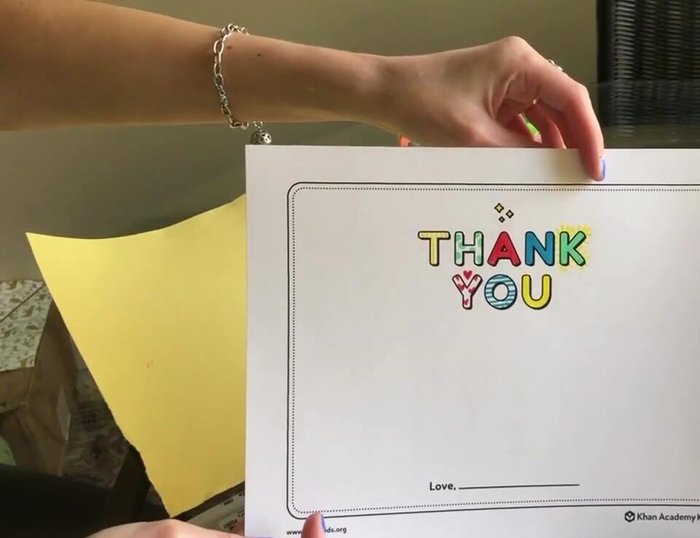
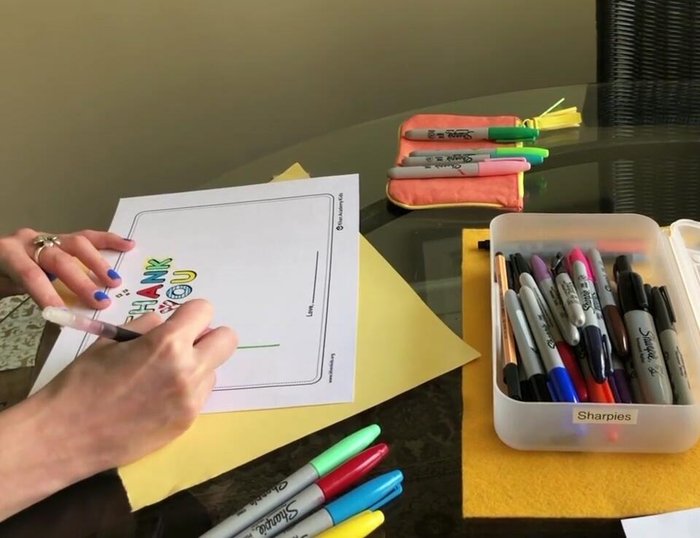
- Print the card template using the provided link.
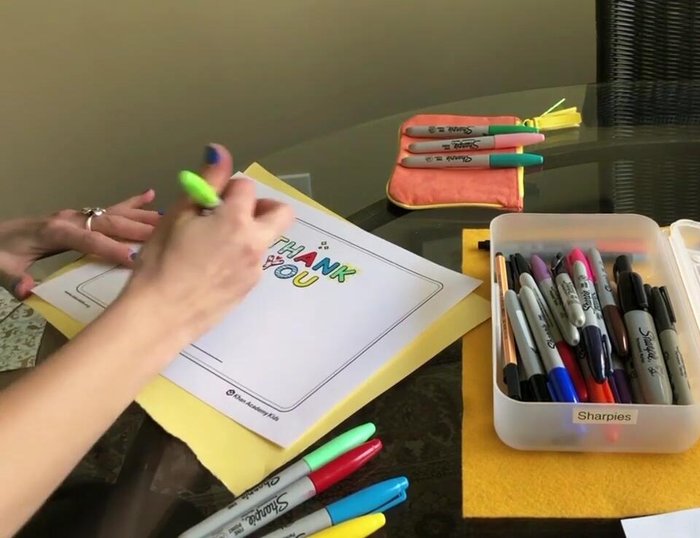
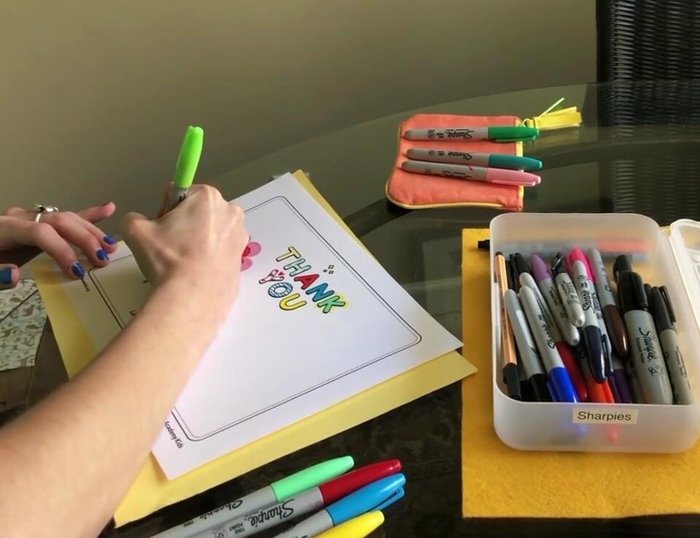
- Color the pre-printed letters using a pattern of your favorite colors and shapes.

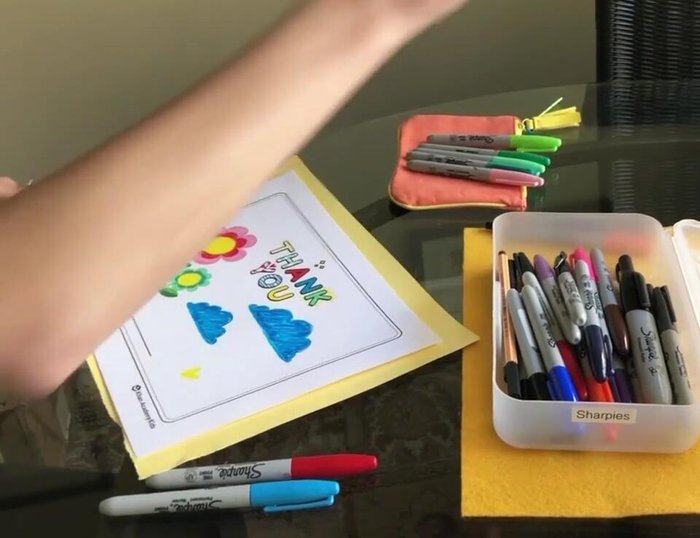
Prepare the Card Draw the Main Flower
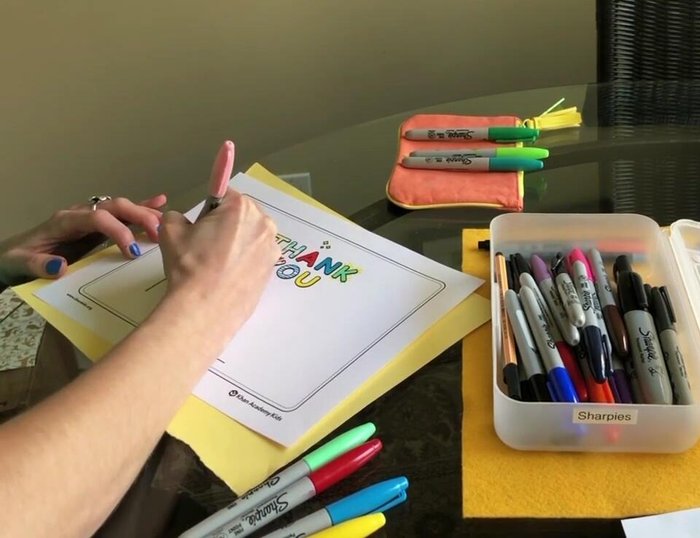
- Draw a yellow circle in the empty space. This will be the center of your flower.
- Draw a long green line down from the yellow circle, representing the stem.
- Add half-circle shapes around the yellow circle to create the flower petals.
- Add smaller half-circles inside the petals in a darker color to create a pattern.
Draw the Main Flower Add Details to the Flower
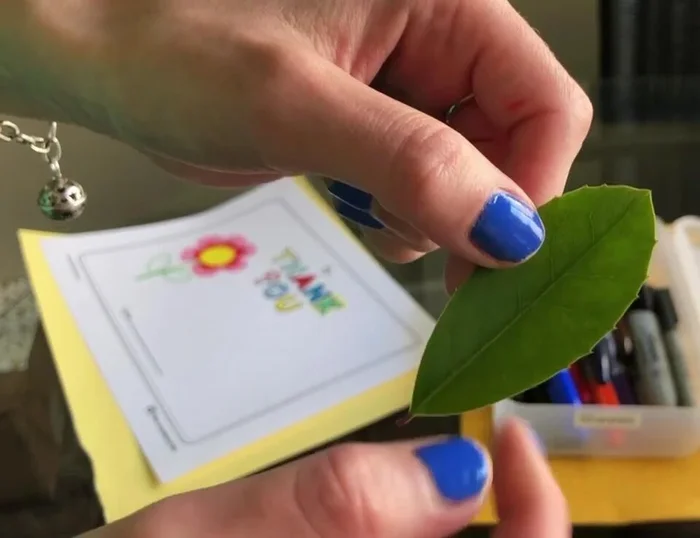
- Draw leaves on either side of the stem.
- Add lines to the leaves for detail, coloring one side light green and the other dark green.
Add Details to the Flower Create a Second Flower (Optional)
- Draw a smaller flower next to the larger one for added detail. (Optional)
Create a Second Flower (Optional) Add Extra Decorations (Optional)
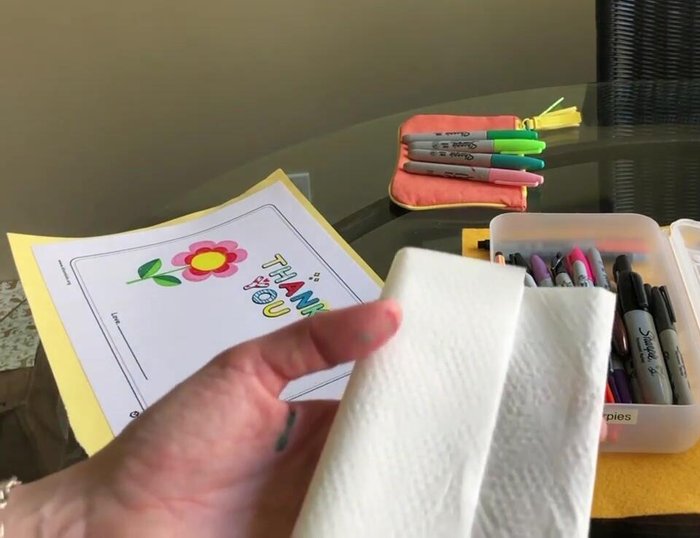
- Add clouds and a heart for extra decoration. (Optional)
Add Extra Decorations (Optional) Personalize and Finish
- Write your name and a thank you message inside the card.
Personalize and Finish
Read more: DIY Toilet Paper Roll Rockets: A Fun and Easy Craft Project
Tips
- Choose colors that the recipient will appreciate.
- Use different shades of the same color to create depth and interest.
- Add small details to make your card stand out.