Toddlers are naturally drawn to soft, engaging textures, and few things satisfy this more than a cuddly, homemade ball. This easy-to-follow tutorial guides you through creating a delightful, soft fabric ball perfect for your little one, offering a safe and stimulating alternative to store-bought toys. Made from simple materials you likely already have at home, this project is not only budget-friendly but also a fantastic opportunity for creative expression. You can customize the colours, fabrics, and even add embellishments to make it truly unique.
Forget expensive, potentially hazardous toys! This DIY soft fabric ball project offers a chance to create a cherished, personalized item for your toddler. The result is a wonderful sensory experience, perfect for grasping, throwing, and cuddling. Ready to get started and transform simple fabric scraps into a treasured plaything? Let's dive into the step-by-step instructions!
Preparation and Safety Guidelines
- Paper
- Scissors
- Needle
- Thread
- Cotton filling
- Adult supervision is required at all times while the toddler is playing with the soft ball. Small parts could pose a choking hazard if detached.
- Ensure all seams are securely stitched and there are no loose threads that could be pulled and ingested.
- Choose fabrics that are soft, non-toxic, and washable. Avoid using fabrics with small embellishments that could easily detach.
Step-by-Step Instructions
Create Fabric Pieces
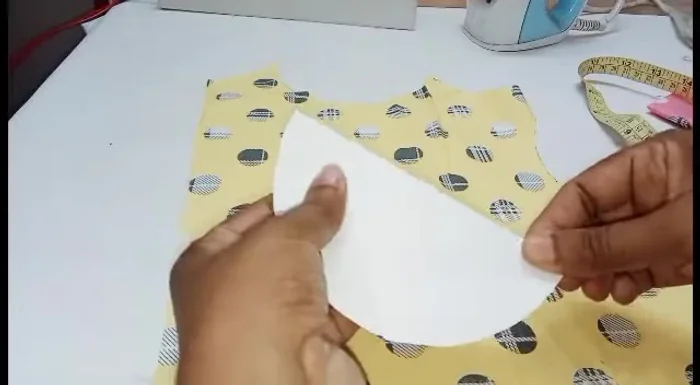
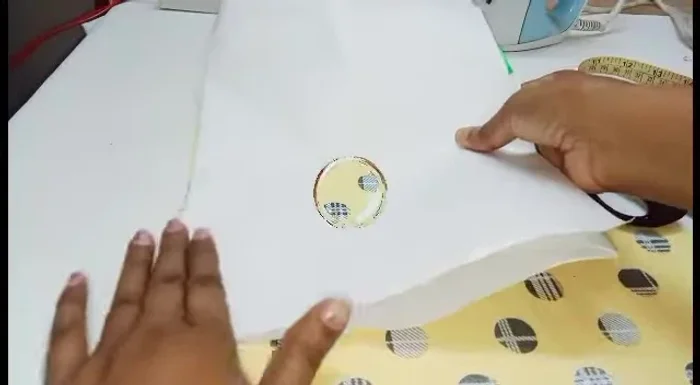
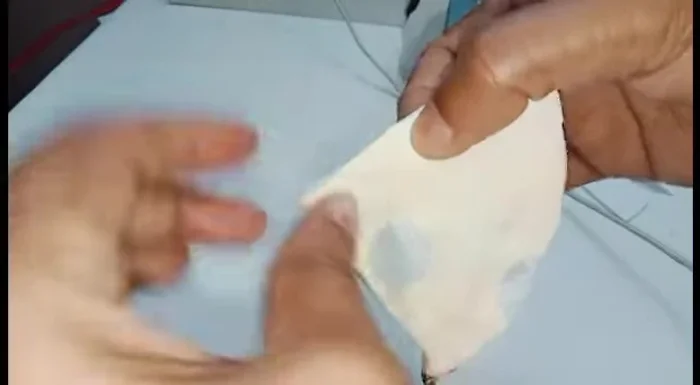
- Draw a 5.5-inch circle on paper. Cut it out, ensuring the circle is neatly cut.
- Fold the circle in half, then in half again to create quarters. Mark the center point.
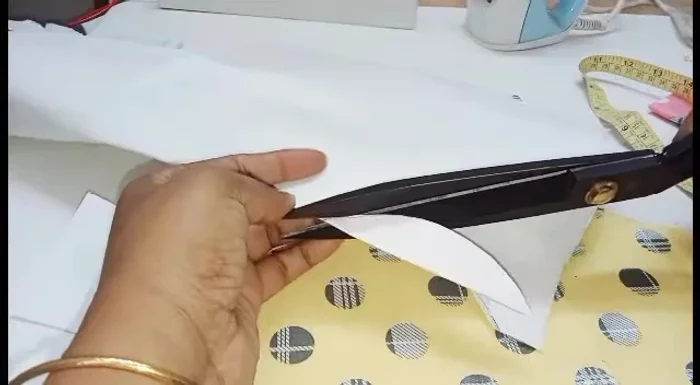
- Cut from the center point to each quarter fold, creating four sections.
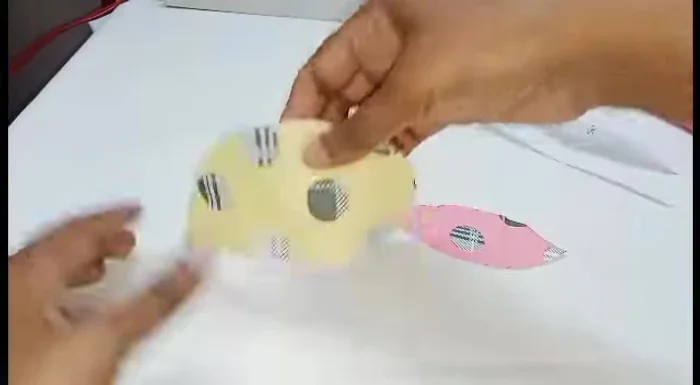
- Fold each section in half, creating a smaller, triangular shape.

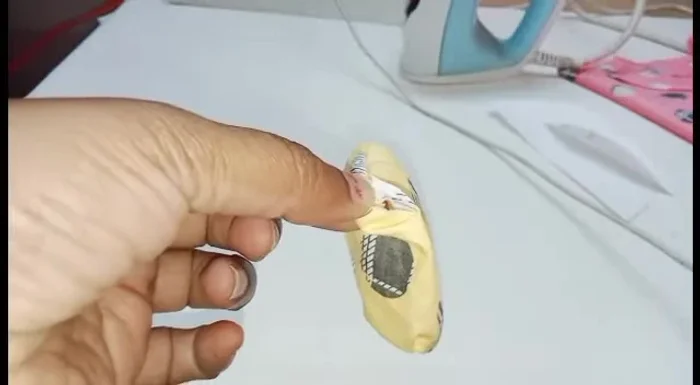
Create Fabric Pieces - Stitch together the two straight edges of each folded triangle.
- Leave a small opening at one end of the stitched triangles. Turn them right side out.
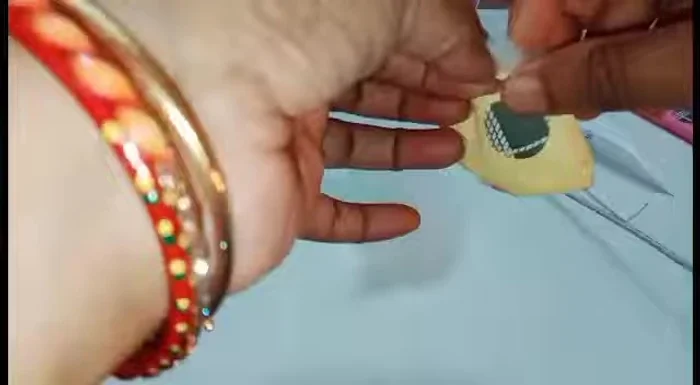
- Stuff the fabric triangles with cotton filling.
- Hand-stitch the opening closed.
Create Fabric Pieces Make More Pieces
- Repeat steps 1-8 to create 11 more identical fabric pieces.
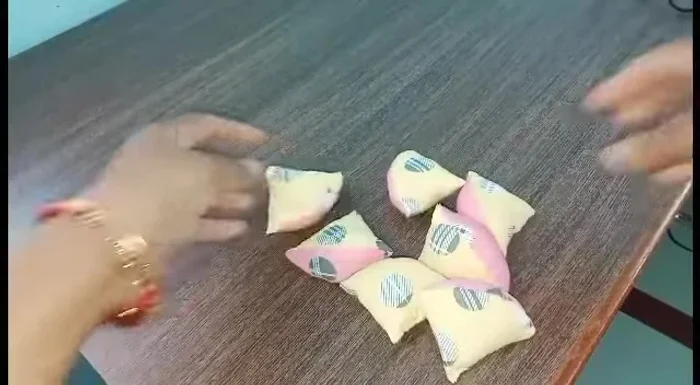
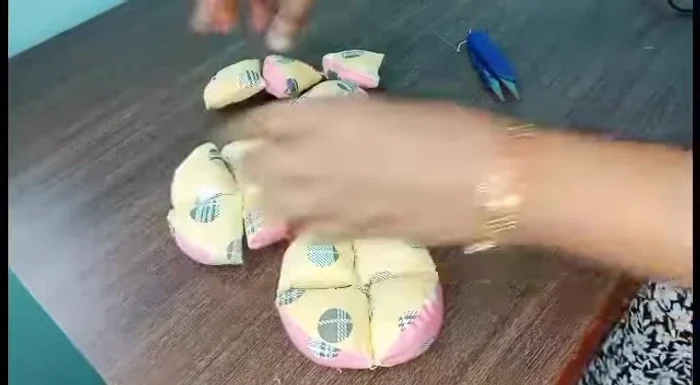
Make More Pieces Assemble Squares
- Join four of the fabric pieces together by stitching their corners to form a larger square. Repeat this for the remaining pieces to create three more squares.
Assemble Squares Assemble the Ball
- Join all four squares together by stitching their edges, forming the final ball shape.
Assemble the Ball


Read more: DIY Picture Frame from Oat Cartons and Fabric: A Simple & Unique Craft
Tips
- Use strong thread for sewing to ensure durability.
- Securely fasten the knots to prevent the seams from coming undone.