Rainy days don't have to be dreary! Turn a gloomy afternoon into a creative adventure with this fun and easy DIY rainstick project, perfect for kids of all ages. Rainsticks, those fascinating instruments that mimic the soothing sound of rain, are surprisingly simple to create using readily available materials. This engaging craft project not only provides hours of entertainment but also offers a fantastic opportunity to teach children about sound and textures while fostering their creativity and problem-solving skills. It's a wonderful way to connect with nature's sounds, even when the weather is less than ideal.
This simple yet captivating craft is perfect for rainy day fun, birthday parties, or even classroom activities. Forget expensive store-bought toys – let's get crafting! The following step-by-step instructions will guide you and your little ones through the process of creating your very own mesmerizing rainstick.
Preparation and Safety Guidelines
- Red construction paper
- Two paper sacks
- Rice
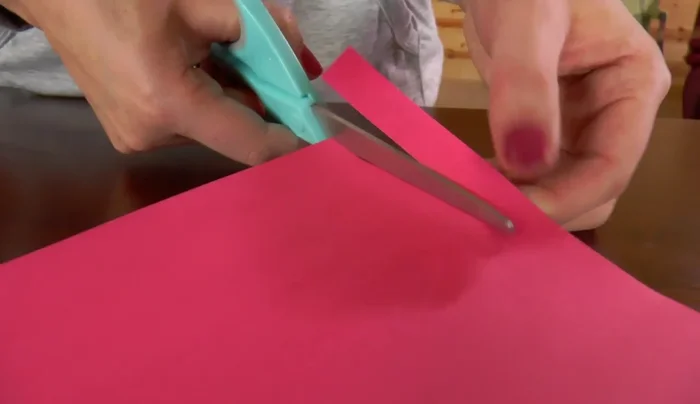
- Scissors
- Pencil
- Two rubber bands
- Measuring cup
- Drawing compass
- Paper towel roll
- Wooden spoon
- Aluminum foil
- Glue
- Adult supervision is required at all times, especially when using sharp objects like scissors or knives for cutting the cardboard tube.
- Ensure small items like beans or rice are kept away from younger children to prevent choking hazards. Only use materials that are safe to handle and won’t cause harm if ingested.
- Be mindful of the adhesive used. Opt for child-safe glue or adhesives that are non-toxic.
Step-by-Step Instructions
Prepare the Rainstick Body
- Cut off one side of a paper sack and wrap it around a paper towel roll. Glue it down.
- Cut off the other side of the paper sack.

Prepare the Rainstick Body Create the Sound Makers
- Wrap aluminum foil around a wooden spoon, creating a spiral shape. Insert this into the paper towel roll.
- Repeat the aluminum foil process with a smaller piece of foil.
Create the Sound Makers Prepare the End Caps
- Using a compass, draw two 3.5-inch circles and cut them out.
Prepare the End Caps Assemble the Rainstick
- Attach one circle to one end of the rain stick, securing it with a rubber band. Repeat for the other end.
- Add 1 1/3 cups of rice to the rain stick.
Assemble the Rainstick Decorate and Seal
- Cut slits into the edges of the paper circles.
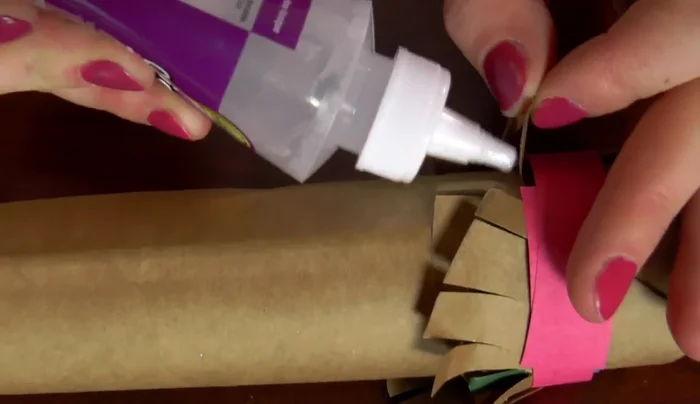
- Decorate the rain stick with strips of red construction paper, wrapping them around the rubber bands.
- Apply a small amount of glue under the circles to secure the rice.
Decorate and Seal


Read more: DIY Dollar Store Ghost Candy Holder: Spooky Cute Halloween Decor!
Tips
- Make sure the aluminum foil is in a nice spiral shape for a better sound.
- Try not to spill the rice.