In today's world, where disposable face masks have become commonplace, it's easy to overlook the fun and creativity involved in crafting your own. Forget the sterile feel of mass-produced masks; let's explore the surprisingly simple and rewarding world of DIY paper masks! This isn't just about functionality; it's a fantastic opportunity to unleash your inner artist and create personalized masks reflecting your unique style, whether it's for a party, a play, or simply a fun afternoon activity. From adorable animal faces to fantastical creatures, the possibilities are endless, limited only by your imagination and the readily available crafting supplies you likely already have at home.
This enjoyable craft project is perfect for all ages and skill levels, requiring minimal materials and effort. The best part? It’s incredibly customizable, allowing you to adapt the design and details to perfectly match your preferences. Ready to get started on creating your own unique and stylish paper mask? Let's dive into the easy-to-follow step-by-step instructions below.
Preparation and Safety Guidelines
- Paper
- Scissors
- Glue
- Colored Paper
- Pencil
- Optional: Sequins, Glitter
- Always supervise young children during crafting to prevent choking hazards from small parts.
- Use non-toxic, child-safe materials, especially if the mask will be worn near the face. Avoid using materials that could irritate sensitive skin.
- Ensure the mask is properly fitted and doesn't obstruct breathing. It is for decorative purposes only and not a protective mask.
Step-by-Step Instructions
Create the Mask Base
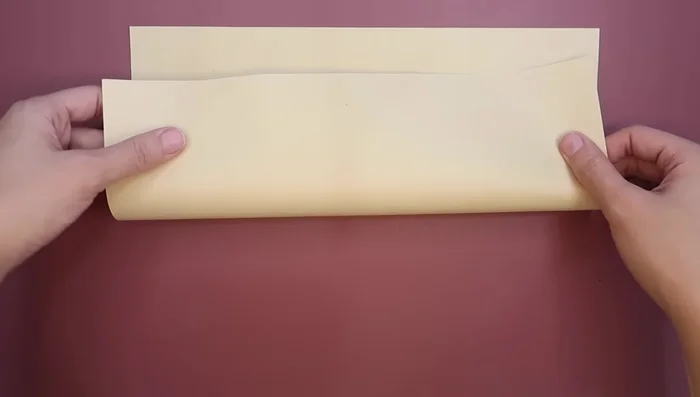
- Fold the paper in half to create the mask's base.
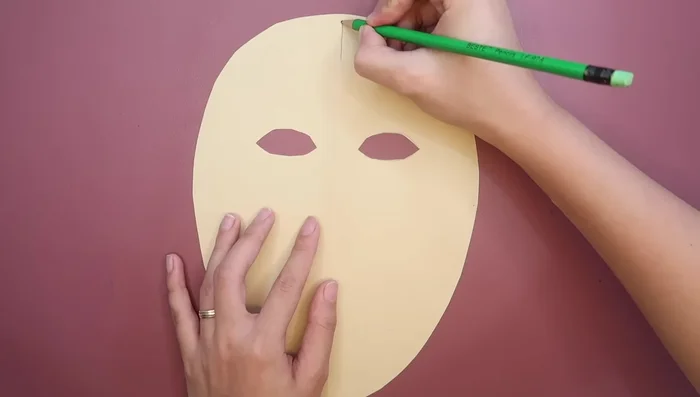
- Draw half a face (oval shape) on the folded paper and cut it out.
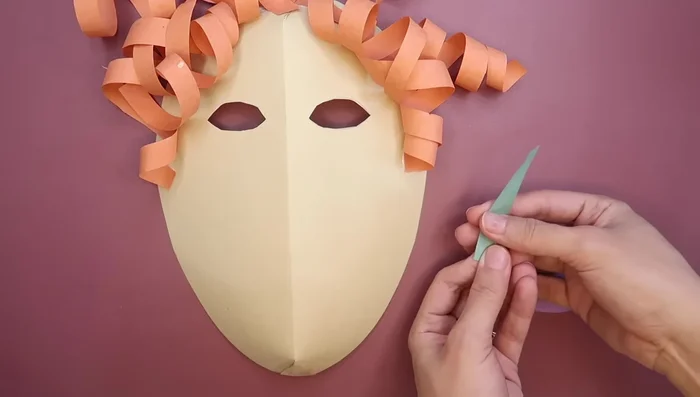
- Fold the cut-out shape again. Draw and cut out eye shapes about half an inch away from the fold.
- Draw and cut lines at the top and bottom of the paper (about one inch long) to create tabs for gluing.

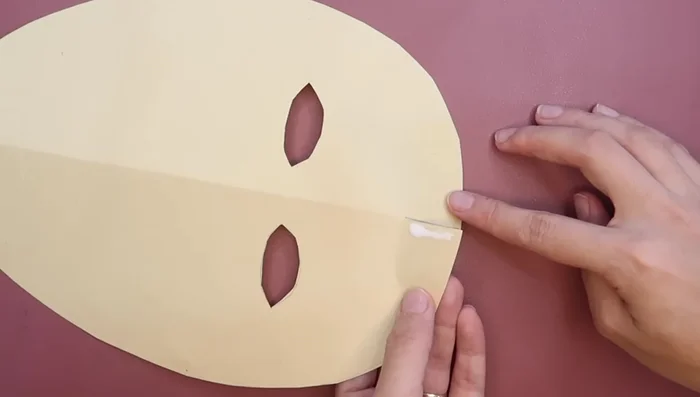
Create the Mask Base - Apply glue to one side of the tabs and overlap them to create a 3D effect for the mask.
Create the Mask Base Add Hair
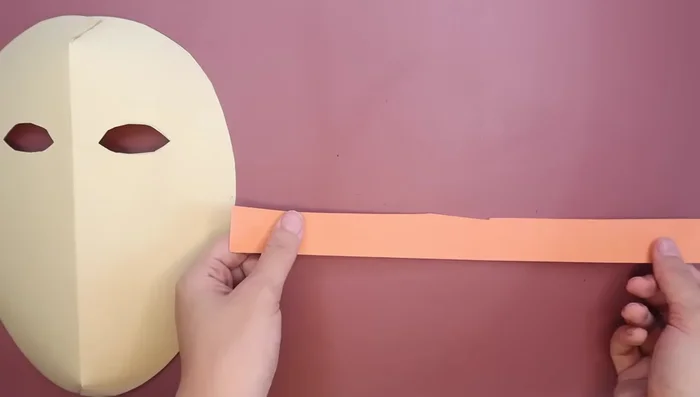
- Decorate the mask. Cut strips of colored paper for hair. You can curl them using a pencil.
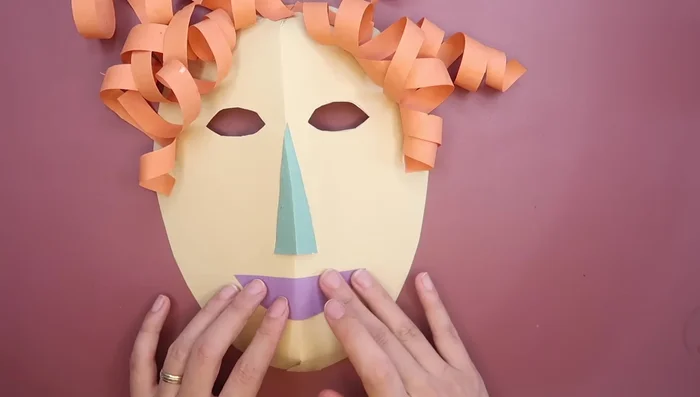
Add Hair Add Facial Features
- Cut and fold a triangle for the nose to create a 3D effect. Glue it in place.
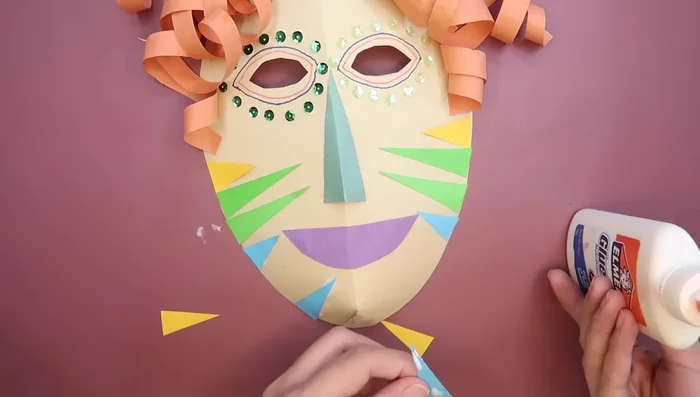
- Glue the mouth in place. Add designs, details, sequins, or glitter as desired.
Add Facial Features Personalize and Decorate
- Add more colored paper strips to personalize your mask.
Personalize and Decorate


Read more: DIY Toilet Paper Roll Rockets: A Fun and Easy Craft Project
Tips
- For curly hair, roll the paper strips around a pencil before gluing.
- Feel free to experiment with different nose shapes.
- Use various coloring materials and embellishments to make your mask unique.