Ahoy, mateys! Ever dreamt of sailing the seven seas, even if just in your imagination? Well, now you can at least look the part with this super-fun tutorial on crafting your very own miniature pirate hat! Forget expensive costumes; we're diving headfirst into a simple, budget-friendly project using cozy fleece fabric. This adorable little hat is perfect for dollhouses, action figures, or even as a quirky embellishment for a bag or hat. It's surprisingly quick to make, requiring minimal sewing skills and just a few basic supplies you likely already have at home.
Get ready to unleash your inner crafter and prepare to be amazed by how easily you can transform a piece of fleece into a miniature treasure. Whether you're a seasoned DIY enthusiast or a complete beginner, this project is guaranteed to bring a smile to your face. Let's embark on this thrilling crafting adventure together; follow the step-by-step instructions below to create your own fleece mini pirate hat!
Preparation and Safety Guidelines
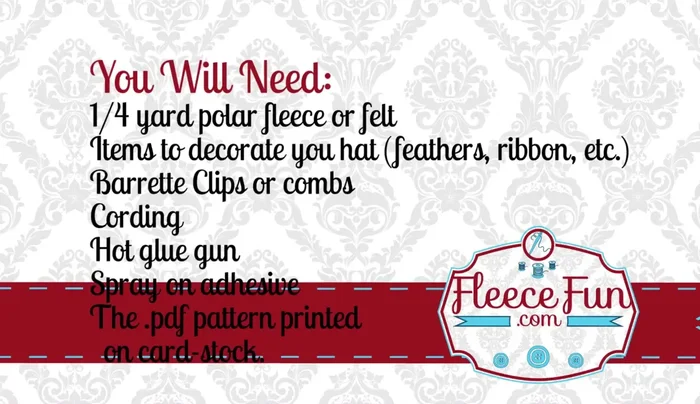
- 1/4 yard polar fleece or felt
- Decorative items (feathers, ribbon, brooches, etc.)
- Barrette clips or combs
- Cording
- Hot glue gun
- Spray-on adhesive
- Free PDF pattern (printed on cardstock)
- Marking pen
- Adult supervision is required, especially when using scissors and hot glue.
- Always cut away from yourself and others when using scissors.
- Be mindful of small parts which could pose a choking hazard for young children.
Step-by-Step Instructions
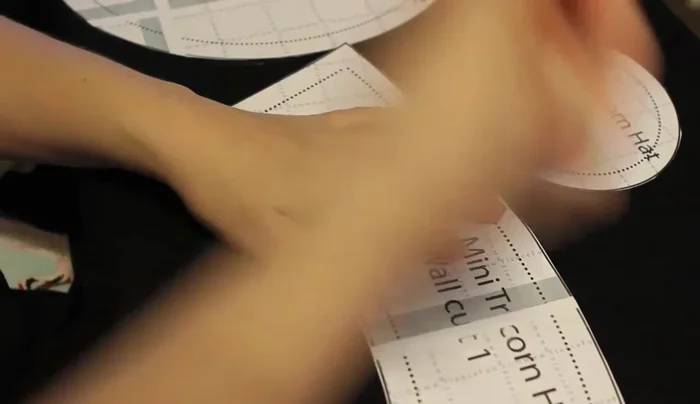
Prepare the Pattern
- Print and assemble the PDF pattern onto cardstock. Tape the front and back seams where overlaps occur.

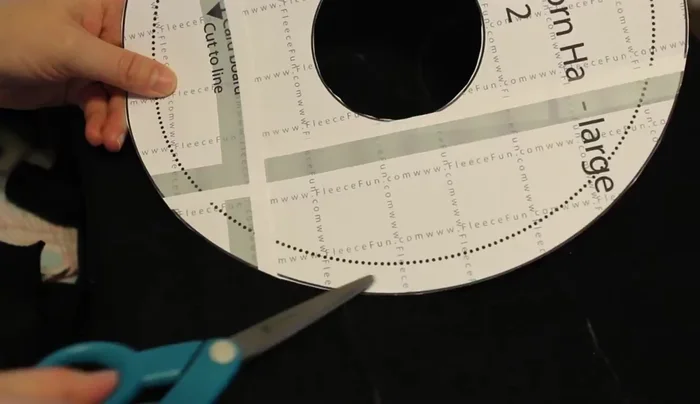
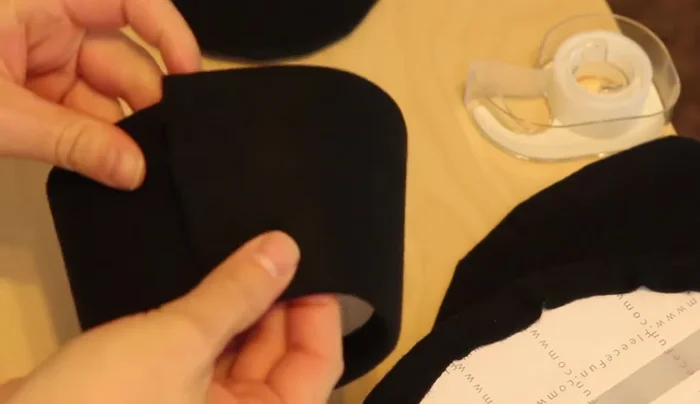
Prepare the Pattern Cut Fabric Pieces
- Trace the pattern onto the fabric using a marking pen. Trace the brim twice, once on the solid line and again from the dot to the dotted line.
- Cut out all traced fabric pieces. Set the smaller brim piece aside.
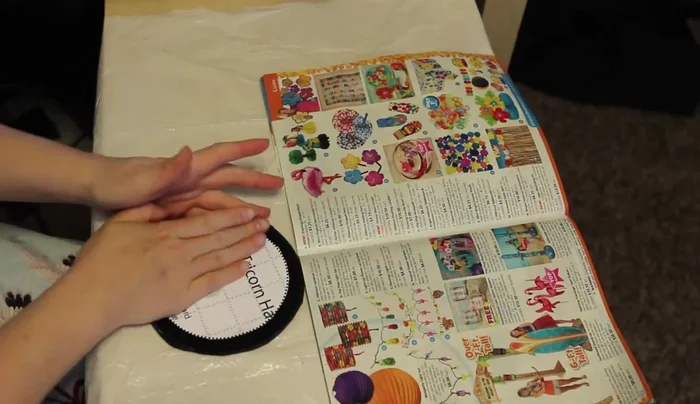
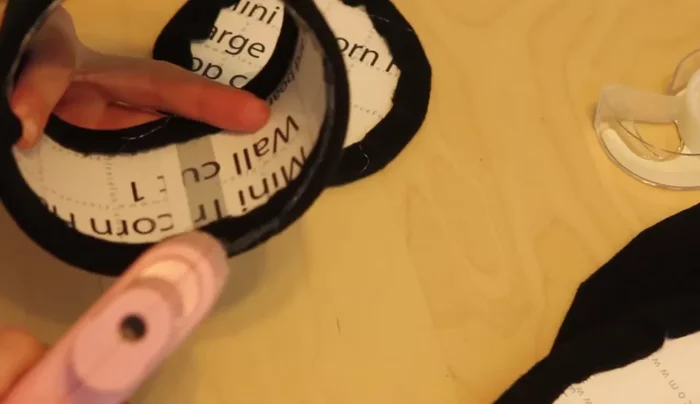
Cut Fabric Pieces Attach Cardstock to Fabric
- Spray the back of the cardstock with glue and center it on each fabric piece, leaving an allowance around the edges (except for the center hole of the brim). Fold over the excess fabric and glue it down.
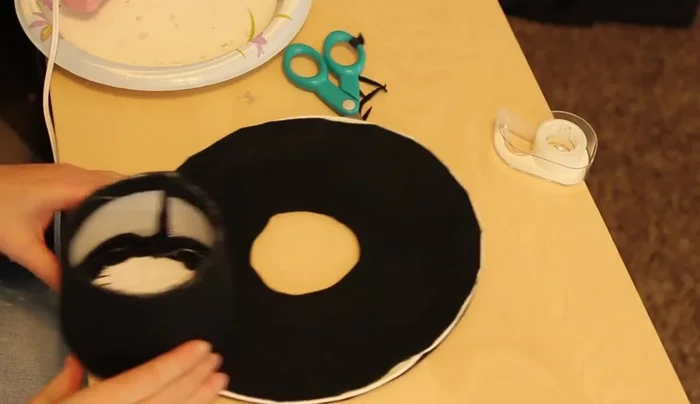
Attach Cardstock to Fabric Assemble the Hat Crown
- For the wall piece, gently fold it around so the two ends overlap. Glue the ends together, holding them securely until set.
- Glue the top piece to the wall piece, ensuring proper fit beforehand.
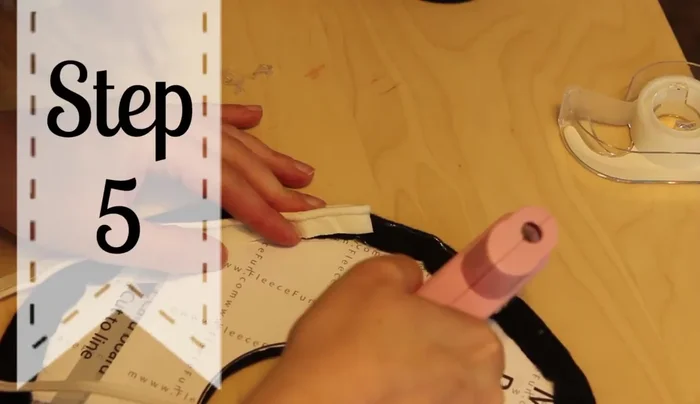
Assemble the Hat Crown Attach the Brim Pieces
- Glue cording around the edge of the brim for a finished look.
- Glue the smaller brim piece onto its cardstock base, ensuring the edges are well-glued.
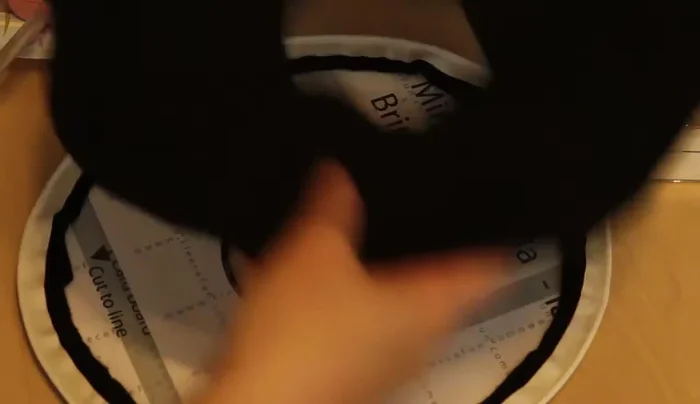
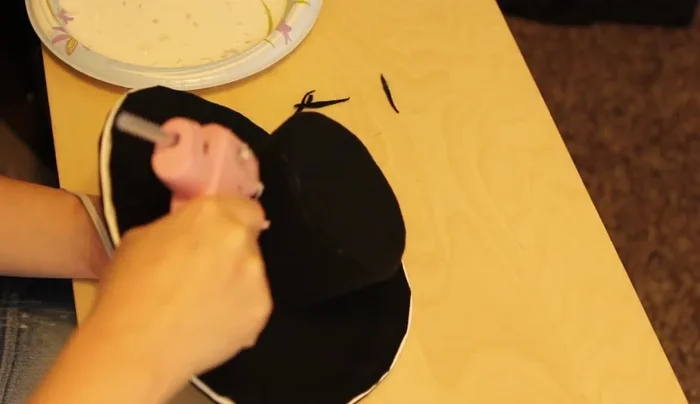
Attach the Brim Pieces Attach the Brim to the Crown
- Glue the brim to the wall, aligning the bottom circles and pressing firmly. Hold for several seconds to ensure a secure bond. Place the seam at the back of the hat.
Attach the Brim to the Crown Shape and Secure the Hat
- Glue the brim to the wall, starting at the back. Hold for at least a minute. Add barrette clips or combs to secure the hat to the head.
Shape and Secure the Hat Decorate the Hat
- Decorate the hat with feathers, ribbon, beads, or other embellishments.
Read more: DIY Picture Frame from Oat Cartons and Fabric: A Simple & Unique Craft
Tips
- Check the fit of the wall and hat top before gluing the wall ends together.
- Adjust the overlap of the wall piece depending on fabric thickness for a perfect fit.
- Play with the hat's shape before gluing it into place for best results.
- Use clips or combs to help the hat stay in place while gluing.