Infinity scarves are endlessly versatile – a stylish accessory perfect for adding a pop of color to any outfit, regardless of age or style preference. They’re also surprisingly simple to make! Whether you’re a seasoned crafter or a complete beginner, this project is accessible and fun for everyone. The cozy comfort of a hand-made scarf is unbeatable, and the satisfaction of creating something beautiful with your own two hands is a rewarding experience. Plus, the customizable nature of this project means you can perfectly match your scarf to your personality or a favorite outfit. Imagine the possibilities – vibrant colors, soft textures, unique patterns – the only limit is your imagination!
This easy-to-follow tutorial will guide you, step-by-step, through the creation of your own personalized infinity scarf, perfect for gifting or keeping for yourself. Let's get started and discover how easy it is to craft this timeless accessory!
Preparation and Safety Guidelines
- Fabric (soft fleece, cotton or jersey)
- Sewing machine
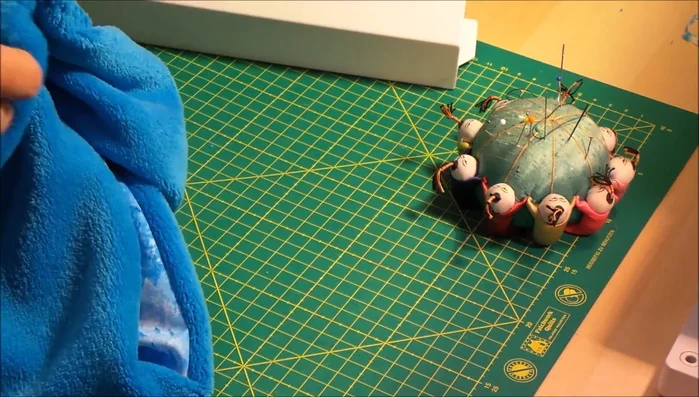
- Needles
- Pins
- Optional: Cotton band for hanging
- Adult supervision is required, especially for children. Scissors and needles can be sharp.
- Use fabric scissors, not paper scissors, for clean cuts. Dull scissors increase the risk of injury.
- If using a sewing machine, always follow safety guidelines and keep fingers clear of the needle.
Step-by-Step Instructions
Prepare Fabrics
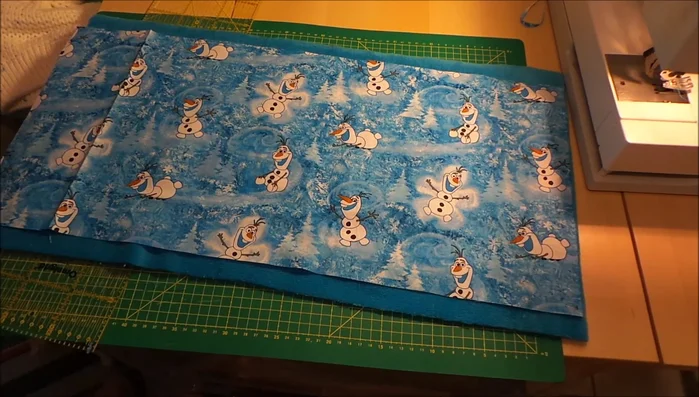
- Cut fleece (approx. 17x70cm or 27x13-14 inches) and cotton/jersey (same width, slightly shorter).

Prepare Fabrics Position and Pin Fabrics
- Place fabrics right sides together. Pin the bottom and top edges.
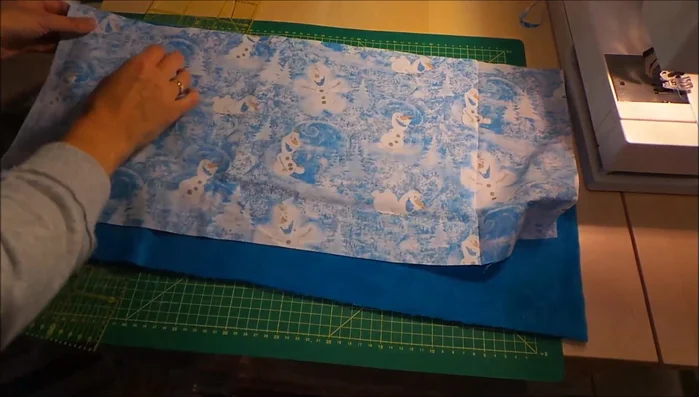
Position and Pin Fabrics Add Optional Cotton Band
- Sew it close to the edge on the inside, before sewing the top.
Add Optional Cotton Band Sew Lengthwise Seam
- Sew the two fabrics together along the pinned edges using a sewing machine.
Sew Lengthwise Seam Prepare Side Seams
- Do this before sewing the top together to prevent difficulty.
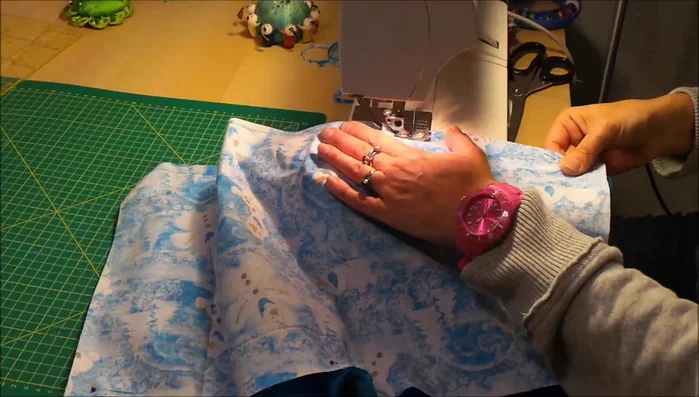
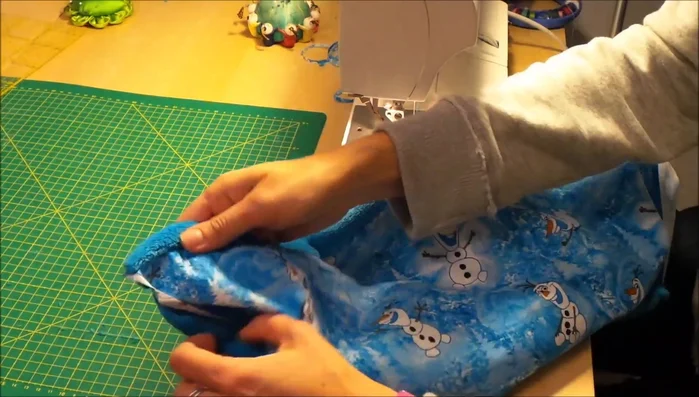
Prepare Side Seams Sew Top Seam (Machine)
- Place fabrics together again, and sew the top edge using a sewing machine. Leave a few inches unsewn at each end.
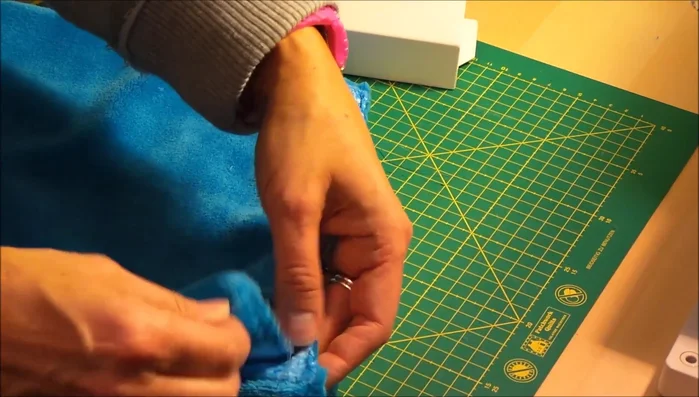
Sew Top Seam (Machine) Sew Top Seam (Hand)
- Hand-sew the remaining inches at the top.
Sew Top Seam (Hand) Turn Right Side Out
- Turn the scarf right side out.
Turn Right Side Out


Read more: DIY Picture Frame from Oat Cartons and Fabric: A Simple & Unique Craft
Tips
- For kids' sizes, measure your child's head circumference and add 2-3 inches for a comfortable fit. The height of the fabric determines the scarf's thickness.
- The optional cotton band makes it easy to hang the scarf.
- Place the cotton band at the back of the neck for comfort.