Tired of stained clothes while cooking or crafting? Wish you had a stylish and practical apron to protect your outfits? Then look no further! This easy-to-follow tutorial will guide you through creating your own full apron, perfect for beginners with limited sewing experience. We'll show you how to make a durable and attractive apron using simple techniques and readily available materials, so you can proudly wear your handmade creation while tackling any project. No more searching for the perfect apron in stores; you'll be amazed at how easy it is to tailor one to your exact needs and preferences.
This DIY project is perfect for enhancing your kitchen, workshop, or even adding a touch of charm to your gardening endeavors. With just a few basic supplies and a little bit of patience, you'll be sewing your own functional and fashionable apron in no time. Ready to get started? Let's dive into the step-by-step process and create your dream apron together!
Preparation and Safety Guidelines
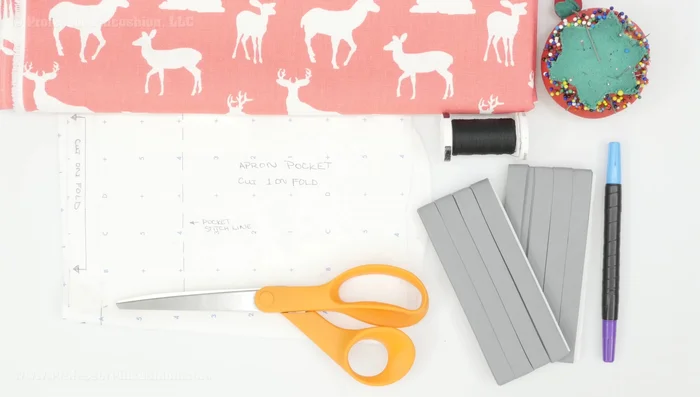
- Fabric (about 1 yard)
- Fabric scissors
- Extra wide double folded bias tape (2 packages)
- All-purpose thread
- Straight pins
- Fabric marker
- Sewing machine
- Always use sharp sewing machine needles and pins to prevent fabric from snagging or tearing. Dull needles increase the risk of injury.
- Keep fingers clear of the needle and presser foot while the sewing machine is running to avoid accidental needle pricks or injuries.
- If using fabric scissors, be cautious of the sharp blades. Always point the scissors away from yourself and others when not in use.
Step-by-Step Instructions
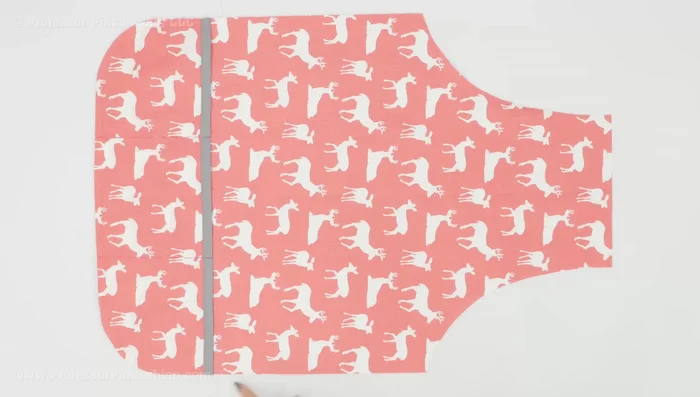
Prepare Fabric
- Cut one main apron piece and one pocket piece, both on the fold, using downloaded pattern pieces. Ensure directional fabric is placed correctly.

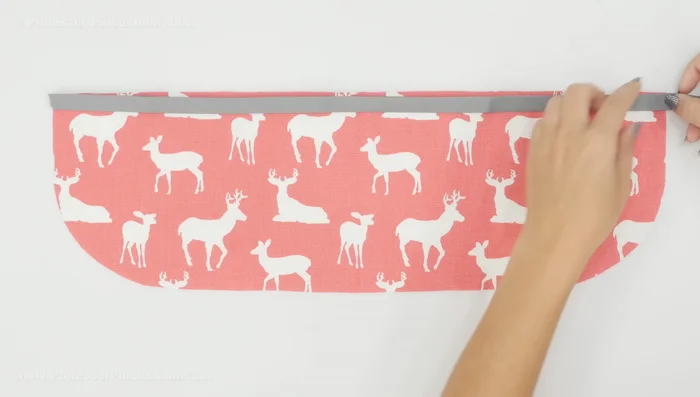
Prepare Fabric Add Pocket Bias Tape
- Cut a bias tape strip for the pocket's top edge. Open the bias tape, pin it to the wrong side of the pocket, aligning raw edges, and stitch along the crease. Fold the bias tape over and stitch again along the folded edge to create a finished look.
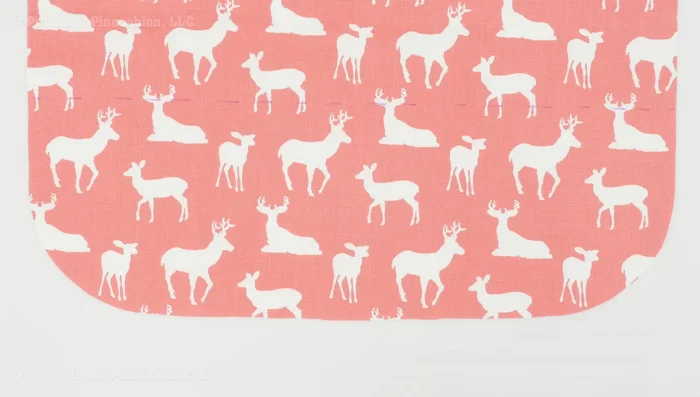
Add Pocket Bias Tape Attach Pocket
- Place the pocket (right side up) onto the apron (right side up), matching the pocket's top edge with the marked placement line on the apron. Baste the pocket to the apron along the bottom edge.
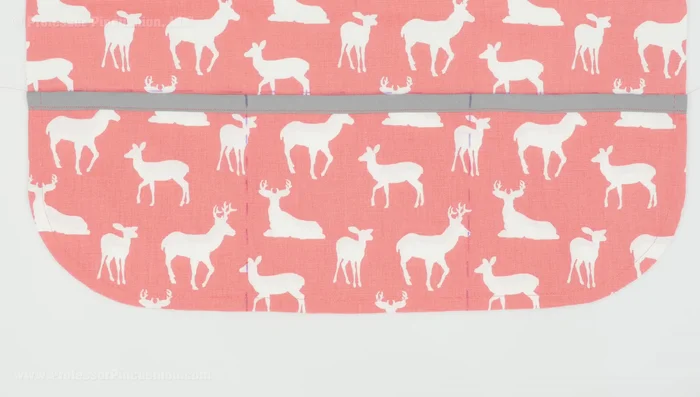
Attach Pocket Create Divided Pockets (Optional)
- Stitch along the marked pocket stitch lines to create three individual pockets instead of one large pocket.
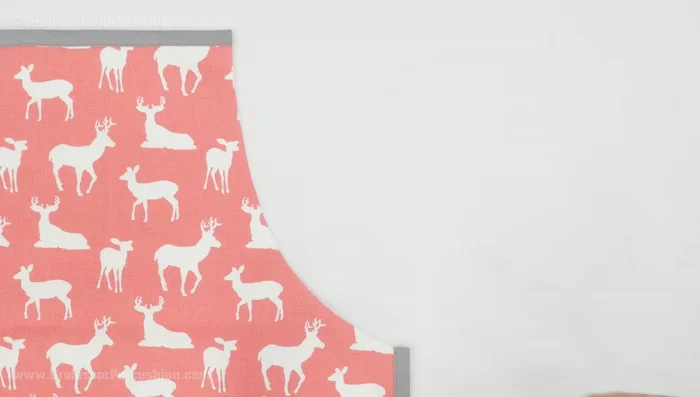
Create Divided Pockets (Optional) Add Apron Bias Tape
- Apply bias tape to the top straight edge and around the side curves of the apron, excluding the two curved areas. Stitch the bias tape in place using the same method as for the pocket.
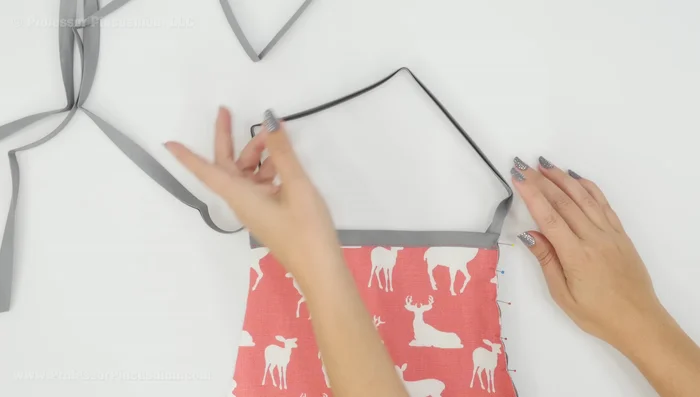
Add Apron Bias Tape Create Waist Ties
- Measure and cut 30 inches of bias tape for each waist tie. Pin the bias tape to the wrong side of the curved edges of the apron, leaving the ends free to create ties. Stitch in the crease.
Create Waist Ties Create Neck Strap
- Fold over and pin the ends of bias tape onto the wrong side of the neck strap area of the apron. Stitch the bias tape into place.
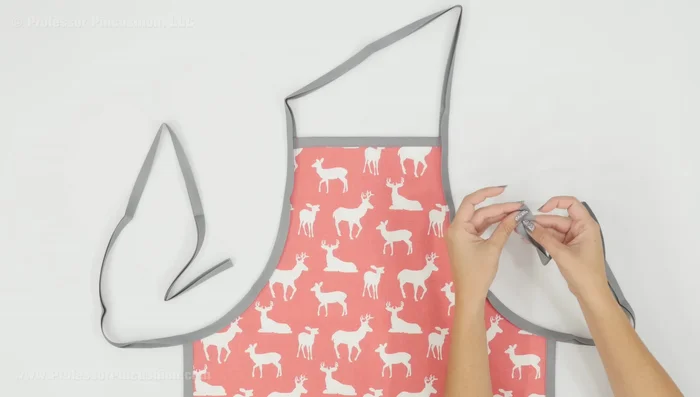
Create Neck Strap Finish Straps and Edges
- Fold over and stitch the raw ends of the waist and neck straps for a neat finish. Stitch along the folded edge of the bias tape to secure the straps.
Finish Straps and Edges
Read more: DIY Picture Frame from Oat Cartons and Fabric: A Simple & Unique Craft
Tips
- Use a fabric with body, such as canvas or laminated cotton, that's easy to clean.
- Backstitch at the beginning and end of all your seams for extra security.
- Use a contrasting thread color for better visibility when stitching bias tape.
- Use a long basting stitch for temporarily securing the pocket.
- If unsure about the length of straps, start with approximately 20 inches, then adjust as needed.