Unleash your inner cartographer and create a captivating felt treasure map perfect for quiet books, sensory bins, or imaginative play! Felt is a wonderfully tactile and durable material, ideal for crafting engaging activities for children of all ages. Its soft texture and vibrant color possibilities make it a fantastic medium for bringing adventurous journeys to life. This charming treasure map offers endless possibilities, from sparking storytelling adventures to developing fine motor skills as little hands manipulate the various felt elements. The design is incredibly versatile and can be adapted to suit different themes and age groups, allowing you to tailor the complexity and details to your needs.
This delightful DIY project is surprisingly easy to achieve, even for beginners. Forget complicated sewing techniques – this guide provides a simple, step-by-step process to create your own unique felt treasure map, complete with customizable pathways, treasures, and hidden surprises. Let's embark on this crafting adventure together!
Preparation and Safety Guidelines
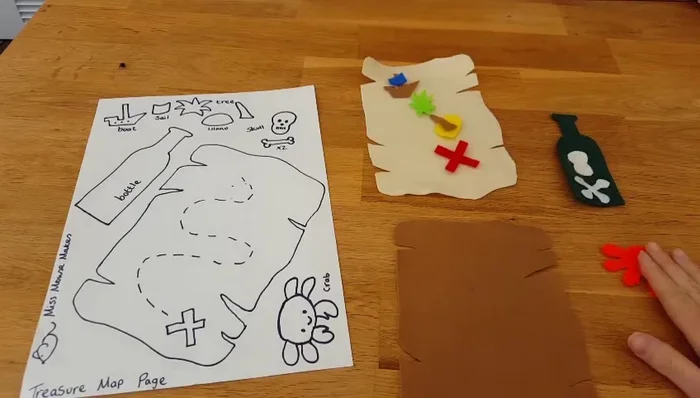
- Felt (beige/cream, other colors as desired)
- Threads (matching felt colors)
- Scissors
- Embroidery thread (blue recommended)
- Adult supervision is required, especially for young children, during all stages of crafting to prevent accidental ingestion of small felt pieces or choking hazards.
- Use only non-toxic, child-safe felt, glue, and other materials. Always check labels before using any crafting supplies.
- Ensure all edges of the felt are securely stitched or glued to prevent fraying and potential ingestion of loose fibers.
Step-by-Step Instructions
Prepare and Arrange
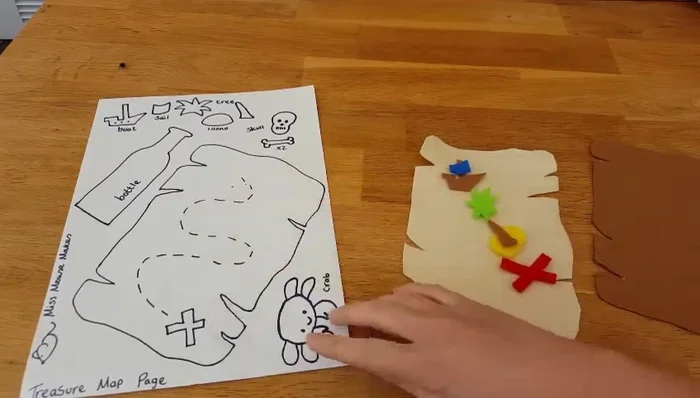
- Prepare your felt pieces according to the template. Arrange them as desired on your cream/beige felt base.

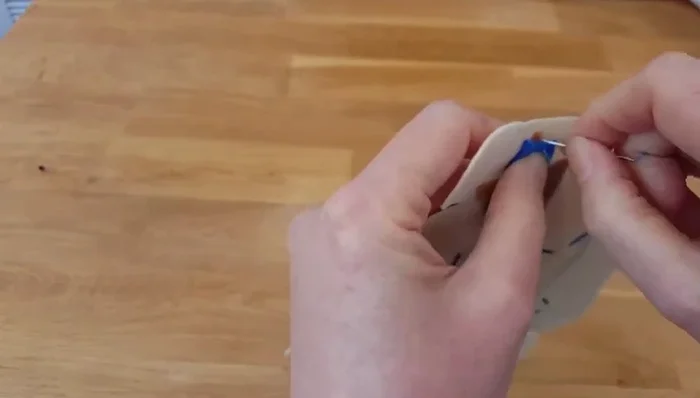
Prepare and Arrange Add X and Wiggly Line
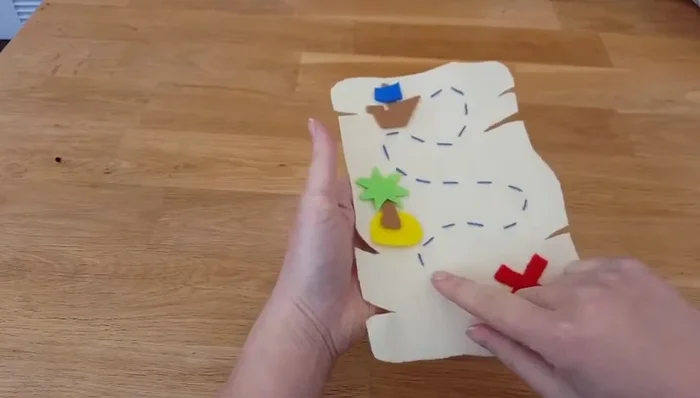
- Sew on the 'X' and create the wiggly line using embroidery thread for a thicker, neater look.
Add X and Wiggly Line Attach Island and Boat
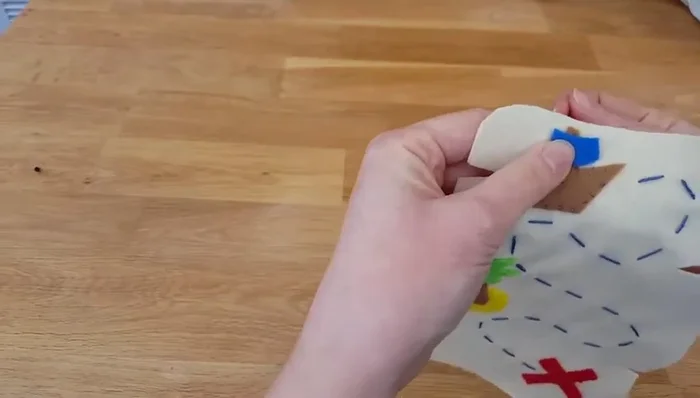
- Attach the island and boat pieces one at a time using a matching thread color. Use a felt stitch (shown in the video) for neatness and strength.
Attach Island and Boat Attach Ship's Sail
- Attach the final piece (ship's sail) using the felt stitch. The felt stitch involves bringing the needle up, knotting, going down under the fabric, leaving a small stitch, and repeating.
Attach Ship's Sail Sewing Technique
- Use a double thread for all sewing to give strength and better color.
Sewing Technique Attach Backing
- Place your dark brown felt backing wrong-sides together with your assembled map. Use a blanket stitch with brown thread to attach the backing, enclosing all the previous needlework.
Attach Backing

Read more: DIY Picture Frame from Oat Cartons and Fabric: A Simple & Unique Craft
Tips
- Experiment with the arrangement of your felt pieces before sewing.
- Using embroidery thread for the wiggly line makes a thicker, neater line and saves time.
- Always use double thread when sewing for extra strength and a nicer look.