Winter's here, and what better way to embrace the festive spirit than by crafting beautiful, personalized decorations? Forget expensive store-bought ornaments – this year, let's create stunning fabric snowflakes! This tutorial will guide you through the absolute easiest and fastest method for making charming fabric snowflakes, perfect for adorning your Christmas tree, adding a touch of winter magic to your windows, or even creating unique gift tags. No complex sewing skills are required, making this project ideal for beginners and seasoned crafters alike.
These delightful snowflakes are surprisingly simple to construct, utilizing readily available materials and minimal time investment. From choosing your fabrics to hanging your finished masterpieces, we'll cover every step in detail. Ready to transform scraps of fabric into enchanting winter wonders? Let's dive into the step-by-step process and start crafting!
Preparation and Safety Guidelines
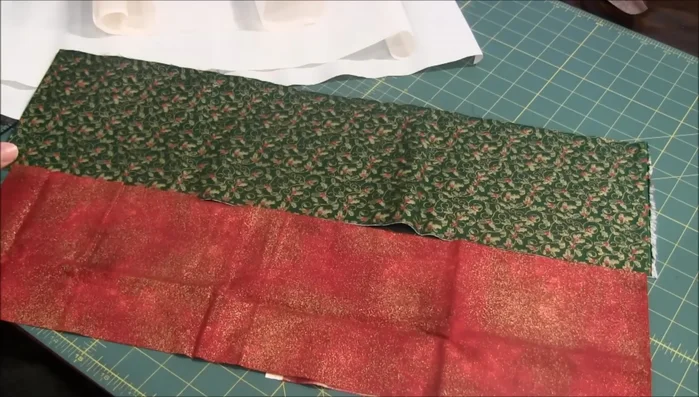
- Two contrasting fabrics (one light, one dark)
- Heat and Bond (smaller than fabric strips)
- Scissors
- Seam ripper (optional)
- Iron
- Hot glue gun
- Ribbon (optional)
- Use sharp scissors with caution. Always point the scissors away from yourself and others while cutting.
- Supervise young children closely if they are participating. Fabric scraps and small cut pieces can be a choking hazard.
- If using a hot glue gun, be aware of the hot glue. Allow glue to cool slightly before touching and keep away from children.
Step-by-Step Instructions
Prepare Fabric Squares
- Cut squares of your chosen size (e.g., 5 inches) with a bit of extra fabric for trimming. Cut matching Heat and Bond slightly smaller.

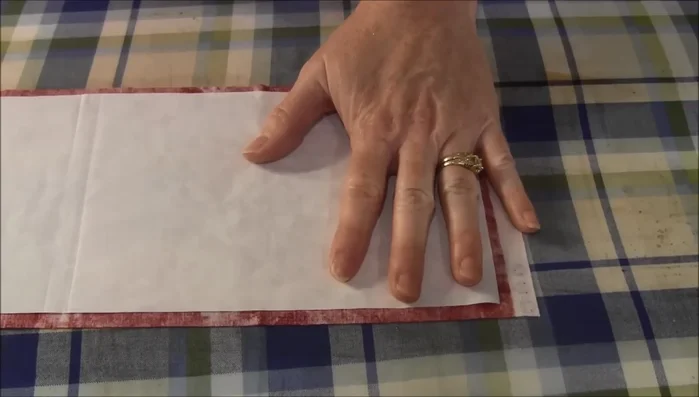
Prepare Fabric Squares Fuse Fabric Layers
- Fuse the Heat and Bond to the wrong side of each fabric square.
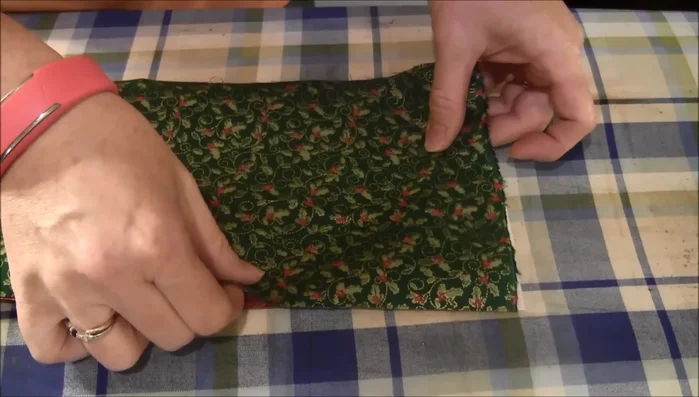
- Place the two fabric squares together (right sides out) and fuse them together with an iron.
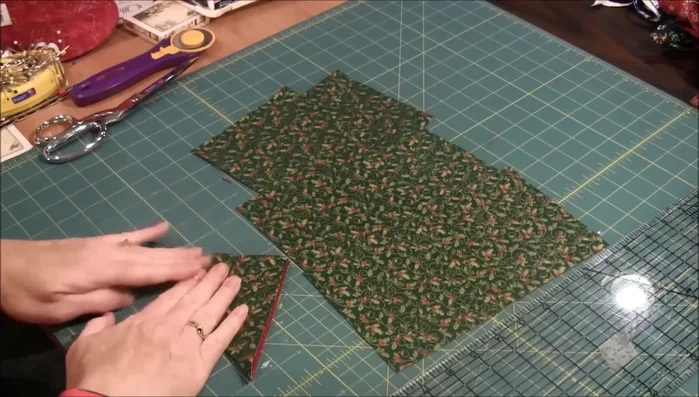
Fuse Fabric Layers Cut Triangle Shapes
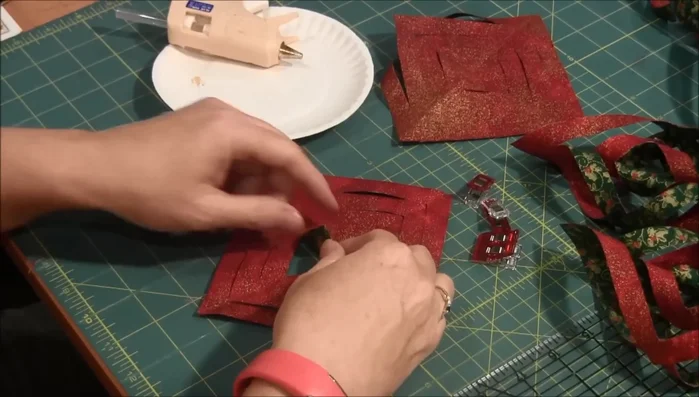
- Trim excess fabric. Fold the fused square in half to form a triangle, then fold it in half again.
- Hold the folded triangle securely and cut three lines, stopping before reaching the end to create triangle shapes.
Cut Triangle Shapes Assemble Individual Units
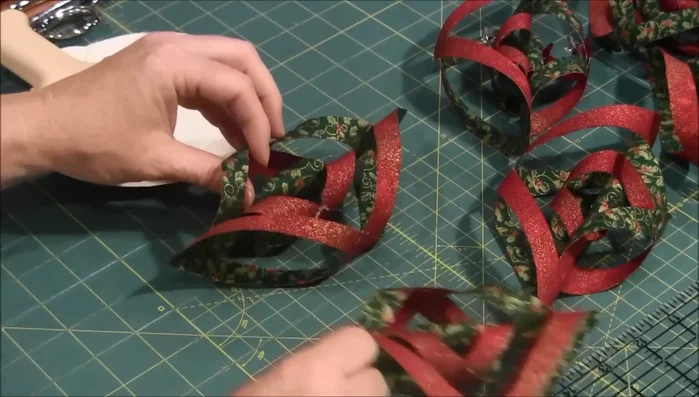
- Start with your dominant fabric facing up. Twist each resulting triangle shape, apply hot glue to the edges, and flip the glued section over. Repeat the process for all sections.
Assemble Individual Units Assemble the Snowflake
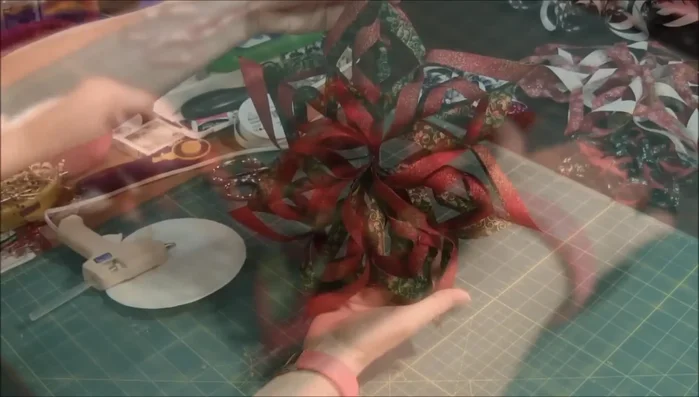
- Glue all the finished pieces together into a chain, then form a circle and glue the final two pieces to close the snowflake.
Assemble the Snowflake Finishing Touches
- Add a ribbon or other embellishments as desired.
Finishing Touches
Read more: DIY Picture Frame from Oat Cartons and Fabric: A Simple & Unique Craft
Tips
- Use sparkly fabrics for a more festive look.
- Cut the Heat and Bond smaller than the fabric strips to prevent sticky residue.
- Use a seam ripper to score the Heat and Bond for easier removal.
- Use clips or paper clips to hold the hot glue in place while it dries.
- Protect your work surface with paper or a similar material to prevent hot glue spills.