Add a touch of rustic charm or modern flair to your home décor with this easy DIY project: a six-pointed star crafted from fabric scraps! This simple yet stunning craft is perfect for beginners, requiring minimal sewing skills and readily available materials. Imagine the possibilities – use it as a unique wall hanging, a festive ornament, or even incorporate it into larger projects like quilts or pillows. The soft, textured fabric gives the star a delightful, handmade feel, far surpassing the starkness of commercially produced decorations. This versatile craft allows you to explore your creativity through fabric choices and embellishments, letting you personalize your creation.
This tutorial will guide you through each step of creating your own beautiful fabric star, from choosing your materials to adding the final touches. Let's dive into the step-by-step instructions and learn how to make this charming six-pointed star.
Preparation and Safety Guidelines
- Fabric (two contrasting colors)
- Heat and Bond interfacing
- Iron
- Scissors
- Glue
- Optional: Beads, clear nail polish
- Use sharp scissors with caution, keeping fingers away from the blades to avoid cuts.
- If using a sewing machine, always ensure your fingers are clear of the needle and moving parts.
- Handle hot glue gun with extreme care. Avoid touching the hot glue or the tip of the gun to prevent burns.
Step-by-Step Instructions
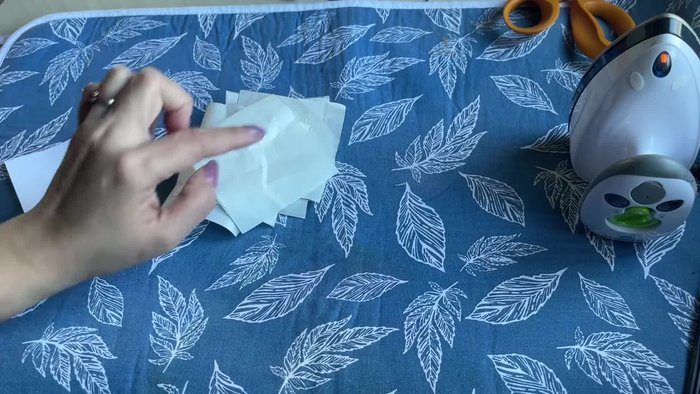
Prepare Fabric Squares
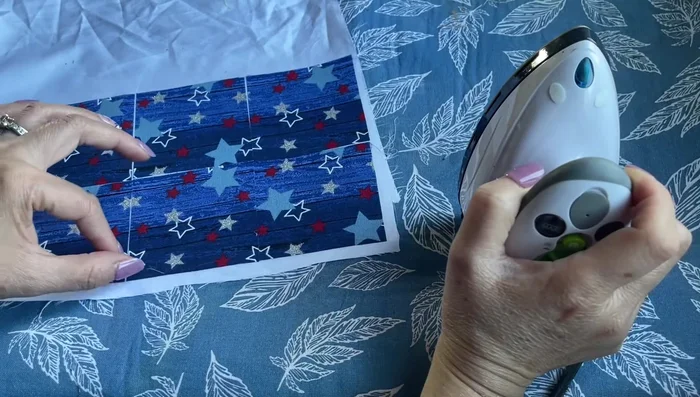
- Cut six 3-inch square pieces of fabric from two different colors. Fuse Heat and Bond interfacing to the back of each fabric square using a medium-low iron setting.

Prepare Fabric Squares Cut Out Fabric Pieces
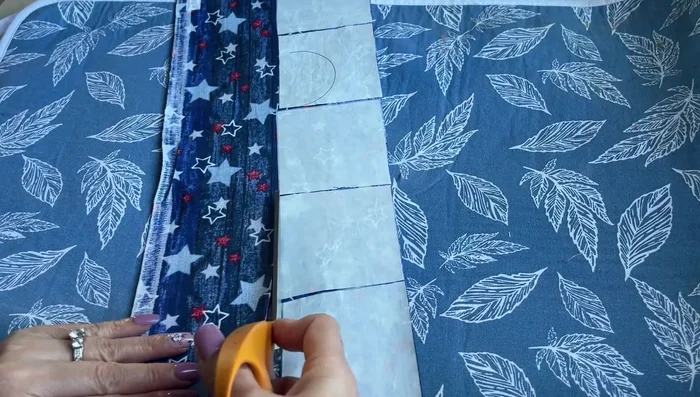
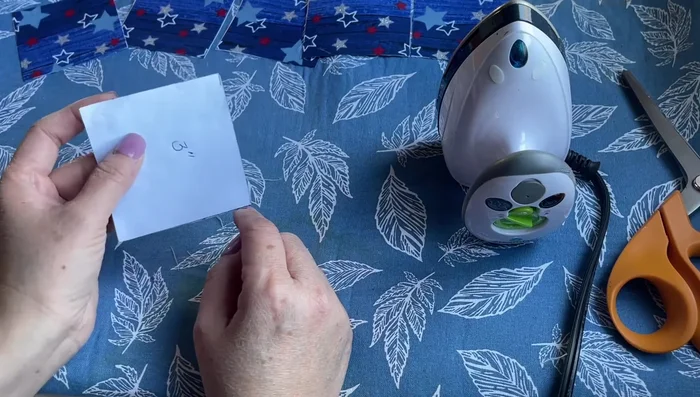
- Carefully cut out all six squares, ensuring they are identical. No extra cutting is needed unless specified.
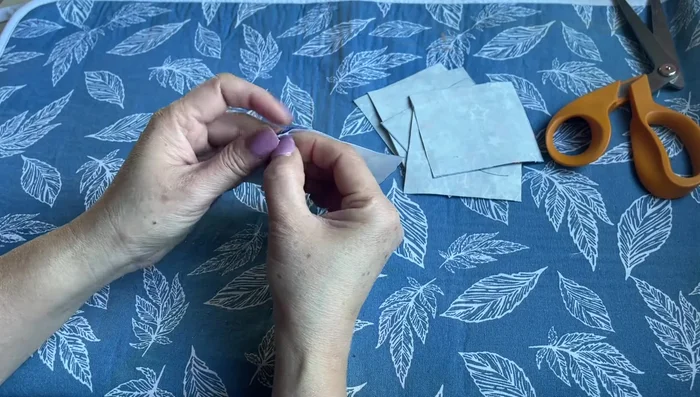
Cut Out Fabric Pieces Peel Interfacing
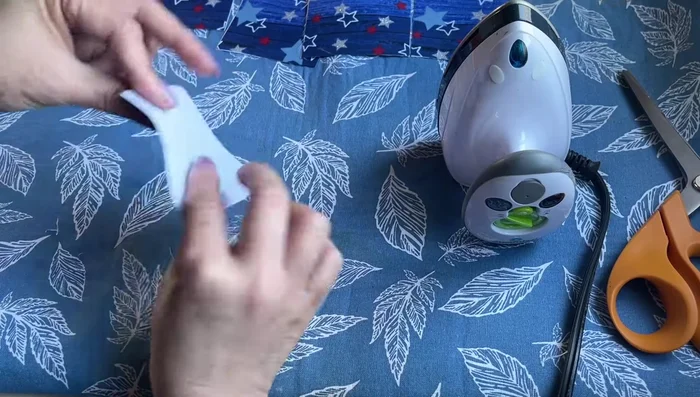
- Peel the paper backing from the Heat and Bond interfacing on all six pieces. If sticky residue remains, iron lightly.
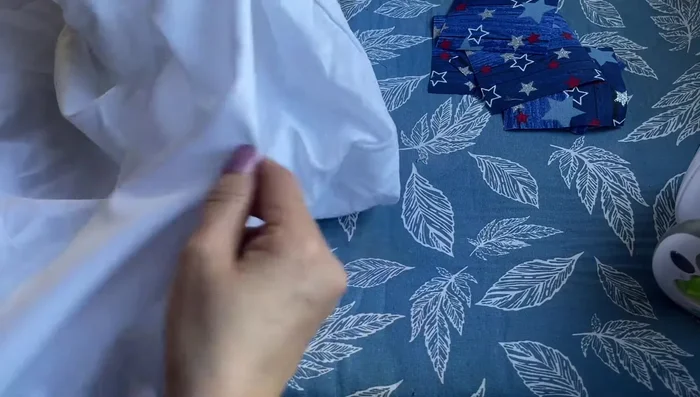
Peel Interfacing Attach to Backing
- Place the six prepared fabric squares, interfacing side down, onto the wrong side of your backing fabric.
Attach to Backing Cut and Seal Edges
- Cut around the six squares, leaving a small seam allowance. To prevent fraying, apply clear nail polish to the edges or use a water bowl to keep the fabric from shifting while cutting.
Cut and Seal Edges Fold Fabric Squares
- Fold each square in half, then in half again, creating a smaller square. Press the creases firmly.
Fold Fabric Squares Form Diamond Shapes
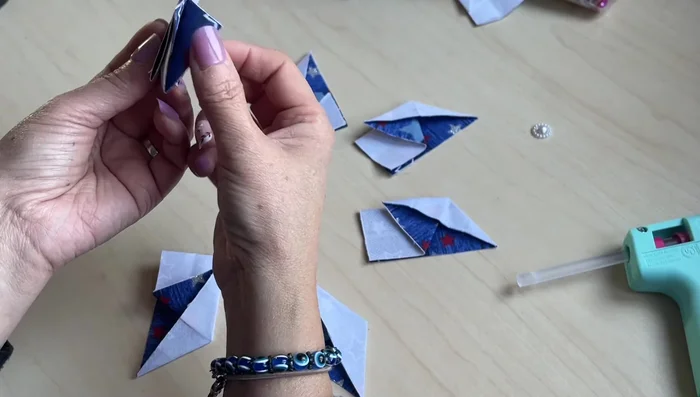
- Bring one side of the folded fabric to meet the center, creating a half-diamond shape. Repeat on the other side. Press and iron.
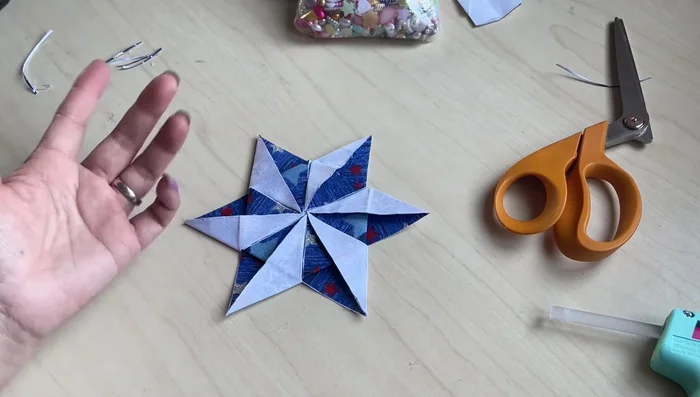
Form Diamond Shapes Assemble the Star
- Arrange the six half-diamonds to form the star shape, applying glue to secure each joint. Make sure each point is aligned correctly to the center before setting the glue.
Assemble the Star Decorate (Optional)
- Add beads or other embellishments to the center. If using as a coaster, leave off any embellishments.
Decorate (Optional)
Read more: DIY Picture Frame from Oat Cartons and Fabric: A Simple & Unique Craft
Tips
- Use fabrics that are not too thick for easy folding.
- When cutting, move the fabric, not your hand, to avoid injury.
- Use clear nail polish to seal the edges of the fabric to prevent fraying.
- Don't use too much glue at any one point while assembling.