Easter is just around the corner, and what better way to celebrate than with some charming, handcrafted decorations? Forget the mass-produced plastic eggs – this year, let's get creative and make our own beautiful, fabric-covered Easter eggs! This simple DIY project is perfect for all skill levels, requiring only a few basic materials and a touch of patience. It's a fantastic activity for families, offering a fun and engaging way to spend quality time together while crafting unique decorations for your home. You can personalize your eggs with various fabrics, embellishments, and colors, letting your creativity truly shine.
These adorable fabric-covered eggs will add a touch of handmade elegance to your Easter celebrations, and they make wonderful gifts too! They're surprisingly easy to make, and the results are simply delightful. Ready to transform plain eggshells into stunning, fabric-wrapped masterpieces? Let's dive into the step-by-step process!
Preparation and Safety Guidelines
- Plastic Easter eggs
- Fabric scraps (about half an inch wide)
- Mod Podge
- Always supervise children when using scissors, glue, and other crafting materials.
- Ensure the fabric is clean and free from any chemicals before handling or using it on eggs.
- Avoid using eggs that have cracks or imperfections as they may break easily during the crafting process.
Step-by-Step Instructions
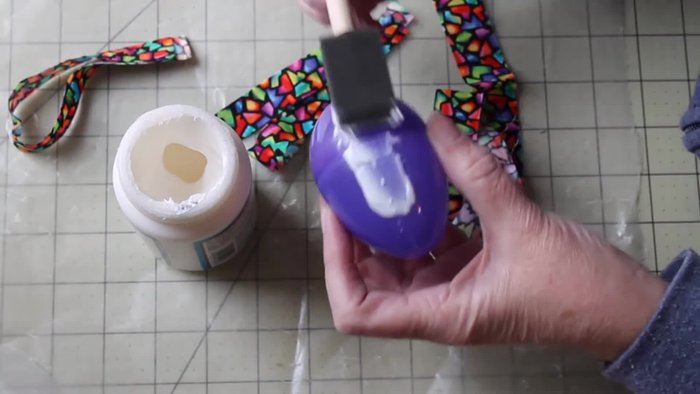
Prepare the Egg
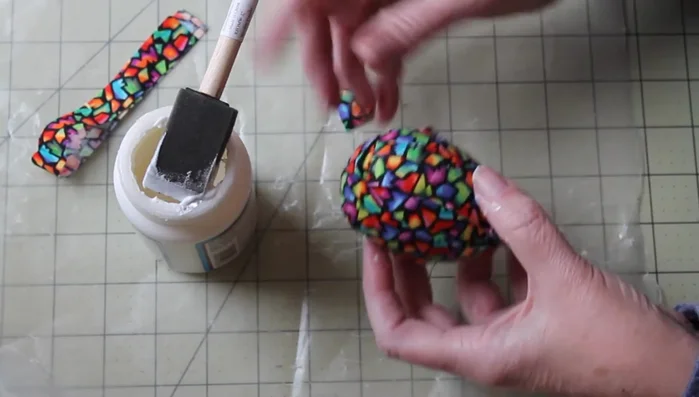
- Apply Mod Podge liberally to one section of the plastic egg. A small dot of glue where the egg opens helps keep it closed and prevents shifting.

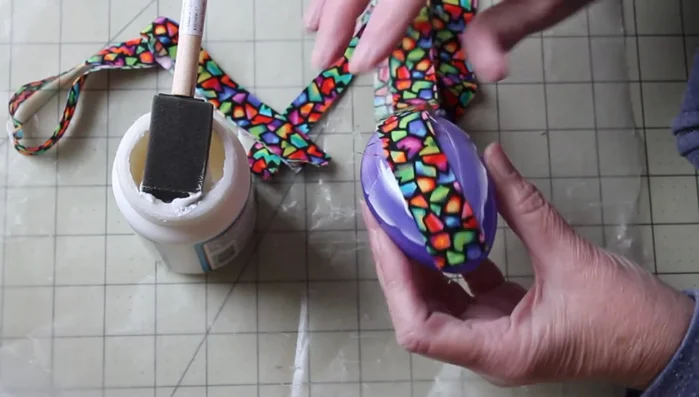
Prepare the Egg Apply the First Fabric Strip
- Place a fabric strip over the Mod Podge, starting at the bottom and working your way up. Smooth out any puckers or wrinkles with your fingers.
Apply the First Fabric Strip Add More Fabric Strips
- Trim excess fabric. Don't worry if some Mod Podge shows through; it will be covered later.
- Continue adding fabric strips, overlapping slightly, until the entire egg is covered. Smooth out any wrinkles as you go.
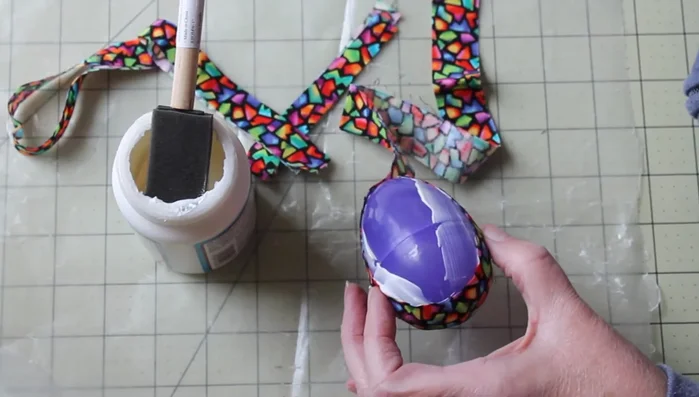
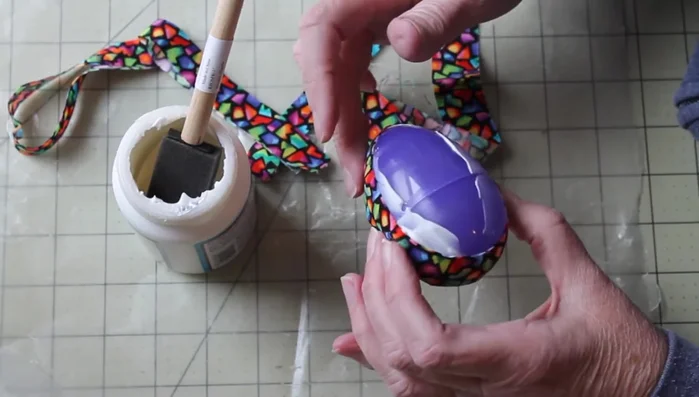
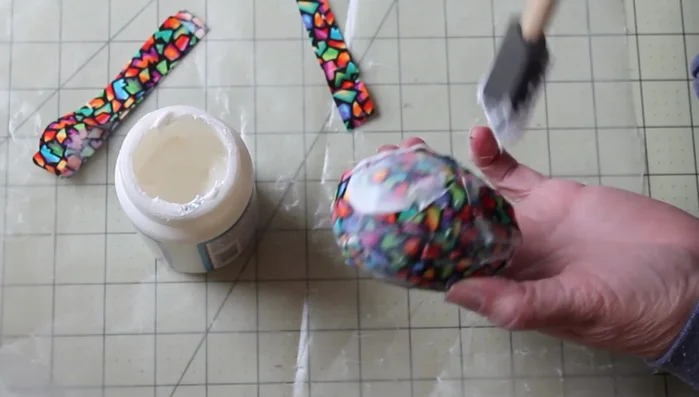
Add More Fabric Strips Seal with Mod Podge
- Apply a generous layer of Mod Podge over the entire fabric-covered egg to seal it and create a smooth finish.
Seal with Mod Podge Let it Dry
- Let the Mod Podge dry completely (preferably overnight).
Let it Dry
Read more: DIY Dollar Store Ghost Candy Holder: Spooky Cute Halloween Decor!
Tips
- If fabric puckers, gently pull and smooth it out.
- Don't worry if some Mod Podge shows through the fabric; it will be covered in the final sealing layer.
- Address any buckling or folds in the fabric as you apply the Mod Podge. The Mod Podge is forgiving; just smooth it out.