Tired of clutter and searching endlessly for your belongings? Wish you had a stylish and practical way to organize your essentials, whether at home or on a picnic? Then look no further! This easy-to-follow tutorial will guide you through creating your own beautiful and functional fabric drawstring basket, perfect for storing toys, toiletries, knitting supplies, or even packing a delightful picnic lunch. With just a few simple materials and some basic sewing skills, you can transform ordinary fabric into a charming and reusable organizer that will bring a touch of handmade elegance to your life.
This versatile project is surprisingly straightforward, and even beginners can achieve fantastic results. Whether you're a seasoned crafter or a complete novice, you'll find this project both satisfying and rewarding. Let's dive right into the step-by-step instructions and create your very own DIY fabric drawstring basket.
Preparation and Safety Guidelines
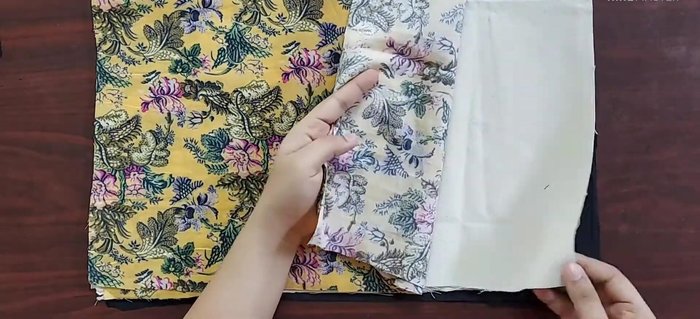
- Fabric (main, lining, interfacing)
- Scissors
- Sewing Machine
- Thread
- Safety Pins
- Measuring Tape
- Iron (optional)
- Always use sharp scissors or rotary cutter when cutting fabric to avoid injury. Handle blades with care and keep them away from children.
- If using a sewing machine, ensure your fingers are clear of the needle at all times. Never sew over pins; remove them before sewing.
- When working with hot glue or iron, exercise caution. Use heat-resistant surfaces and allow glue/iron to cool before handling.
Step-by-Step Instructions
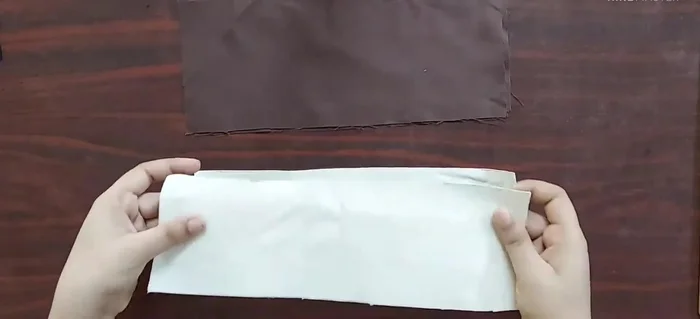
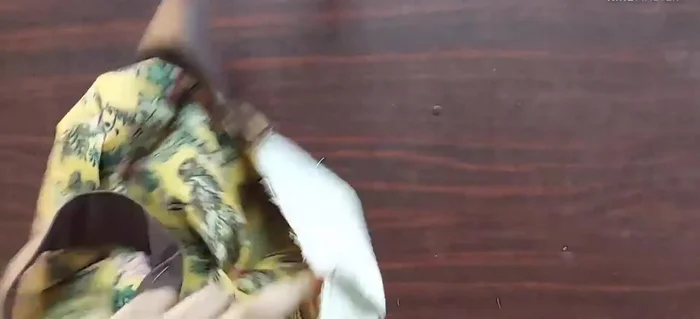
Prepare Fabric Pieces
- Cut two pieces each of main fabric, interfacing, and lining fabric (all 12 inches x 18 inches).

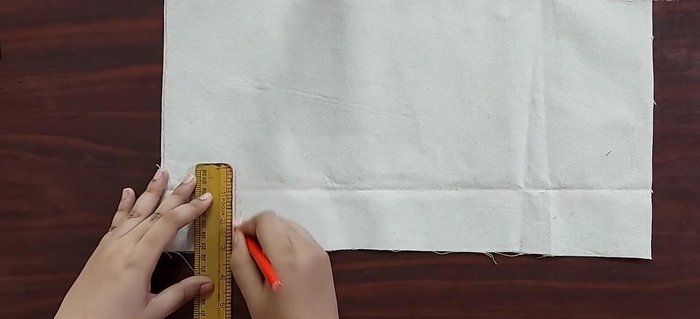
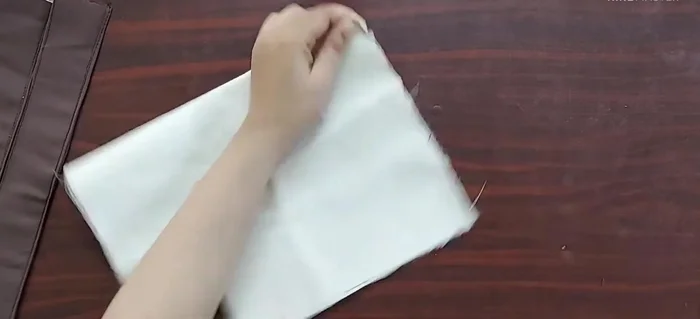
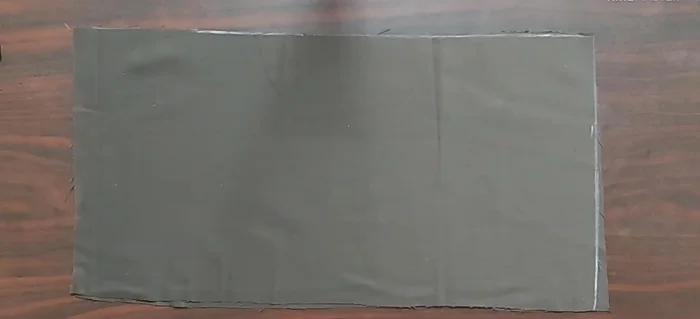
Prepare Fabric Pieces Prepare Interfacing
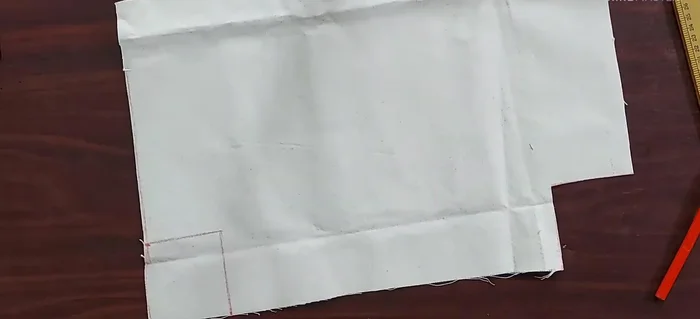
- Create a 3-inch square at each bottom corner of the interfacing pieces.
- Cut fabric based on interfacing markers.
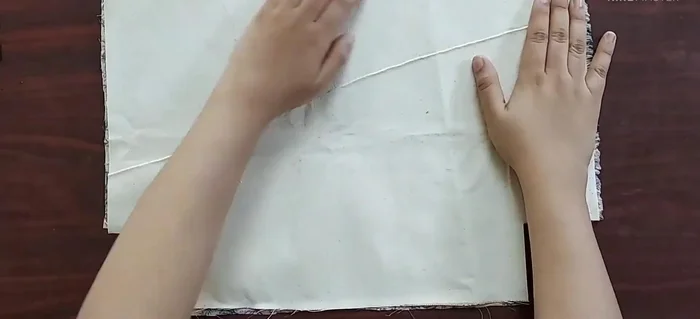
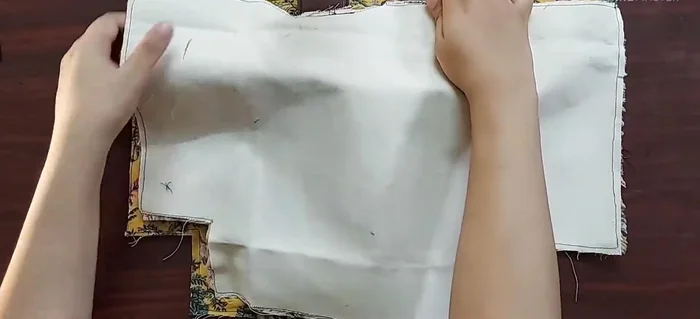
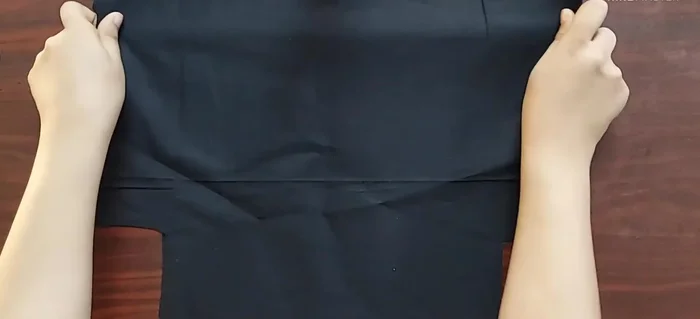
Prepare Interfacing Attach Interfacing to Main Fabric
- Place interfacing on the wrong side of the main fabric and stitch around the edges.
Attach Interfacing to Main Fabric Create Handles
- Cut two rectangular pieces of fabric (5 inches x 12 inches) and interfacing (4 inches x 12 inches). Attach interfacing to fabric, fold inwards, and stitch.
Create Handles Attach Handles to Basket
- Mark points 1 inch from center on the main fabric, place handles 2 inches apart, and stitch.
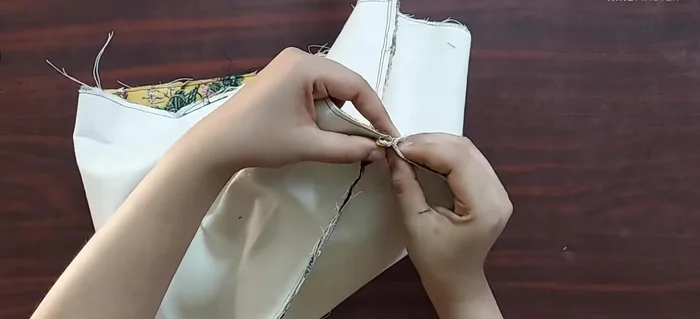
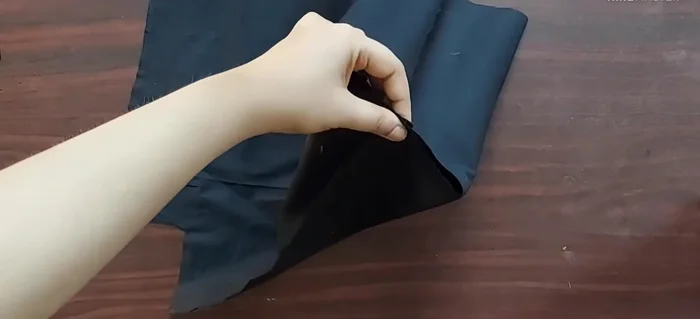
Attach Handles to Basket Sew Main Fabric Panels
- Place main fabric panels right sides together and stitch along three sides.
- Spread out corners and stitch to create a neat finish.
- Turn right side out.
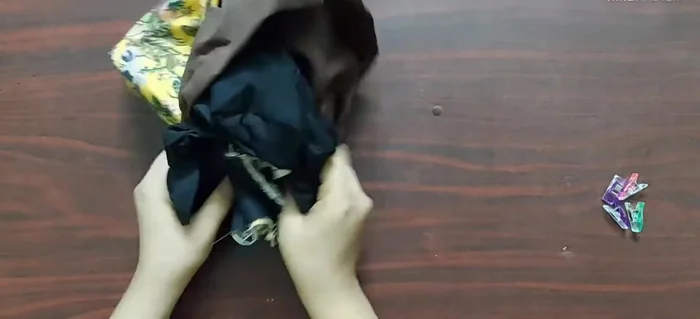
Sew Main Fabric Panels Sew Lining Panels
- Stitch lining fabric panels right sides together, leaving a gap at the bottom.
- Repeat corner stitching as with the outer panels.
Sew Lining Panels Create Drawstring Closure
- Cut two rectangular pieces of fabric (19 inches x 10 inches). Fold edges, stitch, and create loops for drawstring.
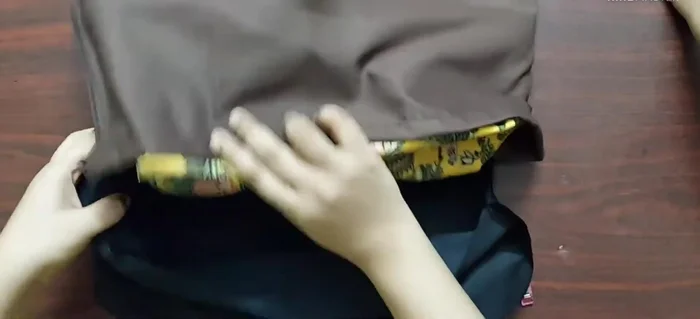
Create Drawstring Closure Attach Drawstring to Basket
- Place drawstring pieces around the top of the basket, right sides together, and stitch.
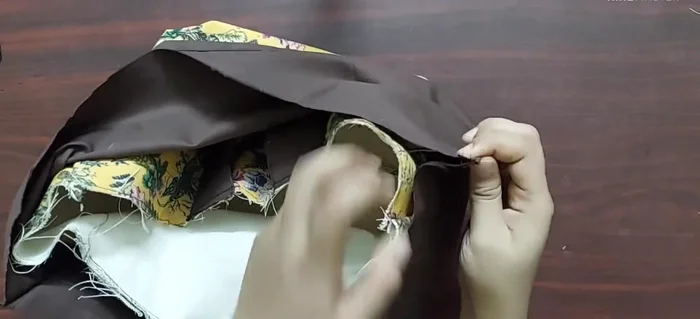
Attach Drawstring to Basket Attach Lining to Basket
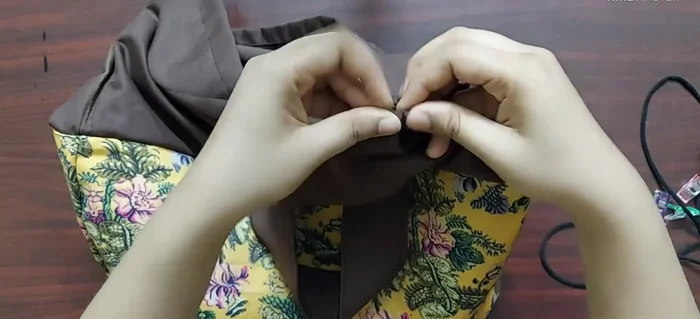
- Place the lining inside the basket, right sides together, and stitch.
- Turn right side out and topstitch.
Attach Lining to Basket Insert Drawstrings
- Insert drawstrings and tie.
Insert Drawstrings
Read more: DIY Picture Frame from Oat Cartons and Fabric: A Simple & Unique Craft
Tips
- Use canvas interfacing for added structure.
- Add extra length to drawstring pieces for easier tying.