Do you love to read and appreciate the artistry of a beautifully crafted bookmark? Tired of flimsy bookmarks that bend and tear? Then get ready to embark on a fun and rewarding crafting adventure! This guide will show you how to create a durable and charming fabric bookmark, reinforced with sturdy cardboard for long-lasting use. Forget those mass-produced, forgettable markers; you'll be creating a personalized, handcrafted treasure that reflects your unique style and adds a touch of whimsy to your favorite books. We'll explore a variety of fabric choices and embellishment ideas, allowing you to customize your bookmark to match your personality and reading preferences.
From simple to sophisticated, the possibilities are endless. Whether you prefer a minimalist design or a vibrant, decorative piece, this project is perfect for crafters of all skill levels. Let's dive into the step-by-step instructions and transform your favorite fabric scraps into a treasured bookmark that will stand the test of time and countless page turns. Follow along as we guide you through creating your own sturdy and adorable DIY fabric bookmark with cardboard reinforcement.
Preparation and Safety Guidelines
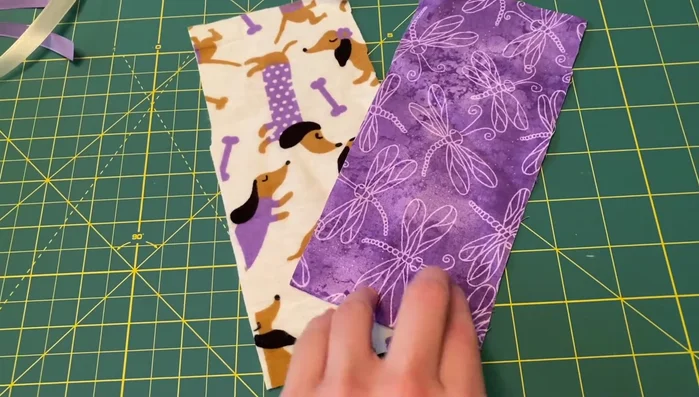
- Fabric (Flannel and Cotton recommended)
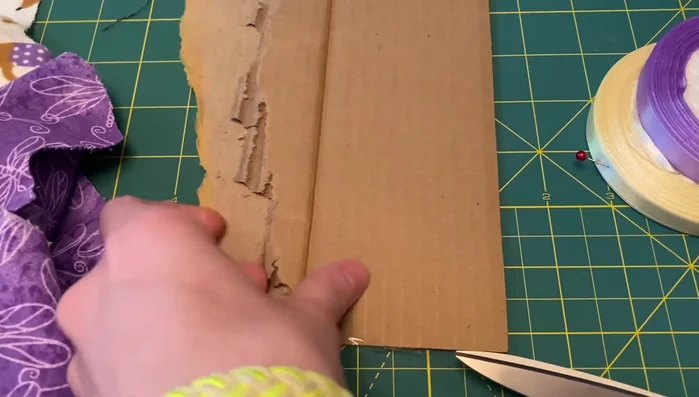
- Cardboard (from a box)
- Ribbon
- Pins
- Scissors
- Iron
- Always supervise children using sharp objects like scissors or craft knives.
- Be mindful of fabric edges; consider using pinking shears or applying a sealant to prevent fraying.
- Ensure the cardboard insert is slightly smaller than the fabric to prevent bulkiness and ensure a neat finish.
Step-by-Step Instructions
Prepare Materials
- Cut 9x3 inch rectangles from your chosen fabrics and cardboard.

Prepare Materials Sew Fabric Tube
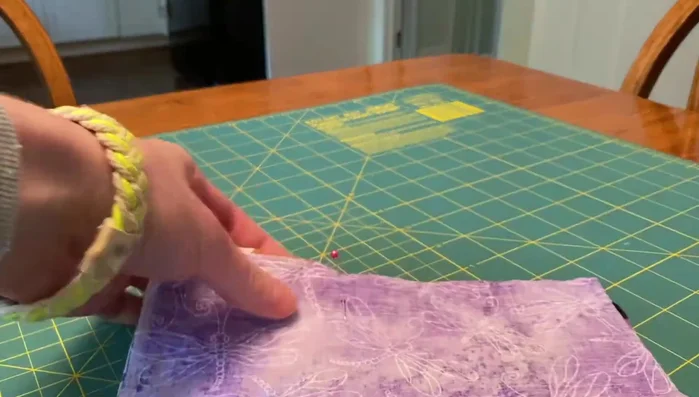
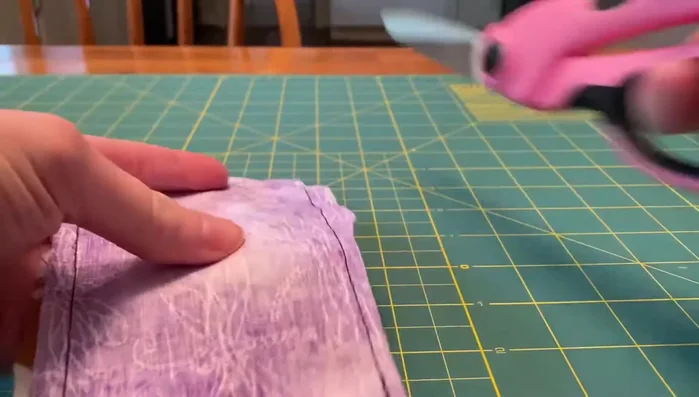
- Place the right sides of your fabric rectangles together and pin along two long sides and one short side.
- Sew along the pinned edges, leaving one short side open.
- Trim excess thread, and turn the fabric right side out.
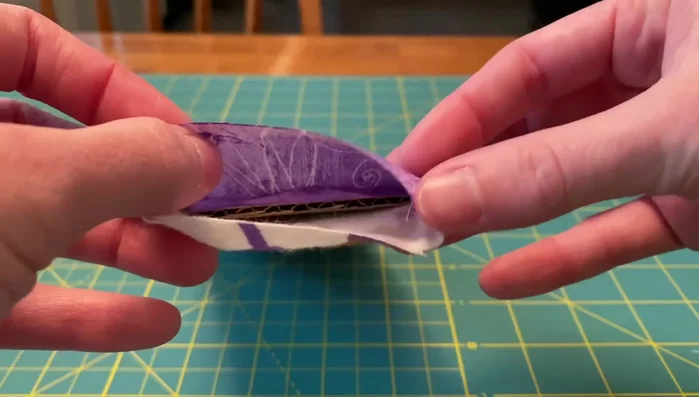
Sew Fabric Tube Insert Cardboard Reinforcement
- Place the cardboard rectangle inside the fabric sleeve.
Insert Cardboard Reinforcement Finishing Touches
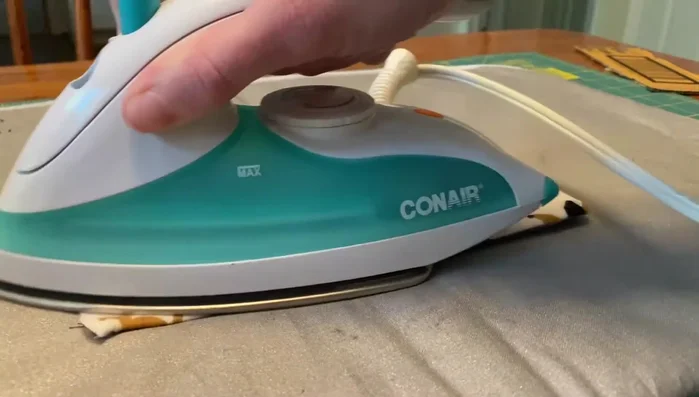
- Iron the bookmark to remove creases and create sharp edges.
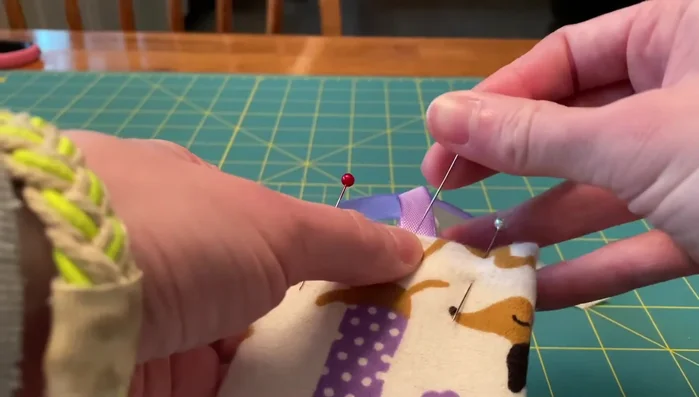
- Fold in the raw edges at the top of the bookmark and pin to secure.
- Cut ribbon pieces (6 inches each) and bunch them together.
- Insert ribbons into the top seam, pin, and sew along the top edge to close and secure the ribbons simultaneously. Make sure you’re only sewing through the fabric and not the cardboard.
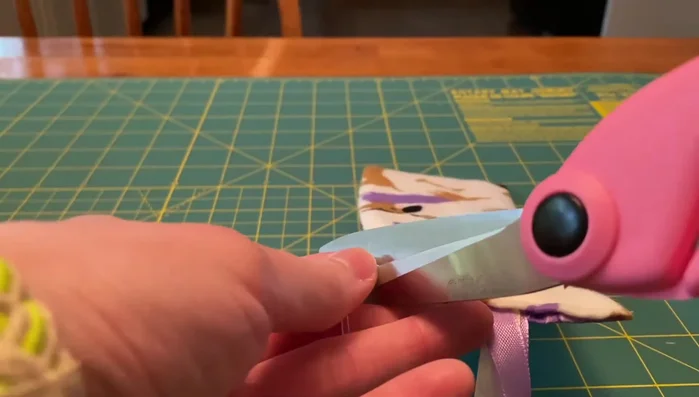
Finishing Touches - Trim any remaining excess threads.
Finishing Touches

Read more: DIY Picture Frame from Oat Cartons and Fabric: A Simple & Unique Craft
Tips
- Use sturdy fabric for added durability. Flannel and cotton are good choices.
- Adding cardboard provides extra stability to your bookmark. Consider using cereal box cardboard if you don't have other options.
- Optional: Add batting for extra cushioning between the fabric layers.
- Ironing helps ensure clean creases and a professional look.