Skip the disposable paper napkins this Christmas and add a touch of handmade charm to your holiday table with beautiful, reusable cloth napkins! This simple DIY project is perfect for crafting enthusiasts of all skill levels, offering a delightful way to personalize your festive celebrations and contribute to a more eco-friendly holiday season. Imagine the elegant, rustic, or whimsical designs you can create, perfectly coordinating with your chosen Christmas theme. The cost-effectiveness adds another layer of appeal, transforming inexpensive fabric into charming, personalized place settings that can be cherished for years to come.
Forget complicated patterns and time-consuming techniques; this project is all about quick and easy execution. Using readily available materials and straightforward steps, you’ll be surprised at how effortlessly you can transform plain fabric into festive napkins. Ready to get started on creating your own set of unique Christmas cloth napkins? Let's dive into the easy step-by-step instructions below.
Preparation and Safety Guidelines
- Fabric (½ yard)
- Rotary cutter
- 45-degree ruler
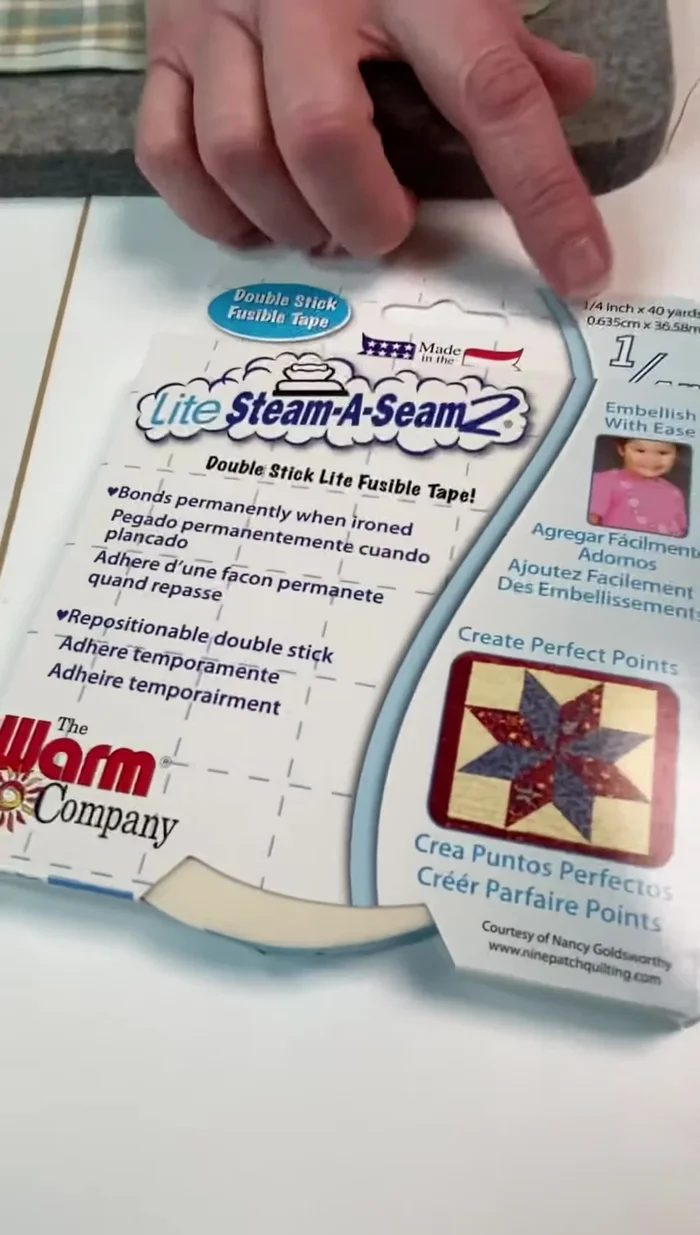
- Steam-a-seam tape
- Iron (optional)
- Sewing machine
- Clover hot ruler (optional)
- Napkin ring
- Always supervise children if they are assisting with cutting fabric or using scissors. Sharp objects should be handled with care.
- Pre-wash fabrics before sewing to prevent shrinkage after the napkins are made. This ensures they maintain their size and shape after washing.
- If using iron-on interfacing or fusible adhesive, follow the manufacturer's instructions carefully. High heat can damage fabrics or cause burns.
Step-by-Step Instructions
Fabric Selection and Cutting
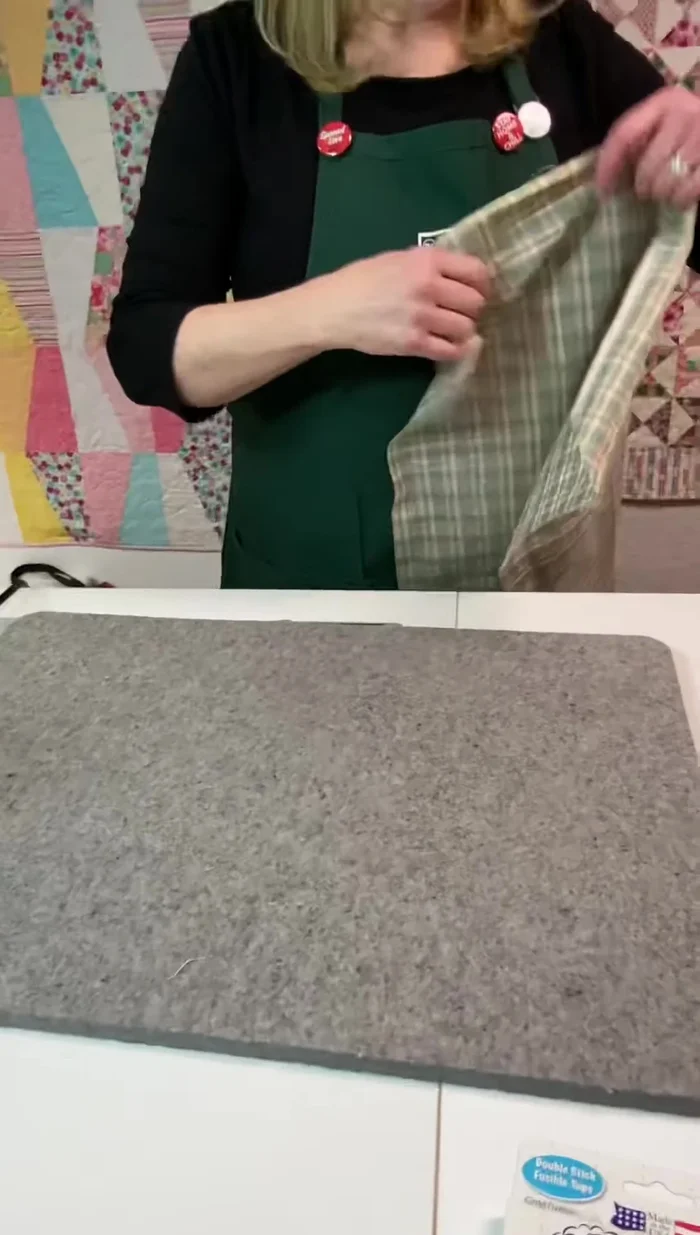
- Choose your fabric. Look for double-sided fabrics like plaid or batik, or use flannel if you don't mind a different back.
- Cut your fabric. Cut a 5/8 yard piece on the fold to make two napkins. Adjust size as needed.
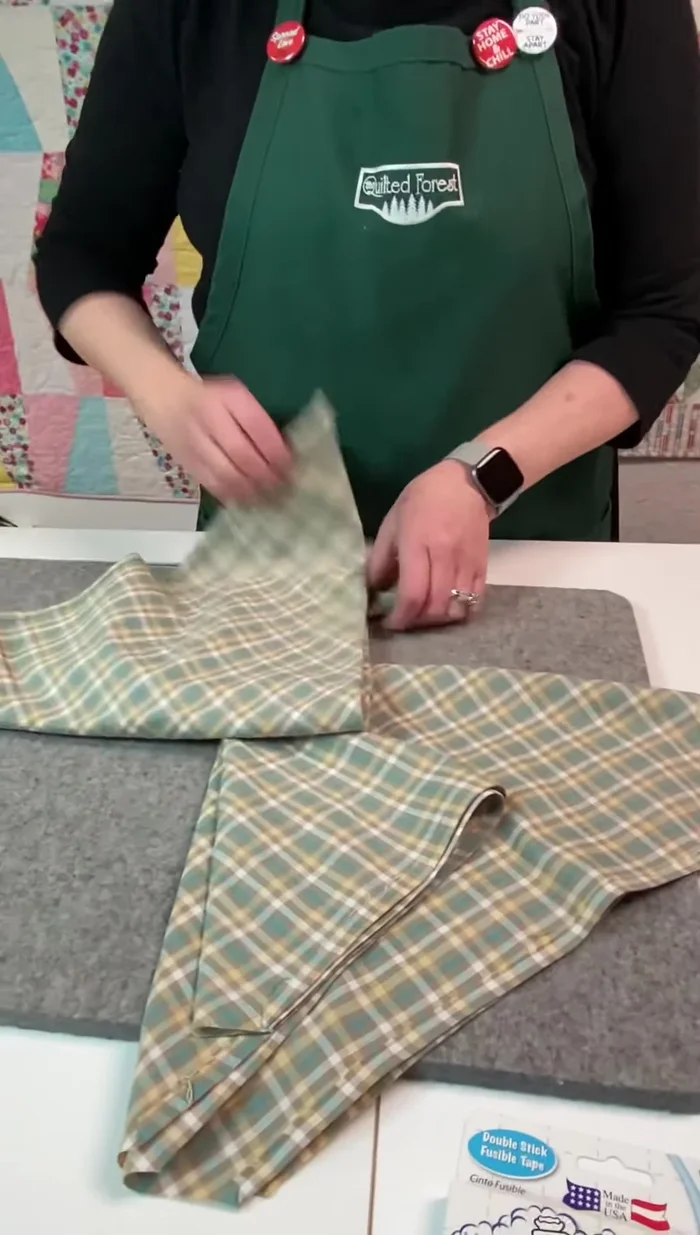
Initial Fabric Preparation
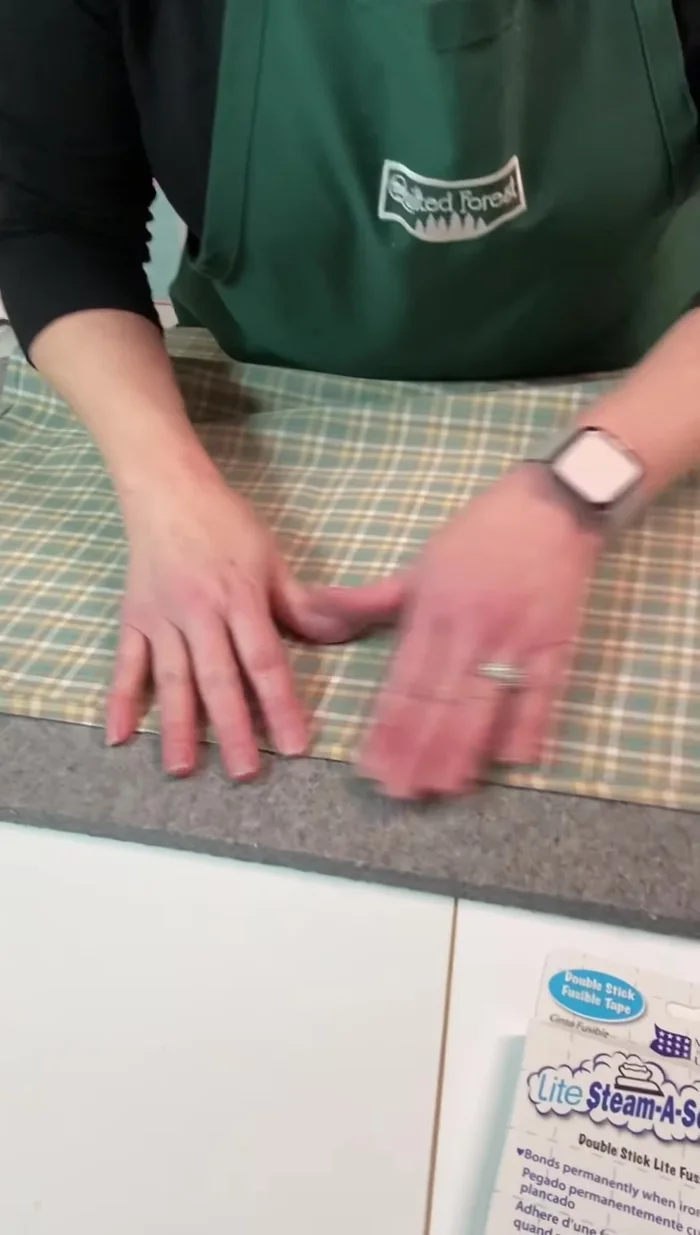
- Fold fabric into quarters and cut off a corner at a 45-degree angle using a rotary cutter.
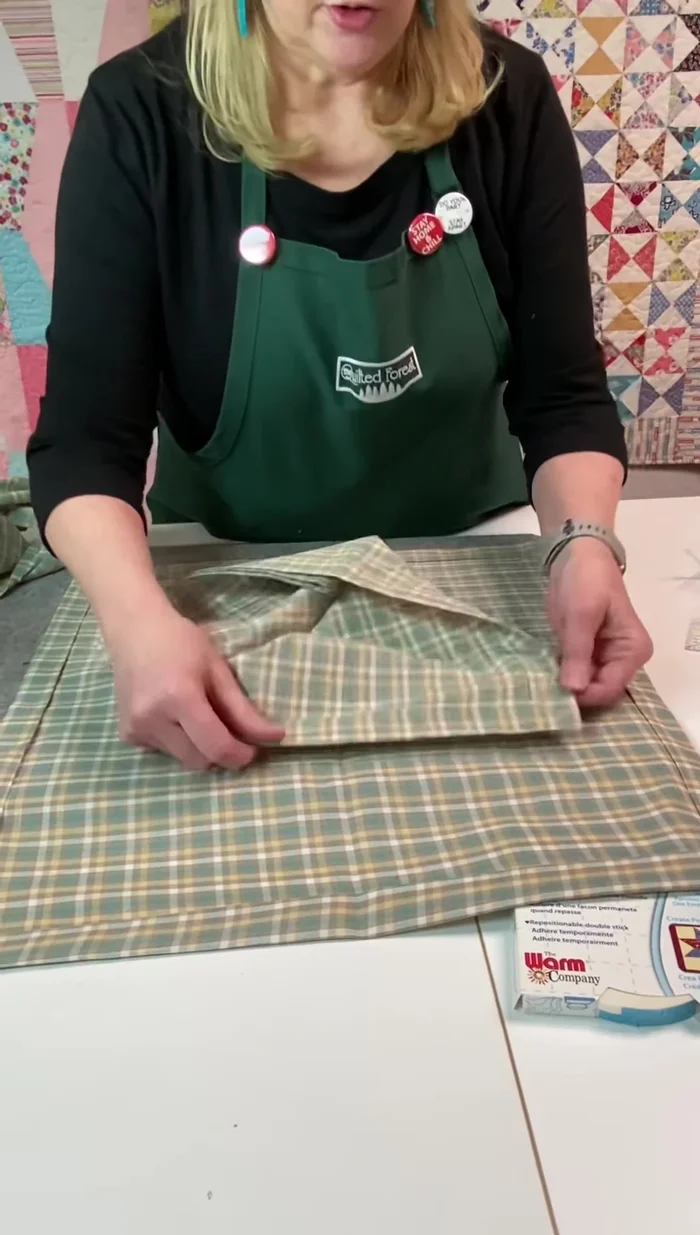
Applying and Folding the Tape
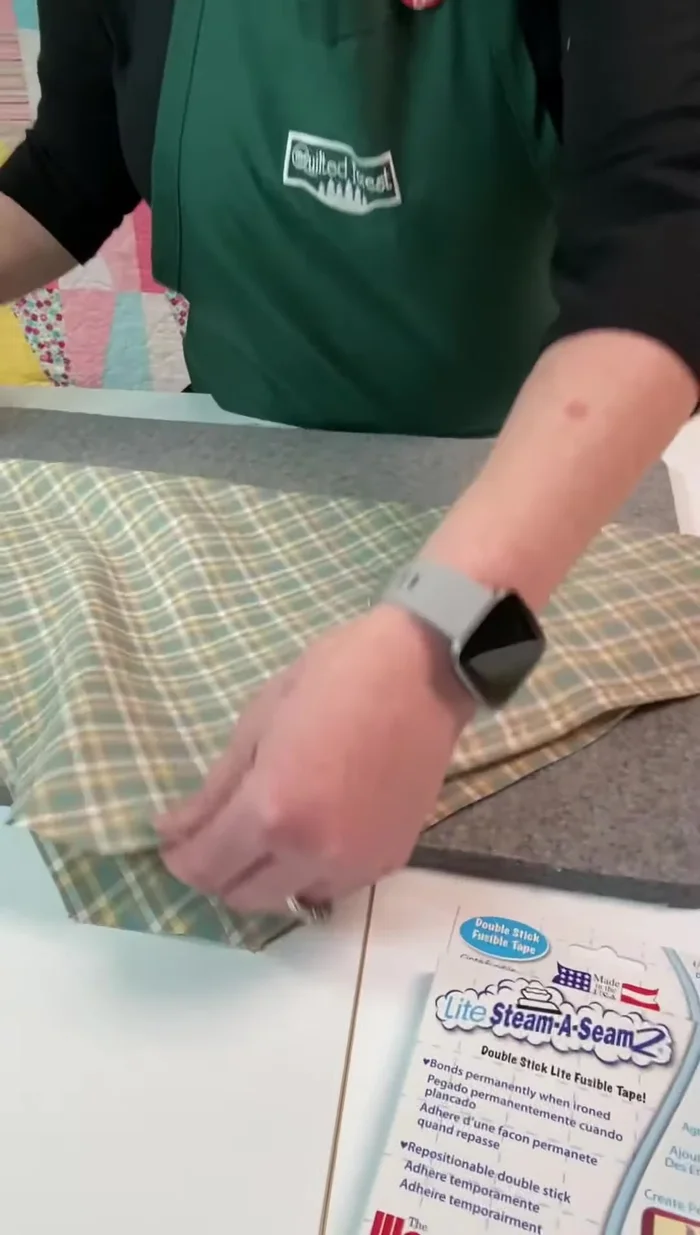
- Apply steam-a-seam tape to all four edges of the fabric.
- Fold over the edges, using the tape as a guide, and press to secure.

Applying and Folding the Tape Tape Removal and Initial Pressing
- Remove the tape once cooled.
Tape Removal and Initial Pressing Sewing the Napkin
- Fold the napkin in a triangle and sew along two opposite sides, backstitching at the beginning and end.
- Repeat step 7 for the remaining two sides.
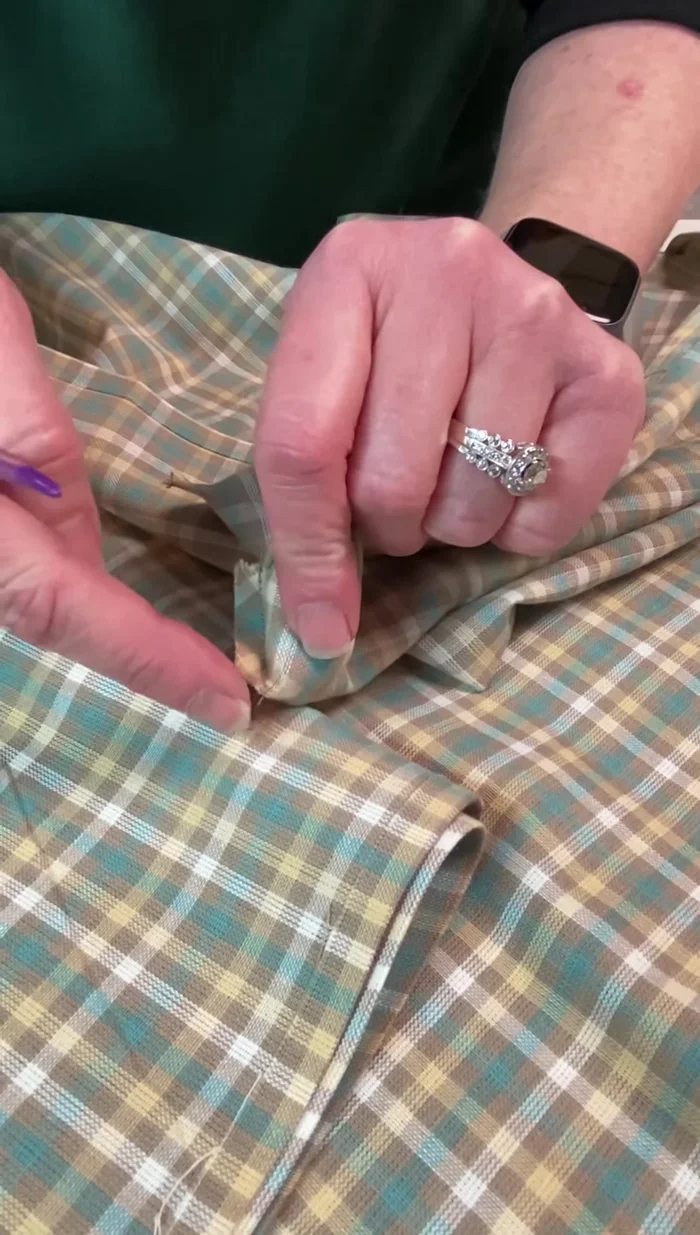
Sewing the Napkin Finishing the Corners
- Clip the corners to reduce bulk, press open the seams, and use a tool (like an awl) to poke out the corners for a sharp edge.
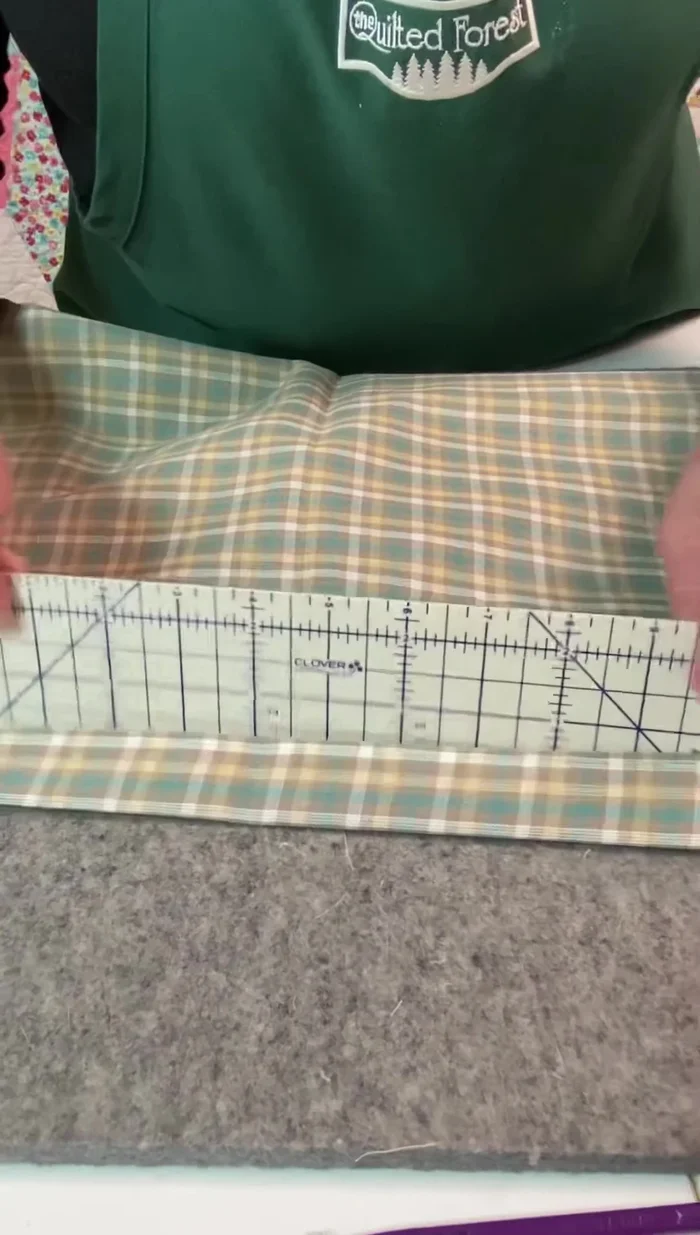
Finishing the Corners Final Pressing and Edge Sewing
- Press the finished napkin using a hot ruler for consistent edges.
- Sew along the edge of the napkin to enclose raw edges.
Final Pressing and Edge Sewing
Read more: DIY Picture Frame from Oat Cartons and Fabric: A Simple & Unique Craft
Tips
- Use a 45-degree angle for clean corner cuts.
- Let the steam-a-seam tape cool before removing for easier removal.
- Use a hot ruler to ensure consistent edges.
- Clipping corners reduces bulk and creates a nice, sharp edge.