Ever wanted to bring your own hilarious caricatures to life? This guide shows you how to create a unique and entertaining DIY caricature hand puppet, perfect for playful performances or quirky home décor. Forget expensive, mass-produced toys; unleash your creativity and craft a truly personalized puppet that embodies your artistic vision and sense of humor. Whether you're a seasoned crafter or a complete beginner, this project is surprisingly accessible and incredibly rewarding.
This engaging project combines the fun of caricature drawing with the simple satisfaction of puppet making. We’ll guide you through each step, from sketching your exaggerated character to the final touches that give your creation personality. Prepare to be amazed at how easily you can transform a simple design into a charming, expressive hand puppet. Let's dive into the step-by-step instructions and begin crafting your own miniature comedic masterpiece!
Preparation and Safety Guidelines
- Half-inch dry drained foam
- Quarter-inch birch plywood (or basswood)
- Contact cement
- Ultra suede
- Gaffers tape
- Nylon fleece
- Jeweler's saw
- Sandpaper
- Files
- Pins
- Needle & thread (for ladder stitch)
- Faux fur
- Flocking material
- Vacuformed plastic
- Black buttons
- L200 foam
- Always use adult supervision when using sharp objects like scissors or craft knives. Children should not handle these tools without guidance.
- Be mindful of small parts that could pose a choking hazard, especially if the puppet is intended for young children. Securely attach all components.
- Use non-toxic materials for the puppet's construction, especially if it will be handled by children. Avoid using paints or glues that contain harmful chemicals.
Step-by-Step Instructions
Body Construction
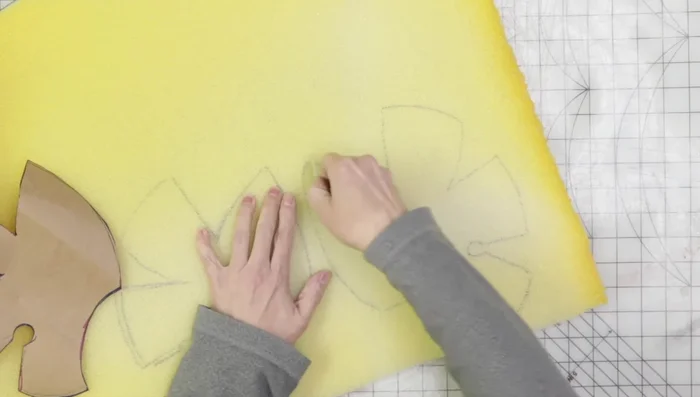
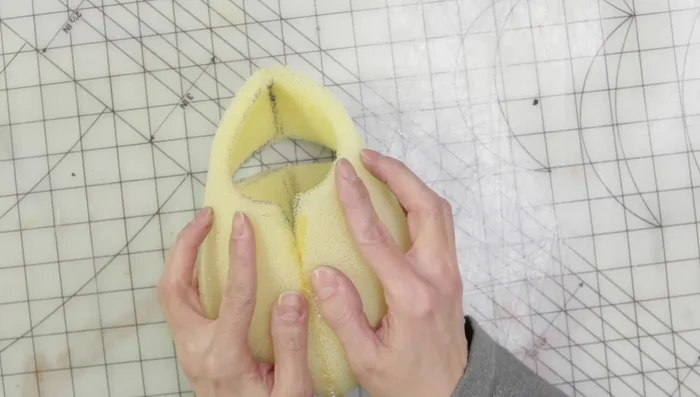
- Trace pattern onto foam and cut out pieces.
- Join foam seams using contact cement.
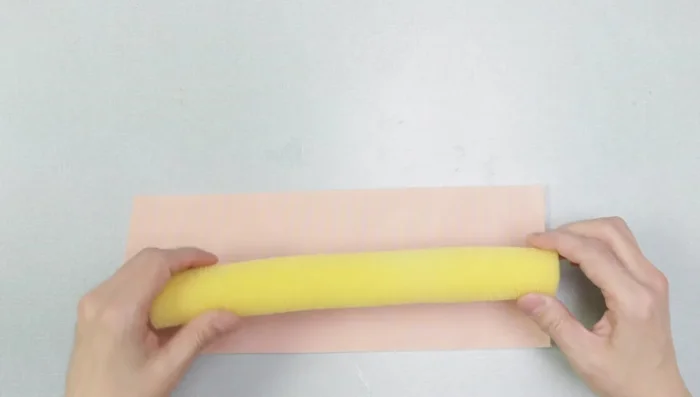
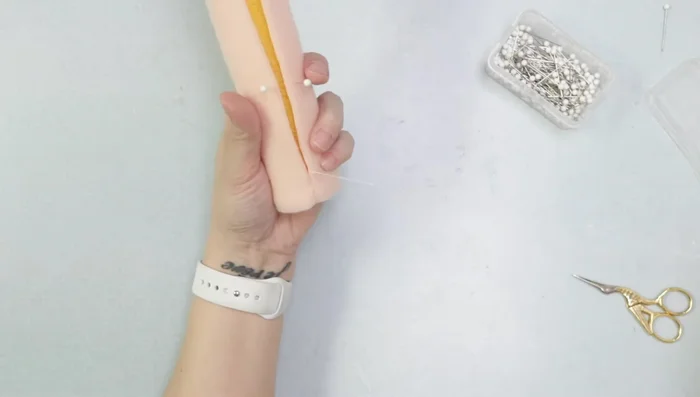
- Create arms from foam, glue seams with contact cement.
- Create torso and legs using foam (L200 foam for torso for rigidity).

Body Construction Mouth Plate Creation
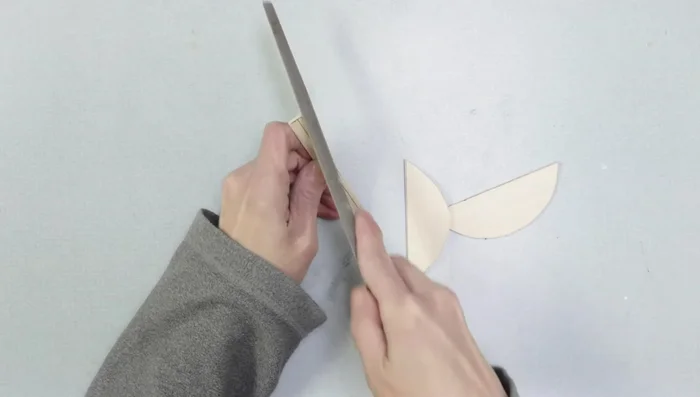
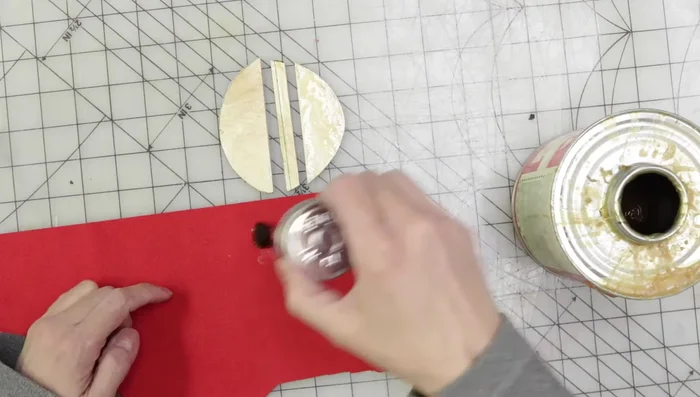
- Trace mouth plate pattern onto plywood (or basswood) and cut out.
- Sand and file mouth plate pieces.
- Glue mouth plate pieces to ultra suede using contact cement.
Mouth Plate Creation Attaching the Mouth Plate
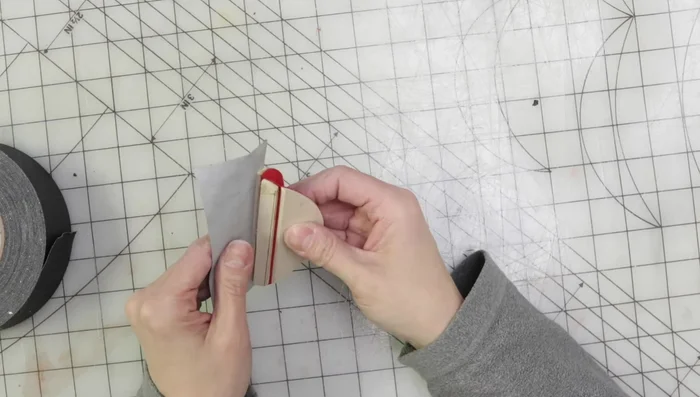
- Add gaffers tape to back of mouth plate, trim, and attach to head.
- Add finger loops to the back of the head (if forgotten initially).
Attaching the Mouth Plate Covering the Body
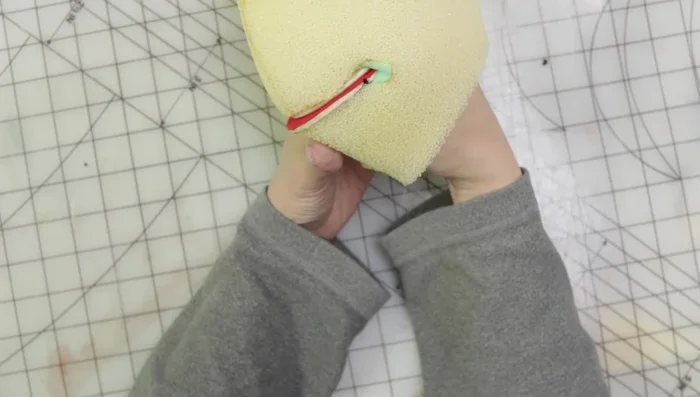
- Hand-stitch nylon fleece onto foam body, using a ladder stitch.
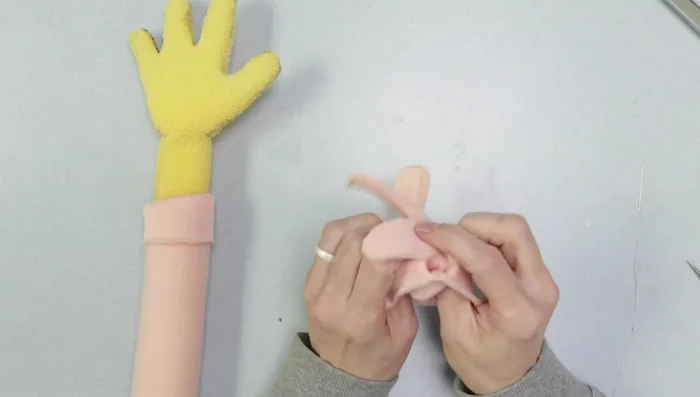
Covering the Body Hand Creation
- Create hands using same method as arms, cover with nylon fleece glove.
Hand Creation Facial Features
- Create facial features (eyes, nose, ears, hair, facial hair) using foam, fleece, vacuformed plastic, faux fur, and flocking.
Final Assembly
- Assemble all parts.
Read more: DIY Picture Frame from Oat Cartons and Fabric: A Simple & Unique Craft
Tips
- Use different foam densities for different parts to achieve desired rigidity.
- Don't forget finger loops early on in the process!
- Be patient, creating the facial features takes multiple tries to perfect the look and personality.