Are you looking for a fun and rewarding craft project that's both easy on the wallet and creatively fulfilling? Then look no further than this DIY cardboard clock! This simple project is perfect for beginners and a fantastic way to recycle those leftover cardboard boxes cluttering your home. With just a few basic materials and a little patience, you can create a unique and personalized timepiece that adds a touch of handmade charm to any room. Whether you're crafting with kids, looking for a relaxing weekend activity, or simply want to express your creativity, this project offers a satisfying sense of accomplishment.
This guide will walk you through each step of building your very own cardboard clock, transforming a humble piece of cardboard into a functional and stylish addition to your home decor. Get ready to unleash your inner artist and follow the easy-to-follow instructions below, learning how to design, assemble, and personalize your one-of-a-kind clock.
Preparation and Safety Guidelines
- Cardboard
- Permanent marker
- A4 paper or colored paper
- Bottle caps
- Glue gun (or sharp object/pin)
- Adult supervision is required, especially when using sharp tools like scissors or craft knives. Children should not handle these tools independently.
- Be mindful of the clock mechanism's small parts. Keep them away from young children to prevent choking hazards.
- Use strong adhesive to ensure the clock hands and mechanism are securely attached to the cardboard. A poorly secured clock could lead to damage or injury.
Step-by-Step Instructions
Prepare the Clock Face
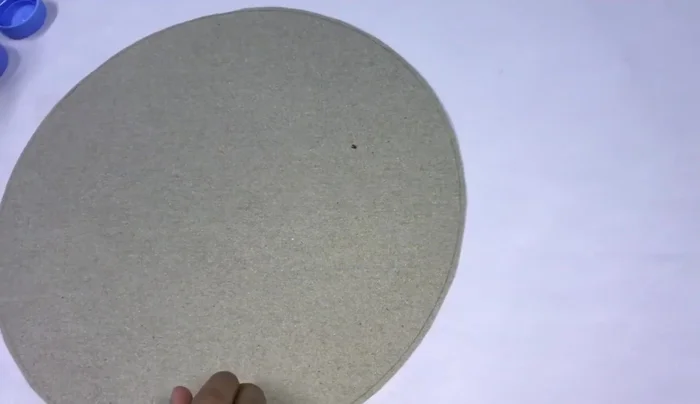
- Draw and cut a circle from cardboard.
- Cover the cardboard circle with colored paper.

Prepare the Clock Face Create Number Markers
- Use bottle caps as number markers and write numbers on them.
Create Number Markers Make Clock Hands
- Create clock hands using a raised part from the initial circle drawing (or other material).
Make Clock Hands Assemble the Clock
- Glue or pierce holes to attach the bottle cap numbers and clock hands to the cardboard.
- Attach the numbers to the clock face.
- Attach the hands to the center of the clock.
Assemble the Clock


Read more: DIY Dollar Store Ghost Candy Holder: Spooky Cute Halloween Decor!
Tips
- Consider using a glue gun for a secure attachment of the numbers and hands, but a pin or sharp object can also work.