Bats, often misunderstood creatures of the night, play a vital role in our ecosystems, acting as natural pest control and pollinators. Sadly, their populations are declining due to habitat loss and the destruction of suitable roosting sites. Providing a safe and welcoming home for these beneficial mammals is easier than you might think, and the rewards are significant – a healthier environment and the fascinating experience of observing these nocturnal flyers. Building a DIY bat box is a rewarding project for anyone interested in wildlife conservation, offering a simple yet effective way to contribute to bat preservation.
This guide provides a comprehensive, step-by-step process for constructing a bat box that will offer bats a safe and warm place to roost, helping them thrive in your area. From selecting the right materials to ensuring proper installation, we'll walk you through every stage, enabling you to build a bat haven that will benefit both bats and the surrounding environment. Let's get started!
Preparation and Safety Guidelines
- Plywood
- Cedar planks
- Plastic mesh
- Staple gun
- Silicone caulk
- Screws
- Wood glue
- Saw
- Measuring tape
- Safety glasses
- Protective gloves
- Always use untreated lumber. Chemicals in treated wood are harmful to bats.
- Mount the bat house at least 12 feet above the ground and away from bright lights to ensure safe entry and exit for the bats.
- Position the bat house facing south or southeast to maximize sunlight and warmth.
Step-by-Step Instructions
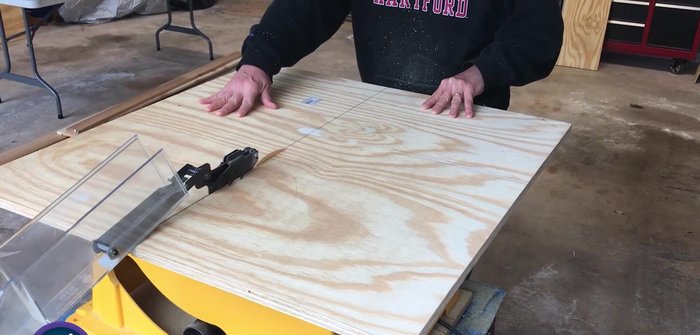
Cut the Wood
- Cut plywood for the back of the bat box.
- Cut cedar planks for the sides, angling one side at 10 degrees.
- Cut the roof board and top planks at 10-degree angles.

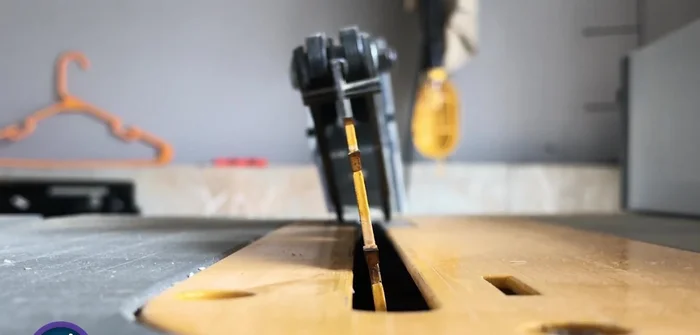
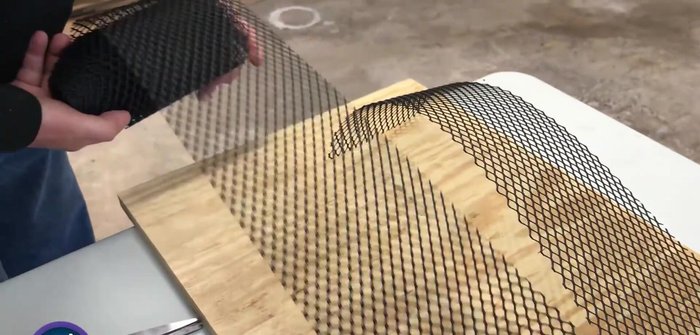
Cut the Wood Prepare the Base
- Apply plastic mesh to the plywood, leaving room on the sides and top.
- Attach the mesh to one side of the plywood using a staple gun.
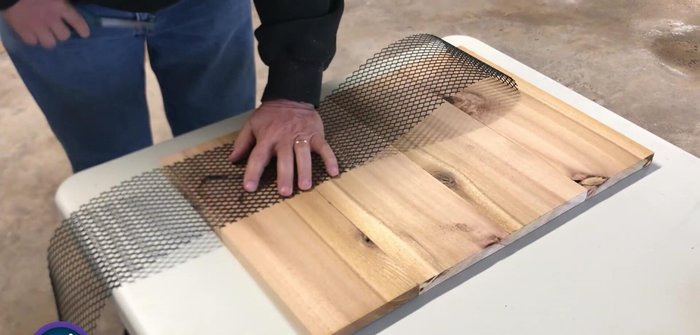
Prepare the Base Assemble the Sides
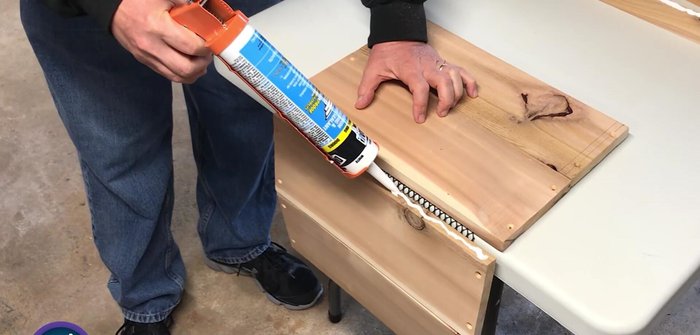
- Attach the cedar side planks to the plywood back using silicone caulk and screws.
- Attach the top board with angled cut, aligning with the roof.
- Attach the fifth board, leaving a small gap for air, and cut off any overhang.
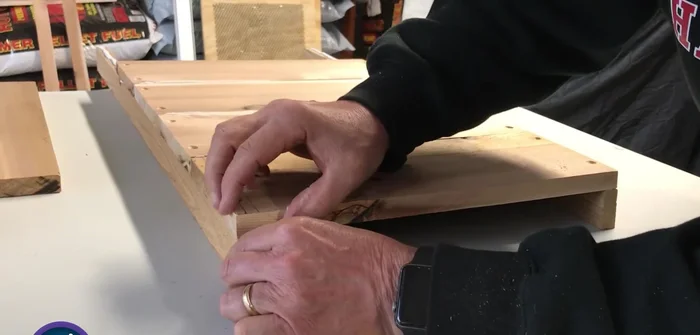
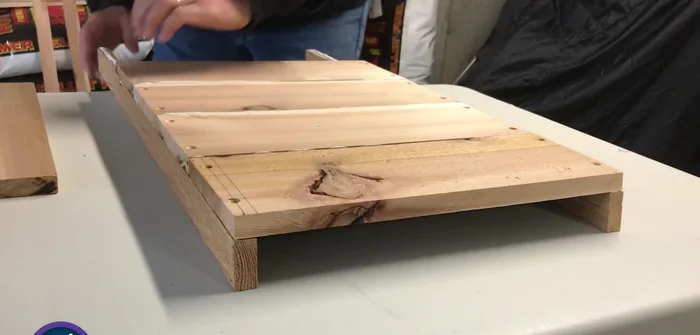
Assemble the Sides Attach the Back and Roof
- Attach the box to the plywood back.
- Attach the roof using a good amount of caulk, ensuring angles align for proper downward slope.
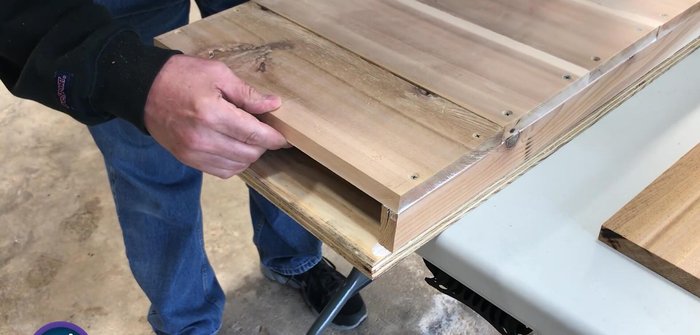
Attach the Back and Roof Add Predator Guard and Finish
- Add a predator guard with a 3/4 inch gap using wood glue.
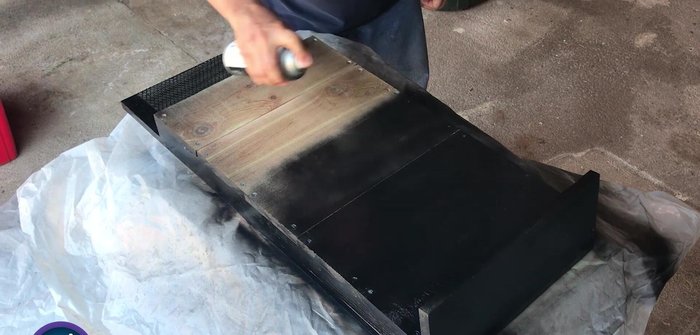
- Sand the entire project and paint it black.
Add Predator Guard and Finish


Read more: DIY Dollar Store Ghost Candy Holder: Spooky Cute Halloween Decor!
Tips
- Use cedar for its durability.
- Ensure angles match for a watertight seal.
- Plastic mesh provides bats with something to hang on to.
- Use a combination of silicone caulk and screws for secure and waterproof construction.
- Paint the bat box black to retain heat for the bats.