Transform your event space with a breathtaking backdrop without breaking the bank! Forget expensive professional rentals; creating a stunning visual masterpiece is easier and more affordable than you think. This DIY tutorial guides you through crafting a captivating backdrop perfect for weddings, birthdays, baby showers, or any special occasion. Whether you're aiming for a rustic, romantic, modern, or bohemian vibe, we'll show you how to achieve a professional-looking result using readily available materials and simple techniques. Imagine the wow factor you’ll create, all from the comfort of your own home!
Forget settling for boring backdrops; unleash your creativity and personalize your event with a custom-designed masterpiece. This step-by-step guide will walk you through every stage, from choosing your materials and designing your layout to the final touches that will elevate your backdrop to a truly unforgettable feature. Prepare to be amazed at how easily you can create a stunning and personalized backdrop that reflects your unique style and budget.
Preparation and Safety Guidelines
- 2x3 ft tablecloth
- Scissors
- Ruler or measuring tape
- Ribbons
- Curtain
- Balloons
- String
- Optional: Gold ribbon, flowers
- Always prioritize safety when working with tools and materials. Use caution with sharp objects like scissors and knives, and wear appropriate safety gear like gloves if handling potentially irritating substances.
- Ensure adequate ventilation if using spray paints or other materials with strong fumes. Work in a well-ventilated area or wear a respirator mask.
- If using flammable materials like fabrics or certain types of glue, be mindful of open flames and electrical sources to prevent fire hazards.
Step-by-Step Instructions
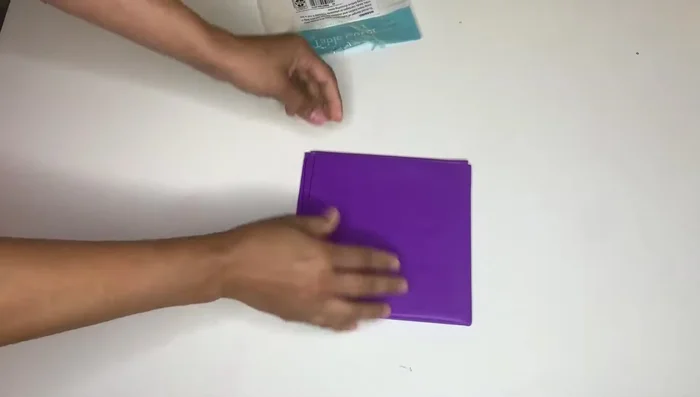
Prepare the Fabric
- Unfold a 2x3 ft tablecloth and lay it flat on a protected surface.
- Measure and cut 3-inch strips from the tablecloth. You'll need four pieces for each string, plus additional for adjustments.

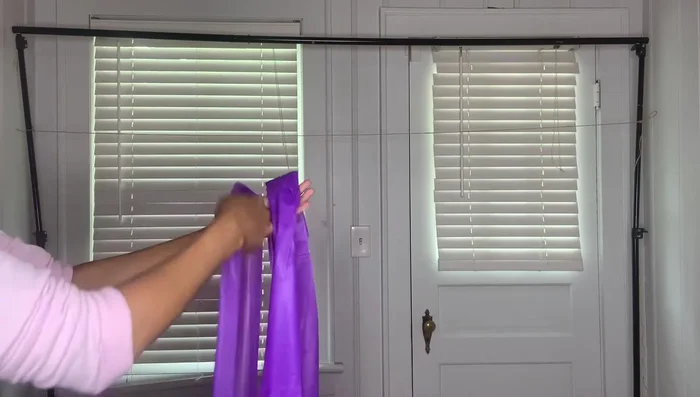
Prepare the Fabric Create the String Hanger
- Tie the strings to a sturdy stand (or use folded paper as a substitute). Create a loop by folding each strip, threading the ends through, pulling tight, and then sliding it down to create a loop.
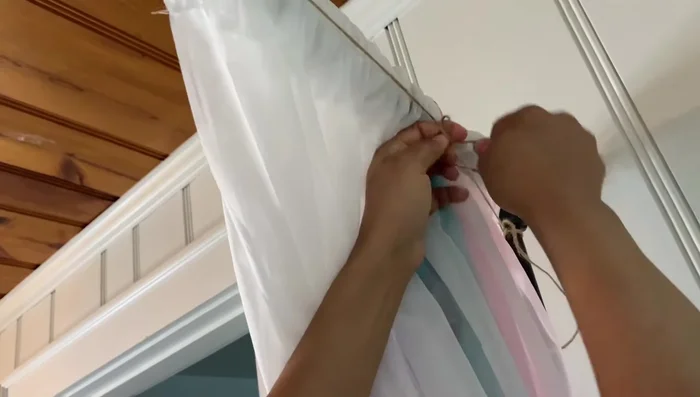
Create the String Hanger Attach the Curtain
- Secure the curtain to the top of the strings.
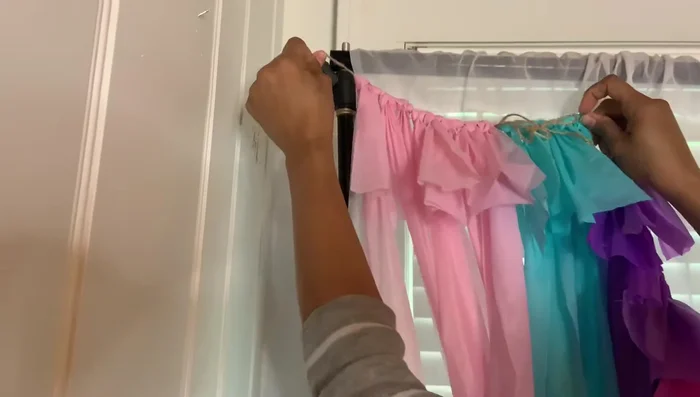
Attach the Curtain Secure and Finish
- Tie the strings securely at the bottom. Use additional string to hold everything in place, ensuring it's firmly attached. Trim the strings to an even length.
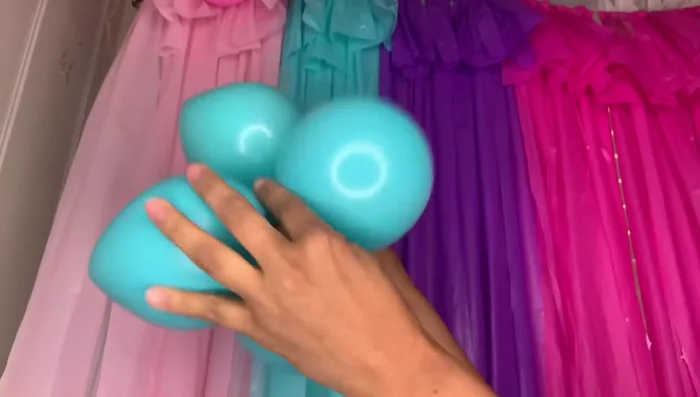
Secure and Finish Add Balloon Decorations (Optional)
- Attach two balloons together, creating a flower shape with a string. Secure to the backdrop using additional string.
Add Balloon Decorations (Optional)

Read more: DIY Picture Frame from Oat Cartons and Fabric: A Simple & Unique Craft
Tips
- Use a mat to protect your work surface.
- Ensure the strings are evenly spaced and the same length for a neat finish.
- Tie all knots securely to prevent the backdrop from falling apart.