Alexander Calder's whimsical mobiles, with their graceful, balanced forms, are iconic works of art. Their seemingly effortless movement and captivating visual rhythm are a testament to both artistic vision and ingenious engineering. While creating a Calder-inspired mobile might seem daunting, it's surprisingly accessible to even novice crafters. This delightful project is perfect for a rainy afternoon, a creative outlet for adults, or a fun family activity. The satisfying process of creating a balanced and beautiful mobile is both rewarding and surprisingly therapeutic.
This step-by-step guide will walk you through the creation of your own DIY Alexander Calder mobile, from selecting materials to achieving perfect equilibrium. We'll cover everything you need to know, from choosing the right shapes and sizes of your components to mastering the art of weight distribution – ensuring your stunning creation dances gracefully in the air. Let's begin!
Preparation and Safety Guidelines
- Bottle nose pliers
- Wire snips
- Exacto knife
- Thumbtack
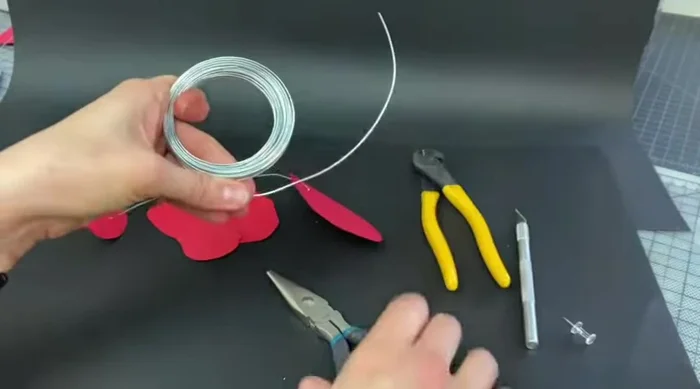
- 18 gauge wire
- Cardstock
- Use sharp tools with caution. Adult supervision is required, especially when children are involved.
- Ensure all hanging components are securely attached to prevent accidental falls or damage. Test the balance thoroughly before hanging the mobile.
- Avoid using heavy materials that could create an unbalanced or dangerous mobile. Choose lightweight materials appropriate for the size of your design.
Step-by-Step Instructions
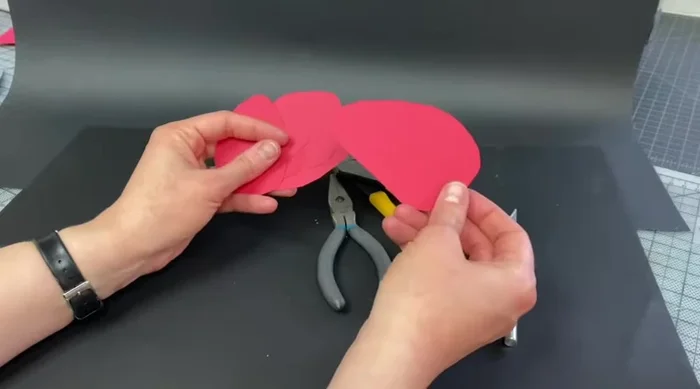
Prepare Cardstock Shapes
- Prepare cardstock shapes resembling Calder's work. Cut them into small, organic shapes.

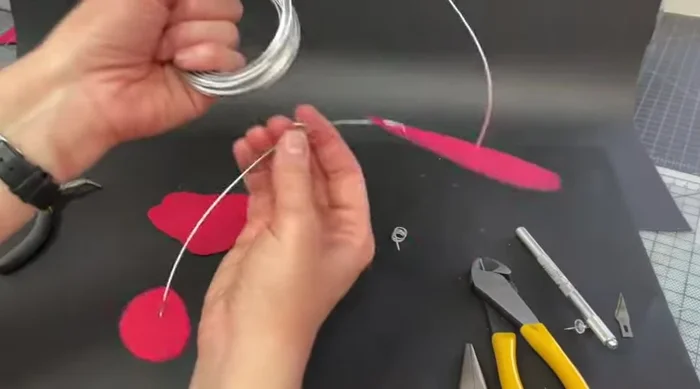
Prepare Cardstock Shapes Create the First Mobile Arm
- Connect two cardstock pieces. Cut a piece of wire, crimp the ends at a 90-degree angle. Make holes in the cardstock and insert the wire, crimping to secure.
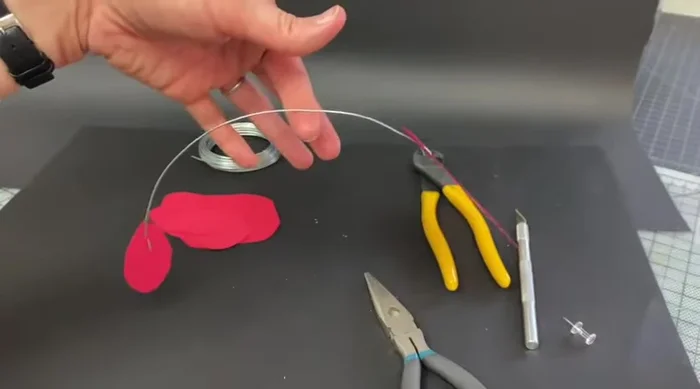
- Find the balance point of the wire connecting the two cardstock pieces. Crimp the wire at this point to create a loop.
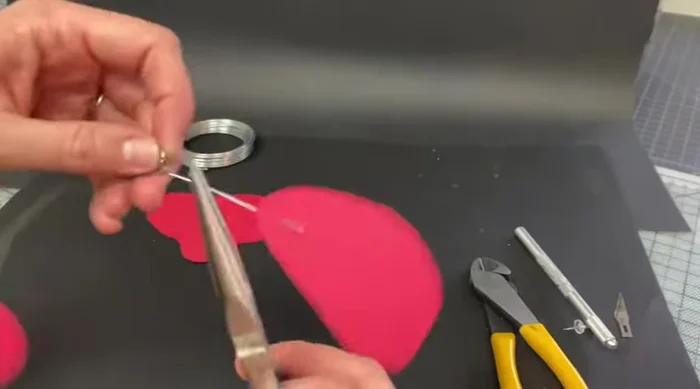
Create the First Mobile Arm Create a Connection Ring
- Create connection rings. Cut a piece of wire (around 4 inches), use the exacto knife to create a tight coil leaving an inch overhang, then twist and crimp to secure.
Create a Connection Ring Attach the First Connection Ring
- Attach the connection ring to the bottom mobile arm.
Attach the First Connection Ring Add Additional Arms
- Add more arms. Repeat steps 2-5, attaching each new arm to a previously created connection ring. Determine each new arm's balance point before attaching.
Add Additional Arms

Read more: DIY Toilet Paper Roll Rockets: A Fun and Easy Craft Project
Tips
- Use a thumbtack or enlarge the holes with the exacto knife if needed.
- When creating loops, crimp the wire tightly around the pliers to create a neat, secure loop. Avoid twisting excessively at the bottom of the pliers.
- Ensure you find the balance point of each arm before attaching additional components.
- Sweep up small wire pieces to prevent accidents.