Looking for a stylish and modest abaya without the hefty price tag? This DIY abaya sewing tutorial is your answer! Crafting your own abaya can be surprisingly simple and incredibly rewarding, allowing you to personalize the design and fabric to perfectly match your style and preferences. Forget complicated patterns and hours of meticulous stitching; this method focuses on speed and ease, perfect for beginners and experienced sewers alike. We'll utilize straightforward techniques that minimize time and maximize impact.
Ready to transform a simple fabric into an elegant abaya in record time? This tutorial will guide you through a fast and easy process, utilizing minimal tools and readily available materials. We'll cover everything from measuring and cutting to finishing touches, ensuring you create a beautiful, wearable abaya you'll be proud to wear. Let's dive into the step-by-step instructions and start sewing!
Preparation and Safety Guidelines
- Linen fabric
- Sewing machine
- Sewing machine needles
- Scissors
- Pins
- Iron
- Ironing board
- Thread
- Bobbin
- Optional: Embroidery kit or knitting kit for embellishments
- Always use sharp fabric scissors to prevent fraying and ensure clean cuts. Dull scissors can cause fabric to tear or stretch, leading to an uneven final product.
- Handle your sewing machine with care. Before starting, ensure you're familiar with its functions and safety features. Keep your fingers clear of the needle at all times.
- If working with a delicate fabric like chiffon, consider using a walking foot or another specialized presser foot to prevent slippage and ensure even feeding through the machine.
Step-by-Step Instructions
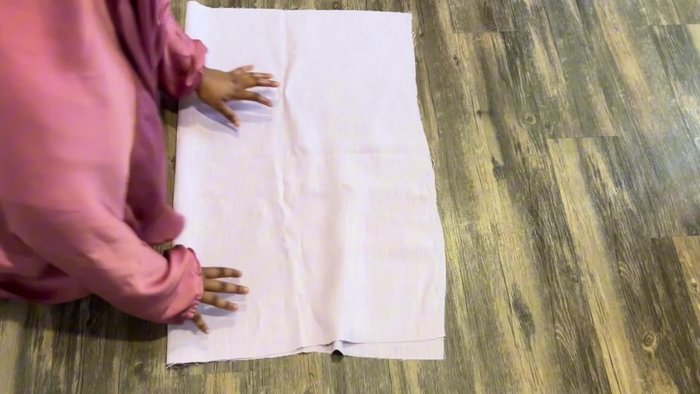
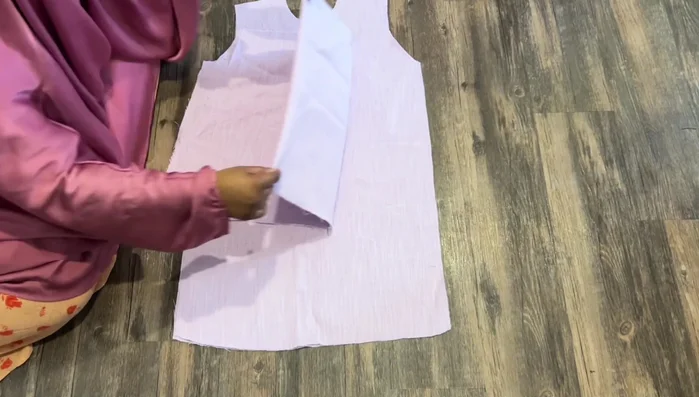
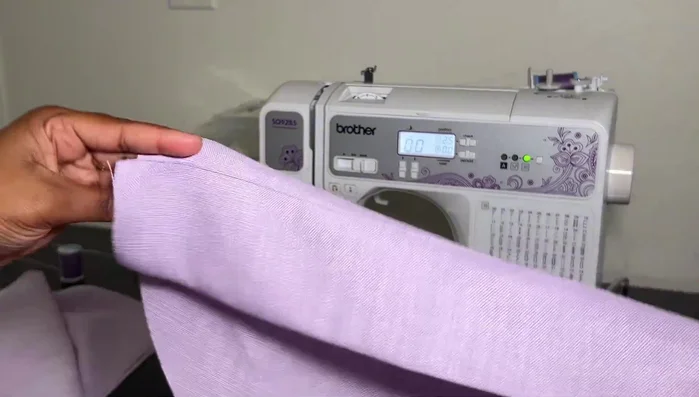
Prepare Fabric
- Cut the fabric in half, use only one half. Fold it in half twice.

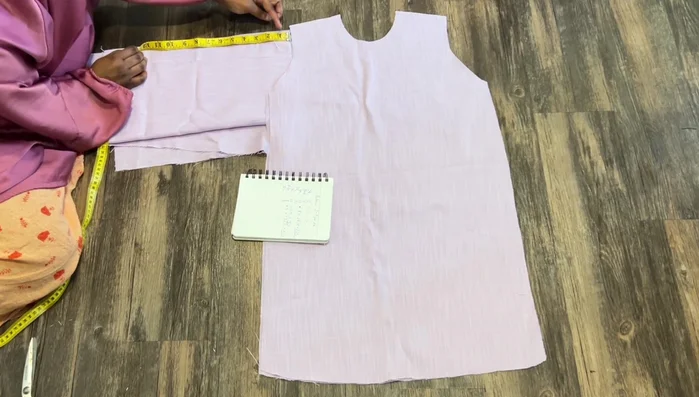
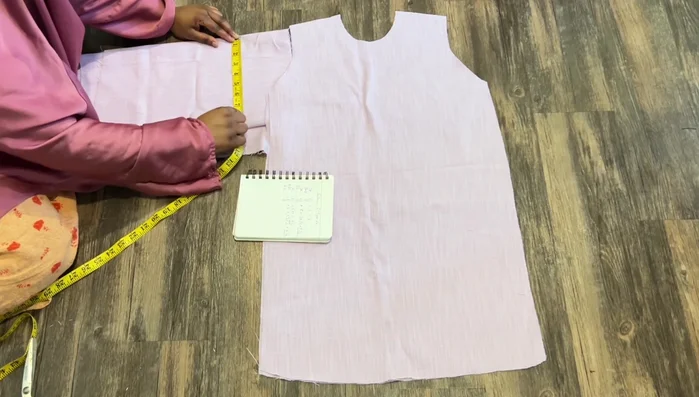
Prepare Fabric Cut Abaya Base
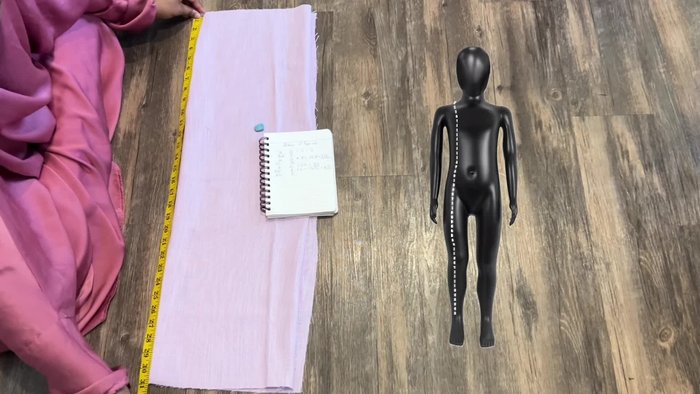
- Measure and mark the length of the garment. Then measure from the back, not the front, for the shoulder line, divide by two and mark it.
- Measure and mark the neck hole (toddler standard). Measure down 1 inch from the shoulder line, connect this dot to the neck hole.
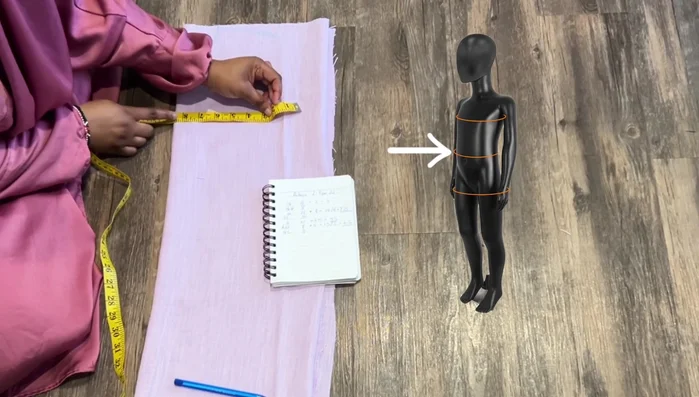
- Measure down from the 1-inch dot to the child's bust/chest. From the top, measure to the waist or belly button.
- Determine the waist circumference, divide by four, and mark it. Connect the chest, waist, and shoulder dots, curving the lines.
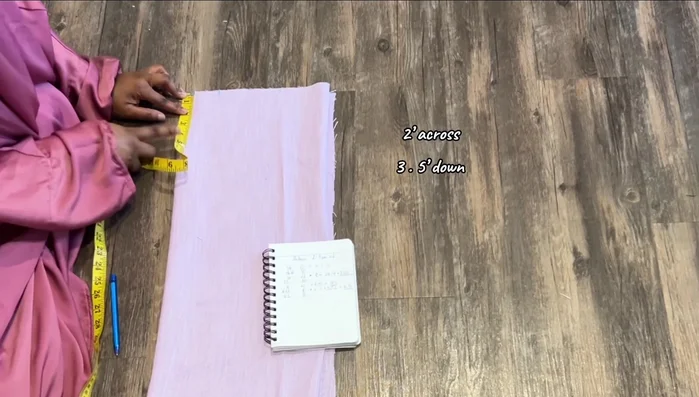
Cut Abaya Base - Measure 10 inches across from the bottom and connect the lines. Cut out the Abaya base.
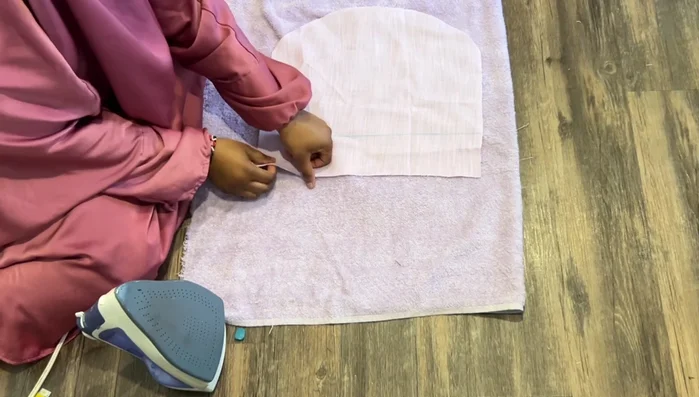
Cut Abaya Base Prepare Sleeves
- Fold the other half of the fabric in half twice. Trace the armhole from the Abaya base onto the sleeve fabric.
- Measure from the shoulder to the bicep, and then to the wrist. Measure the bicep circumference, divide by two, and mark it. Do the same for the wrist.
- Measure down four inches from the wrist. Draw a rectangle, connecting lines to create the sleeve shape. Cut out the sleeves.
Prepare Sleeves Finish Sleeves
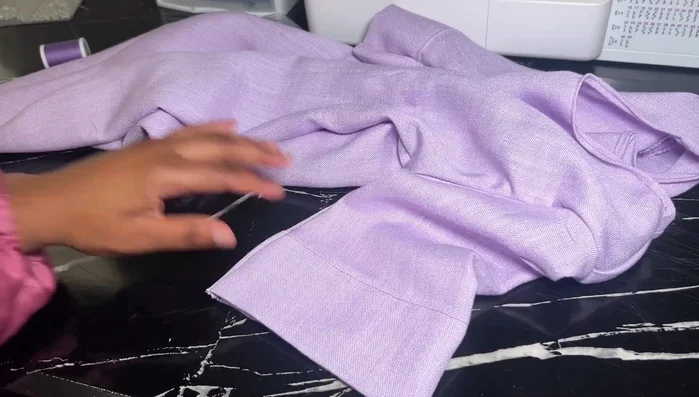
- Iron down one inch at the bottom of the sleeve, then fold and iron it again. Repeat for the other sleeve.
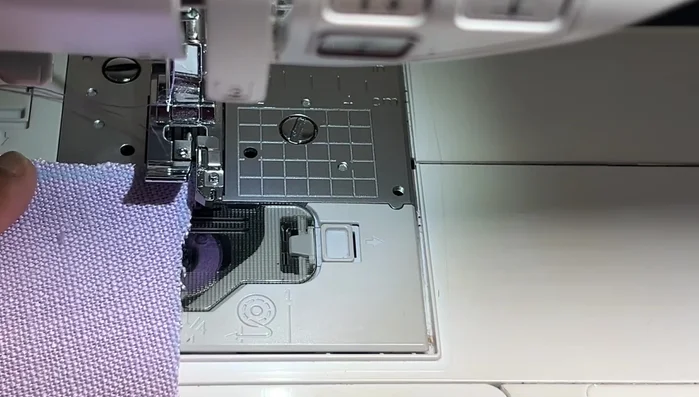
Finish Sleeves Sew Sleeves
- Use a stretch stitch.
Sew Sleeves Sew Abaya Body
- Use stitch 19 (zigzag stitch) for the shoulders and the rest. For extra security, use a straight stitch after folding the edges.
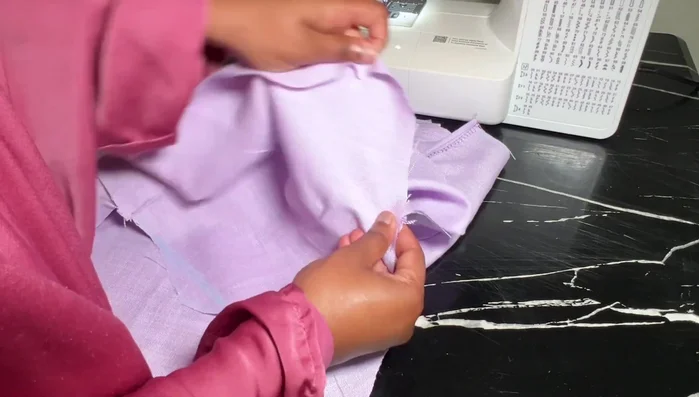
Sew Abaya Body Attach Sleeves to Abaya
- Match center to center, pin, sew, and trim excess fabric.
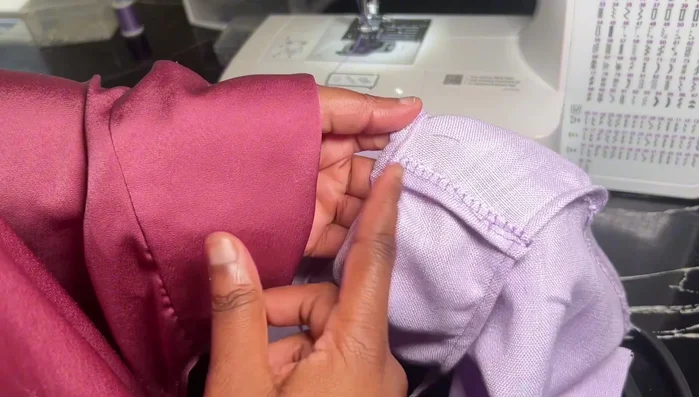
Attach Sleeves to Abaya Close Abaya
- Use stitch 19, then finish with a straight stitch. Hem the bottom and neck.
Close Abaya Embellish (Optional)
- Add crescent moon details to the sleeves using embroidery or a knitting kit (optional).
Embellish (Optional)


Read more: DIY Picture Frame from Oat Cartons and Fabric: A Simple & Unique Craft
Tips
- Pay attention to the measurements for toddlers; they are different from standard sizes.
- Using a zigzag stitch (Stitch 19) for the main seams helps prevent bulkiness due to the thick linen fabric.
- An embroidery or knitting kit simplifies the embellishment process.