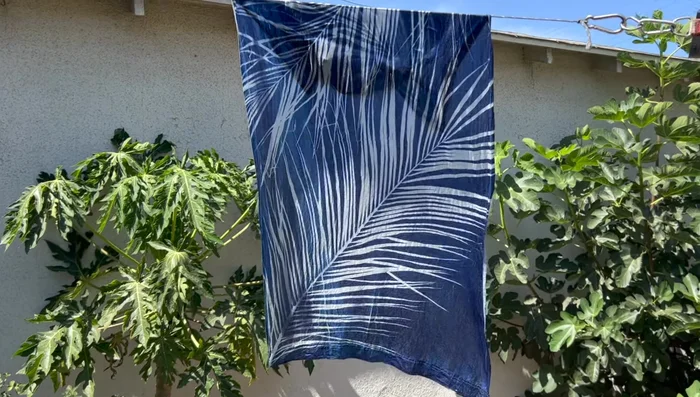
Harness the power of the sun and transform ordinary fabric into breathtaking, one-of-a-kind works of art with the ancient photographic process of cyanotype. This captivating technique, producing stunning Prussian blue prints, is surprisingly accessible and requires minimal materials. Forget expensive photo labs and complicated software; with just a few readily available ingredients and a sunny day, you can create beautiful, unique textiles to adorn your home, clothing, or gifts. The delicate, ethereal quality of cyanotypes lends itself beautifully to nature-inspired designs, allowing you to capture the beauty of leaves, flowers, and even lace in a permanent, artistic way.
Discover the magic of sun-printing by following our easy, step-by-step guide below. We'll walk you through each stage of the cyanotype process, from mixing the chemical solution to exposing and washing your fabric, ensuring you achieve perfectly vibrant and long-lasting results. Let's embark on this creative journey and unlock the timeless beauty of DIY cyanotype sun prints.
Preparation and Safety Guidelines
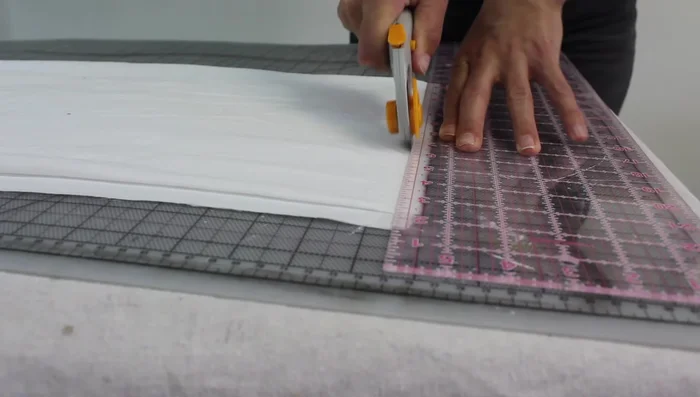
- Natural fabric (cotton gauze recommended)
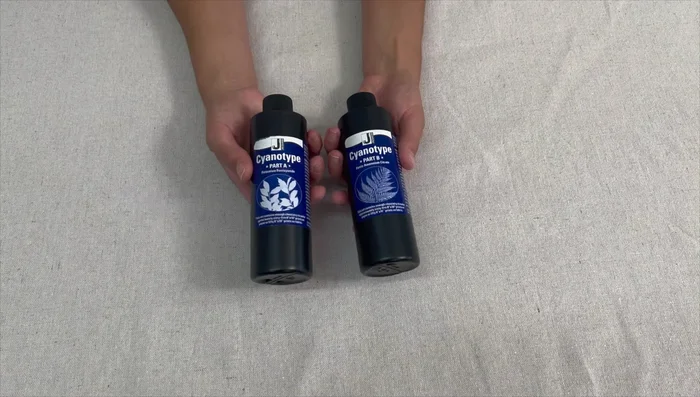
- Cyanotype kit (Jackard recommended)
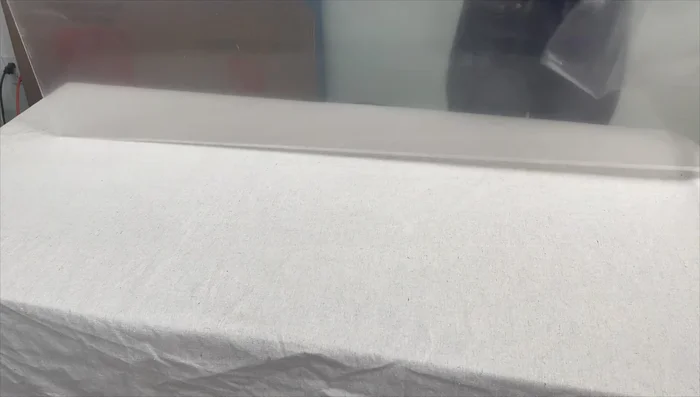
- Plexiglass or glass plate
- Clear packing tape
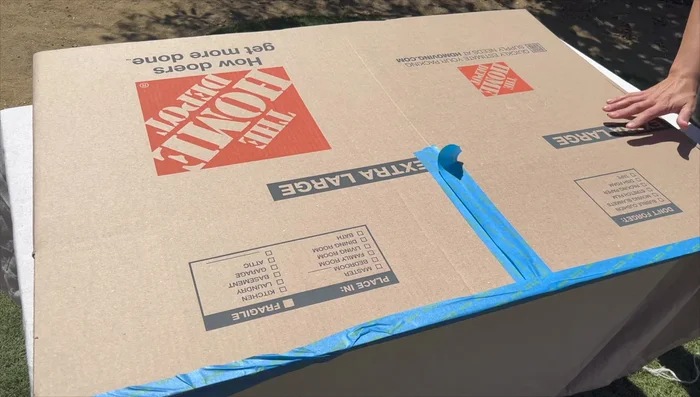
- Cardboard box
- Bucket
- Cold water
- Hydrogen peroxide
- Copper string lights (optional)
- Cyanotype chemicals are skin and clothing sensitizers. Wear gloves and eye protection at all times. Wash your hands thoroughly after handling chemicals and before touching your face or eyes.
- Work in a well-ventilated area, preferably outdoors, as the chemicals can release fumes. Avoid inhaling the dust from the dry chemicals.
- Keep cyanotype solutions away from children and pets. Dispose of used chemicals responsibly according to local regulations.
Step-by-Step Instructions
Prepare the Fabric
- Prep your fabric. Use natural fabric (cotton gauze is recommended). Hem the edges if desired.

Prepare the Fabric Mix the Cyanotype Solution
- Mix the cyanotype solution. In a dark room, mix equal parts of solution A and B from the kit.
Mix the Cyanotype Solution Treat the Fabric with Cyanotype Solution
- Treat the fabric. Dip the fabric into the mixed solution, wring it out, and hang it to dry in a dark place.
Prepare Your Design
- Prepare your design. Arrange leaves or other foliage on the dry fabric, securing them with tape to a plexiglass plate if using large fabric.
Prepare Your Design Sun Exposure
- Expose to sunlight. Place the fabric and design in direct sunlight for 15-20 minutes.
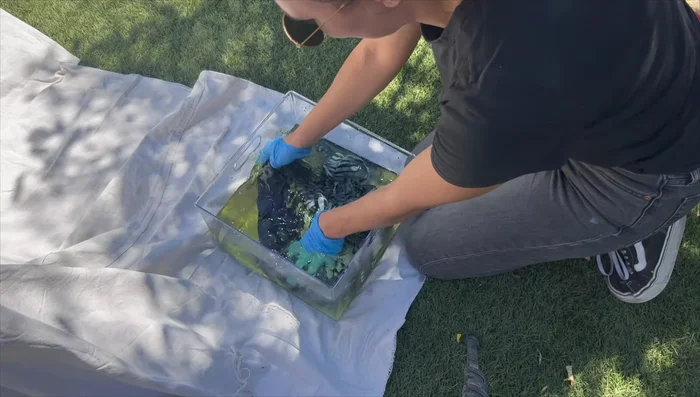
Sun Exposure Rinse and Wash the Fabric
- Rinse and wash. Remove the design, and immediately rinse the fabric in cold water with hydrogen peroxide to stop the reaction.
Rinse and Wash the Fabric Dry and Finish
- Dry and finish. Hang the fabric to dry completely.
Dry and Finish
Read more: DIY Picture Frame from Oat Cartons and Fabric: A Simple & Unique Craft
Tips
- Use natural fabrics for better results.
- Work in a dark room when mixing and treating the fabric to prevent premature exposure to light.
- Use a plexiglass or glass plate to keep leaves flat against the fabric, especially for larger projects.
- Quickly rinse the fabric after sun exposure to halt the chemical reaction.