Looking for a unique and personalized accessory that's also surprisingly easy to make? Then look no further! This ultimate guide will walk you through the process of creating stunning DIY faux acrylic name keychains using your Cricut machine. Forget expensive, mass-produced trinkets – you'll be crafting custom keychains perfect for gifting, personal use, or even selling at craft fairs. We'll explore the materials you need, from readily available craft supplies to the essential Cricut tools, ensuring a smooth and enjoyable crafting experience. The possibilities are endless: choose from a vibrant array of colors, add sparkling embellishments, and design keychains that truly reflect your personality or that special someone's.
This comprehensive guide covers everything from designing your name in your chosen font to applying the vinyl perfectly and sealing your masterpiece for lasting durability. Get ready to unleash your creativity and impress everyone with your handmade talents, because soon you'll be crafting personalized keychains like a pro. Ready to get started? Let’s dive into the step-by-step process!
Preparation and Safety Guidelines
- Cricut Machine
- Shrink Plastic (clear, frosted, or colored)
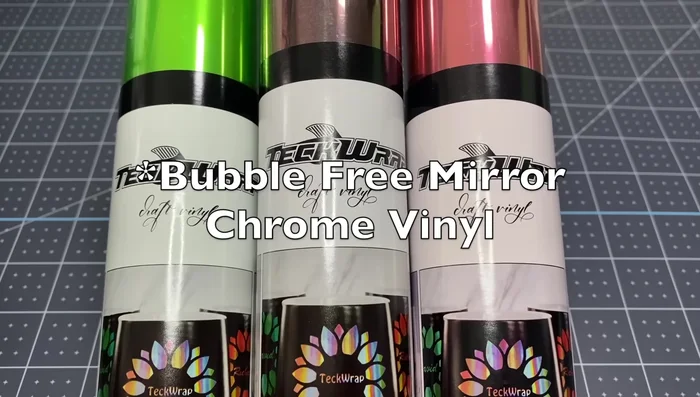
- Adhesive Vinyl (metallic recommended)
- Transfer Tape
- Fine Point Blade
- 320 Grit Sandpaper
- Oven
- Chopsticks
- Caliper
- Jump rings
- Keychain hardware
- Sealer Spray (optional)
- Resin (optional)
- Makeup sponge (optional)
- VersaMagic Stamp Ink Pad (optional)
- Always supervise children when using crafting tools like the Cricut and avoid contact with eyes or skin. Wash hands thoroughly after handling materials.
- Ensure proper ventilation when working with any epoxy resin. Epoxy fumes can be harmful if inhaled. Work in a well-ventilated area or wear a respirator.
- Use heat-resistant surfaces and tools when curing epoxy resin. Improper handling can lead to burns or damage to your work surface.
Step-by-Step Instructions
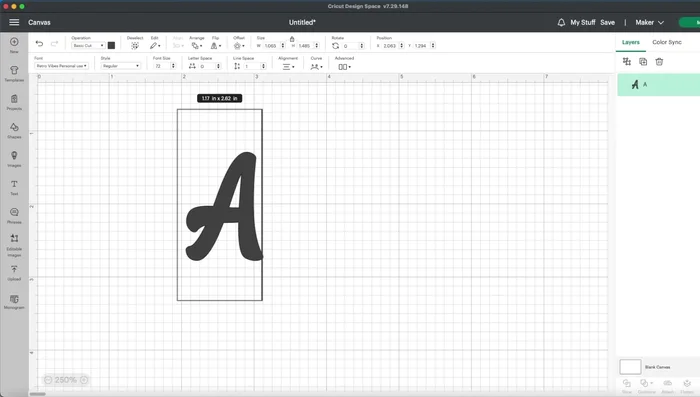
Design the Keychain
- Create text, merge connected letters using 'Weld', create outline using 'Offset' tool (0.25 inches recommended), and design a loop.

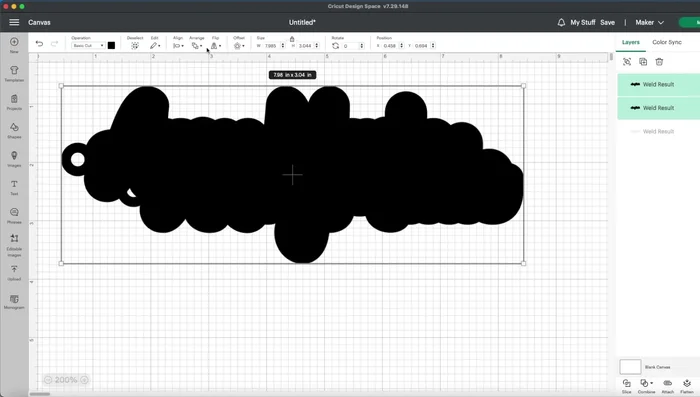
Design the Keychain Prepare for Cutting Shrink Plastic
- Duplicate the keychain shape and stack it to ensure a clean cut through shrink plastic.
Prepare for Cutting Shrink Plastic Cut the Shrink Plastic
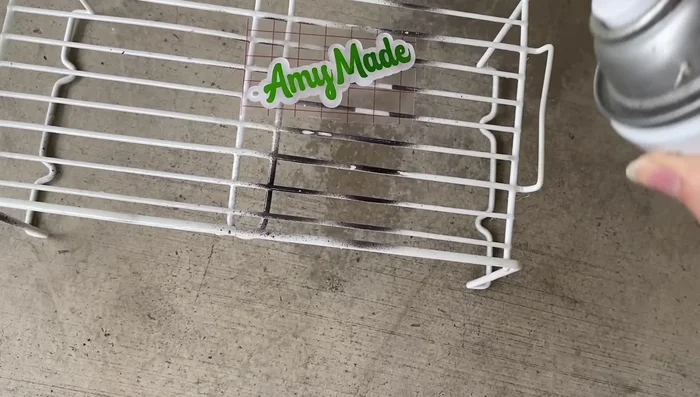
- Use the 'Acetate' setting, increase pressure, and use a fine point blade for a clean cut. Sand both sides of shrink plastic for better adhesion (optional).
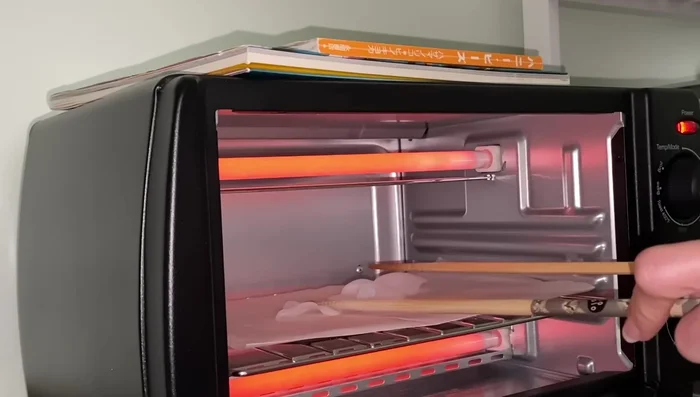
Cut the Shrink Plastic Shrink and Flatten the Plastic
- Use an oven and chopsticks to carefully shrink the plastic, preventing curling.
Shrink and Flatten the Plastic Prepare and Resize Vinyl
- Use a caliper to accurately measure the shrunk plastic and resize the vinyl design in Cricut Design Space to match.
Prepare and Resize Vinyl Cut and Apply the Vinyl
- Cut the vinyl using appropriate settings, remove the protective film, and apply to the plastic using transfer tape.
Cut and Apply the Vinyl Optional Finishing Touches
- Apply a sealer spray before applying resin (if using resin) for better adhesion. Alternatively, use only sealer spray or glittery resin.
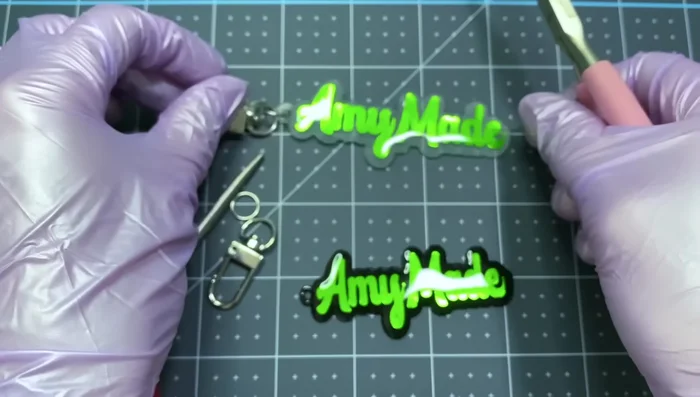
Optional Finishing Touches Assemble the Keychain
- Add a jump ring and keychain hardware.
Assemble the Keychain

Read more: DIY Dollar Store Ghost Candy Holder: Spooky Cute Halloween Decor!
Tips
- Use the offset tool to create a border for your design.
- Make a ruler from your shrink plastic to accurately determine the shrinkage rate.
- Using chopsticks during the shrinking process will help prevent the plastic from sticking together.
- Apply sealer spray before resin to ensure better adhesion.