Transform your children's mealtimes from mundane to magical with these charming, custom-made placemats and a table runner! This project is perfect for utilizing those leftover charm packs – those delightful bundles of pre-cut fabric squares that often sit tempting us in our craft stashes. Imagine the bright, cheerful patterns and the unique designs you can create, adding a touch of personalized flair to your kitchen table. Kids will love the vibrant colors and fun patterns, encouraging them to sit and eat (almost) willingly!
Forget complicated sewing patterns and hours of painstaking work. This quick and easy tutorial will guide you through creating adorable placemats and a coordinating table runner using simple techniques, even if you're a beginner. Let's dive into the step-by-step instructions and bring a splash of handmade happiness to your dining area!
Preparation and Safety Guidelines
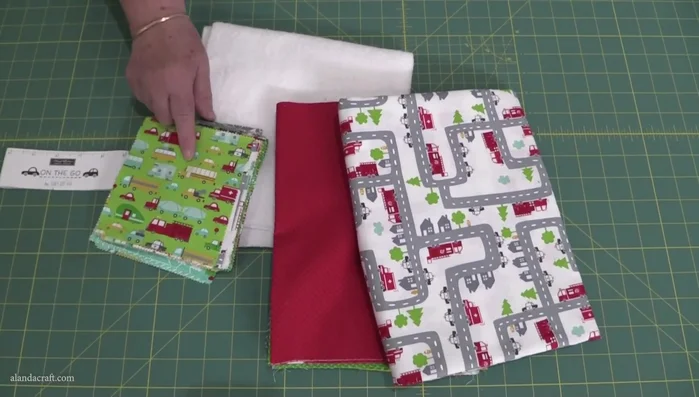
- Charm pack
- Backing fabric
- Binding fabric (optional)
- Low-loft batting
- Rotary cutter
- Ruler
- Iron
- Sewing machine
- 505 adhesive spray
- Quilting pins
- Always supervise young children around placemats and table runners to prevent choking hazards from small parts or accidental ingestion of fabric.
- Ensure all fabrics used are pre-washed and ironed to prevent shrinkage and ensure a neat finish. Avoid fabrics with fraying edges.
- Use only quilting-weight cotton fabrics or other suitable, sturdy materials approved for children's products. Avoid using potentially toxic dyes or fabrics.
Step-by-Step Instructions
Fabric Selection and Arrangement
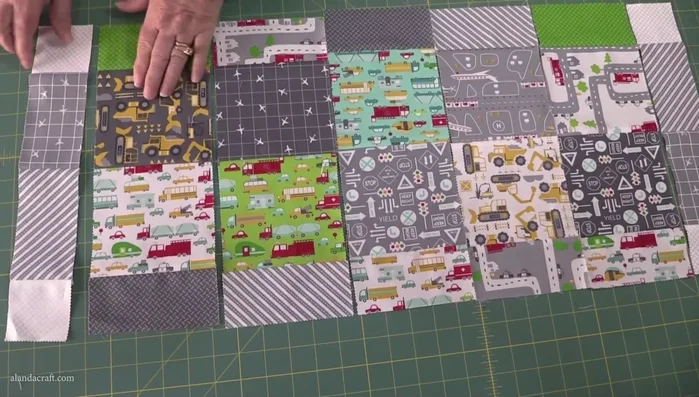
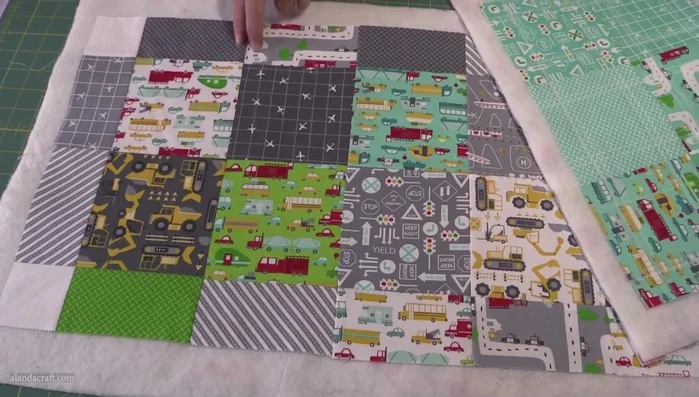
- Select a charm pack and coordinating fabrics for the placemats and table runner. Arrange charm squares for each placemat and the table runner, taking a photo to remember the arrangement.

Fabric Selection and Arrangement Placemat Construction
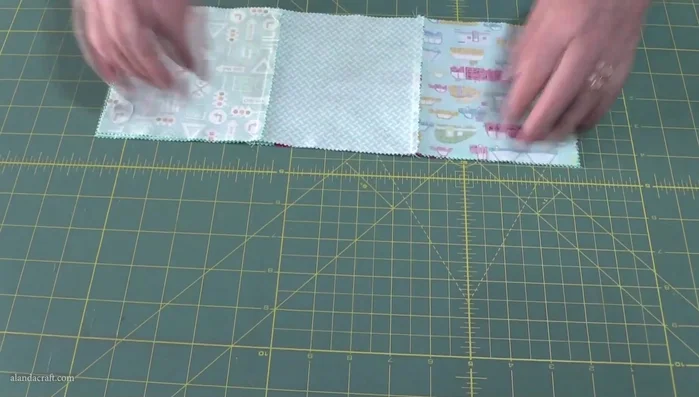
- Sew two rows of charm squares together for each placemat using a quarter-inch seam. Press the seams.
- Sew the two rows together, nesting seams for a clean finish.
Placemat Construction Table Runner Preparation
- Cut charm squares in half to create border pieces for the table runner. Cut the leftover square into four cornerstones.
Table Runner Preparation Table Runner Construction
- Sew the table runner pieces together in columns, pressing seams in alternating directions.
- Sew the columns together, nesting seams.
Table Runner Construction Layer Preparation and Adhesion
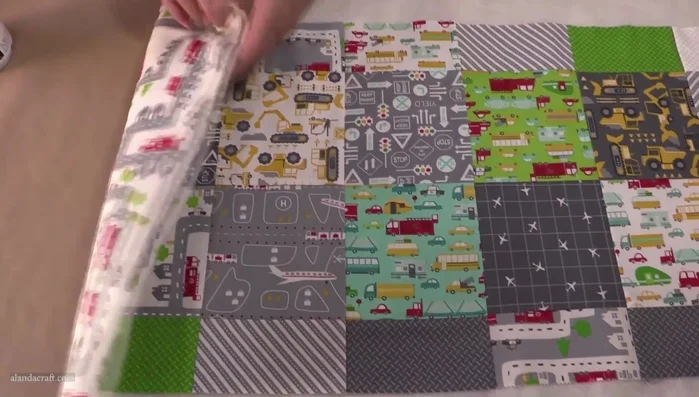
- Spray adhesive on backing fabric, layer batting, and the top (placemats or table runner) face up. Smooth out any wrinkles and press.
Layer Preparation and Adhesion Quilting
- Quilt the layers together. Options include stitching in the ditch or a quarter-inch seam allowance.
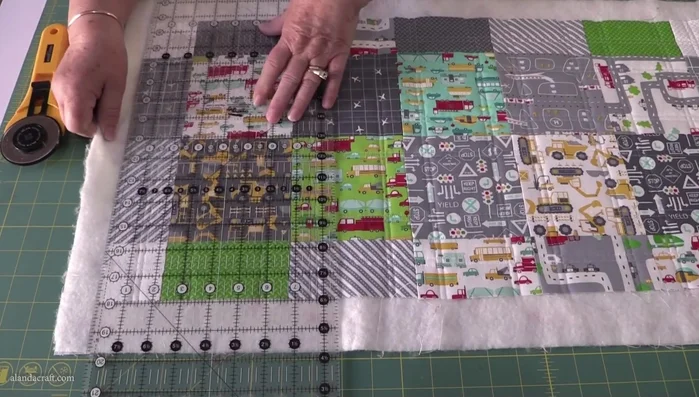
Quilting Trimming
- Trim the edges of the placemats and table runner to a consistent size using a ruler and rotary cutter.
Trimming Binding and Finishing
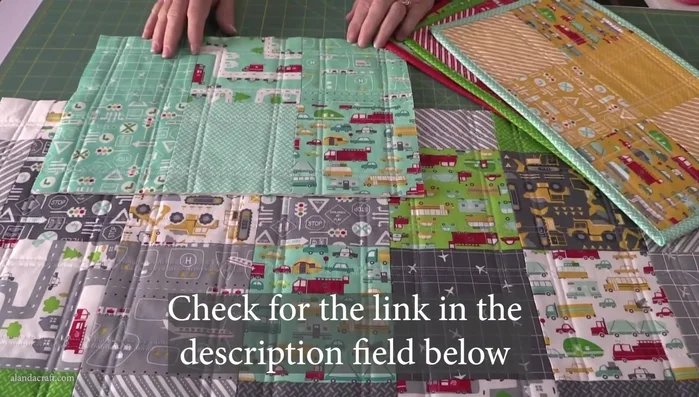
- Attach binding to complete the placemats and table runner.
Binding and Finishing


Read more: DIY Picture Frame from Oat Cartons and Fabric: A Simple & Unique Craft
Tips
- Use a photo to remember the charm square arrangement for placemats.
- Press seams in alternating directions for clean nesting when assembling.
- Use quilting pins to secure layers while quilting.
- Use 505 adhesive spray to help keep layers aligned during quilting.