Looking for a fun and easy way to elevate your next party or event? Forget generic store-bought treat bags – let's unleash your creativity and design personalized toppers using Canva! This incredibly versatile design platform allows you to craft unique and visually stunning additions to any treat bag, perfectly complementing your theme and adding a delightful personal touch. Whether you’re celebrating a birthday, holiday, or just want to spread some cheer, custom-designed toppers are a simple yet effective way to impress your guests. Imagine adorable cartoon characters, elegant floral patterns, or even personalized messages – all created by you.
This guide provides a comprehensive, step-by-step walkthrough demonstrating how to effortlessly design and create beautiful DIY treat bag toppers using the intuitive tools Canva offers. From choosing the right dimensions to adding charming graphics and text, we’ll guide you through the entire process, ensuring you achieve professional-looking results without any prior design experience. Let's get started!
Preparation and Safety Guidelines
- Canva
- Computer/Tablet
- Printer
- Glossy Photo Paper/Cardstock
- Stapler
- Always supervise children around crafting materials, especially small parts like glue dots or ribbon that could pose a choking hazard.
- Ensure all food-safe materials are used if the treat bag toppers will be in direct contact with food. Avoid using materials that aren't designed for food contact.
- Before mass production, test print a single topper to check for size, color accuracy, and overall quality before printing many copies to avoid wasted materials.
Step-by-Step Instructions
Create Canva Template
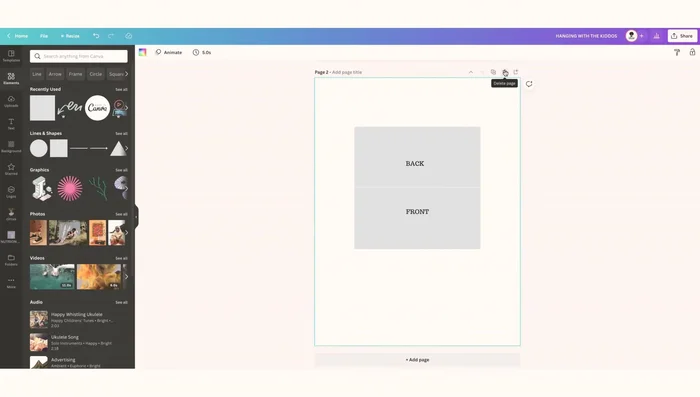
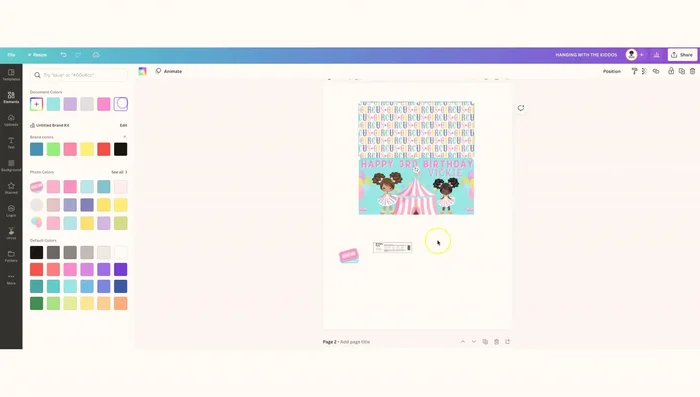
- Open a blank Canva page. Go to 'Elements,' then 'Lines and Shapes.' Select a rectangle shape for your bag topper. For 5x7 bags, use appropriate dimensions (video provides measurements for other sizes as well). Add a vertical line down the center to help with folding.

Create Canva Template Duplicate Template for Efficiency
- Create a copy of the template for easy reuse when making multiple toppers.
Duplicate Template for Efficiency Upload Design Assets
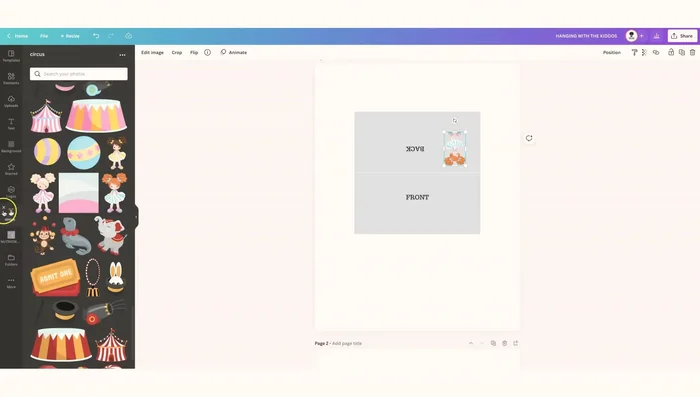
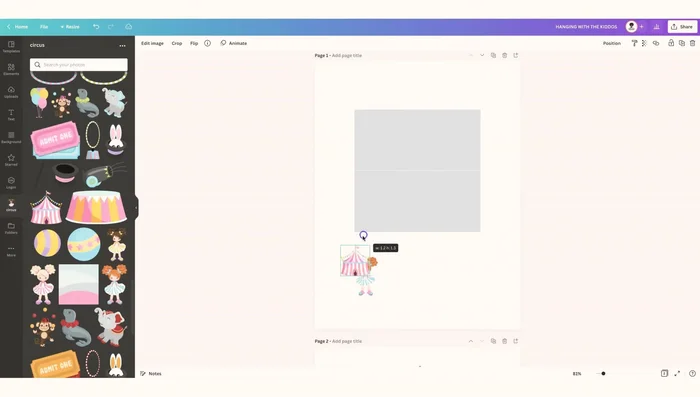
- Upload your desired images to Canva from your computer.
Upload Design Assets Design Bag Topper Front and Back
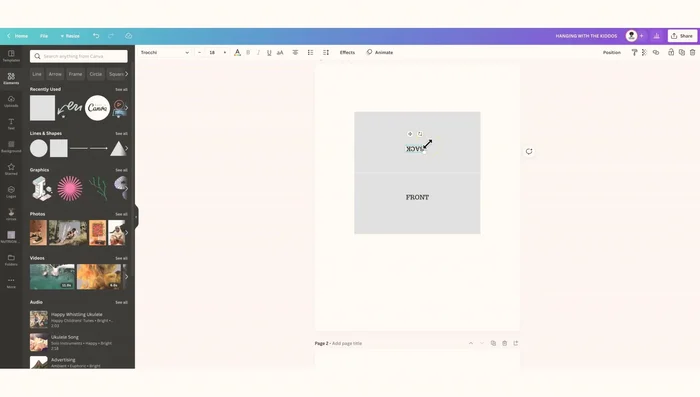
- Design the front of the bag topper. Remember to flip any elements intended for the back vertically before placing them to avoid backwards text/images when folded.
Design Bag Topper Front and Back Create Mirrored Design (Optional)
- If you want the same design on both sides, ensure all elements are within the template's boundaries, group them, and then duplicate and flip the group for the back.
Create Mirrored Design (Optional) Print, Cut, Fold, and Attach
- Print your design on glossy photo paper or cardstock. Cut out the toppers and fold them in half along the center line. Staple them to your treat bags.
Print, Cut, Fold, and Attach
Read more: DIY Dollar Store Ghost Candy Holder: Spooky Cute Halloween Decor!
Tips
- Adjust Measurements: The provided measurements are for specific bag sizes; adjust accordingly if using different sized bags.
- Add Extra Room: Make the width of your template slightly larger than needed to allow for easy cutting.
- Wear Gloves (If for Clients): For hygienic reasons, wear gloves when assembling treat bags for others.